
How to Customize WooCommerce Checkout Page: Step-by-Step Guide
Did you know that almost 70% of online shopping carts are abandoned before checkout? One of the biggest reasons is a poor user experience on the checkout page. Long, complicated forms, awkward design, and clunky layouts are all conversion killers.
If your checkout page isn’t streamlined and intuitive, you’re likely losing customers just when they’re ready to buy.
The good news? Fixing it doesn’t require custom code or hiring a developer. With the right tools, you can completely revamp your WooCommerce checkout experience and turn more visitors into paying customers.
In this guide, we’ll show you exactly how to customize WooCommerce checkout pages with no coding needed.
Tips to Maximize Woocommerce Checkout UX and Conversions
Once your checkout page looks great, take a few extra steps to improve how it works. Here are some proven strategies to boost conversions.
Keep It Simple
Long checkout forms scare people away. Use proper tools to remove fields you don’t really need. For example, if you’re not shipping to companies, hide the “Company Name” field.
The fewer the fields, the faster the checkout.
Make It Mobile-Friendly
With over 70% of purchases happening on phones, your checkout must be responsive. Tools like Elementor and StoreKit let you tweak spacing, text sizes, and button layouts specifically for mobile. Make sure everything fits well on small screens and is easy to interact with.
Build Trust Visually
People are cautious when entering payment details. Display SSL badges, “100% secure” icons, and trusted payment logos. You can add these with Elementor’s image or icon widgets right near the payment section.
Highlight the Order Summary
Don’t hide shipping costs or taxes since customers hate surprises. Make the full cost visible in the Order Details section before they hit the final button. If you offer free shipping over a certain amount, mention that early in the process too.
Add Smart Validation and Autofill
Make form errors easy to fix. Instead of a vague “Invalid input”, use helpful messages like “Please enter a valid phone number”. And allow browsers to autofill saved data and speed things up, especially on mobile.
Offer Multiple Payment Options
Not everyone uses the same payment method. Support PayPal, Stripe, Apple Pay, and local gateways. Then style and organize so users can find their favorite payment method quickly.
Enable Guest Checkout
Don’t force account creation — that’s a major reason people bounce. Let them check out as a guest, and then invite them to create an account after purchase.
Reduce cart abandonment with proper steps.
What You’ll Need Before You Start
WooCommerce on its own doesn’t give you full control over the checkout page.
Sure, you can add a few fields or install some code snippets, but if you want to truly customize the layout, style, and user experience, it gets frustrating fast.
That’s why, instead of wrangling with code or limited tweaks, we’re going to use a WooCommerce custom page builder plugin, “Ultimate StoreKit.”
Now, why StoreKit?
Because it’s actually built for real store owners like you who want results. Unlike most checkout customization plugins that either feel too technical or too limited, StoreKit blends beautifully with Elementor, giving you full creative freedom over your checkout experience.
Now, let’s dive into the steps.
Step 1: Install & Activate StoreKit
To get started, go to your WordPress dashboard and head over to Plugins > Add New. Search for “Ultimate Store Kit by StoreKit”, click Install, and then Activate.
Once activated, you’ll see a set of new Elementor widgets under the WooCommerce category including the one we’ll focus on: the Checkout (Page) widget.

Step 2: Enable the Checkout Widget in StoreKit
By default, StoreKit’s advanced widgets are turned off so your site stays lightweight. So before using the checkout widget, you need to enable it.
From your WordPress dashboard, go to Ultimate Store Kit > WC Widgets. In the widget search bar, type Checkout (Page). You’ll see a toggle button and switch it ON. Then click Save Settings.

That’s it! The woocommerce Checkout widget is now ready.
Step 3: Add the Checkout Widget to Your Page
Next, you’ll add the checkout to an actual page. Either create a new page (go to Pages > Add New) or edit your existing checkout page. Click Edit with Elementor to open the visual editor.
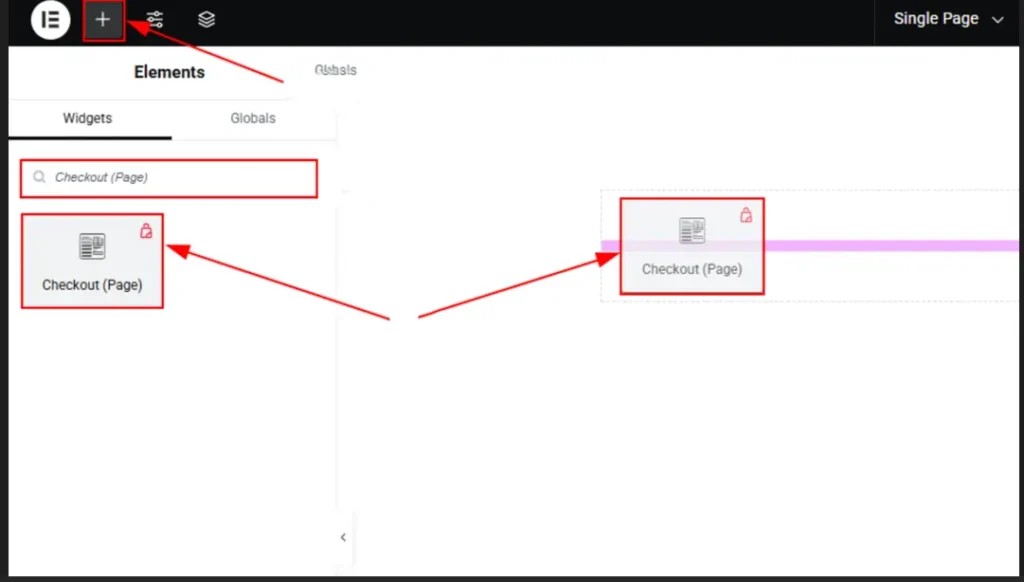
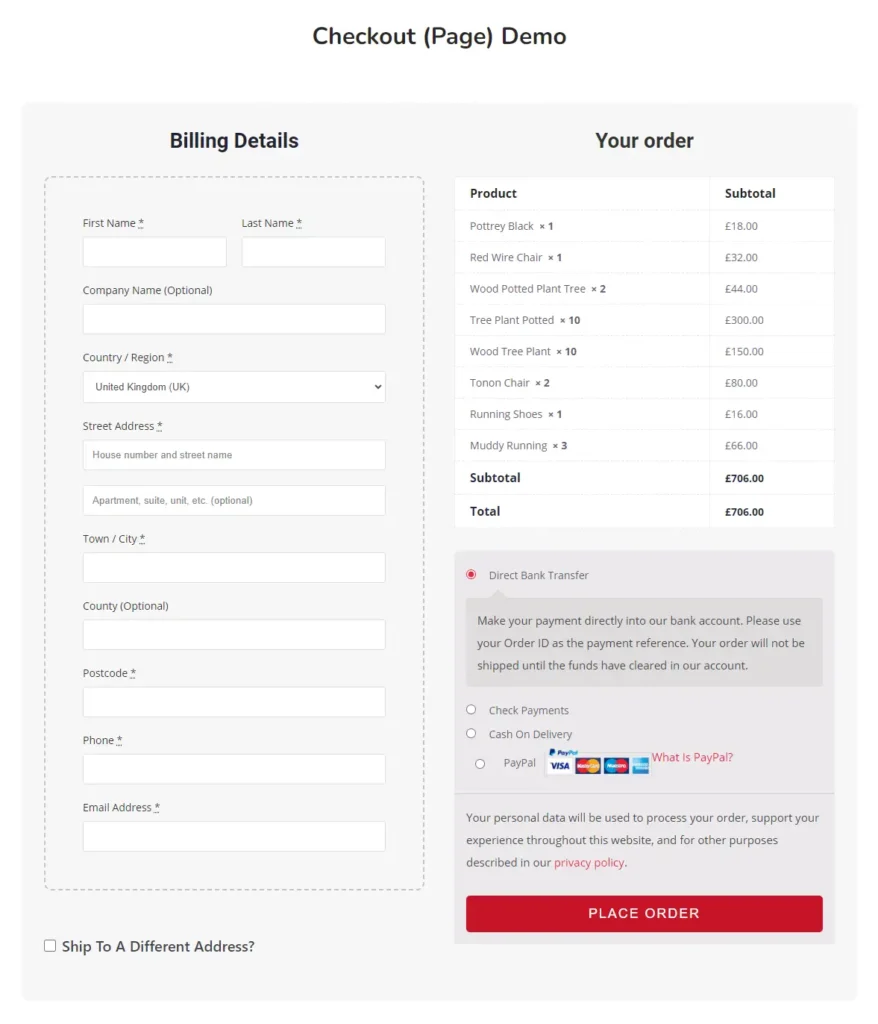
In the Elementor panel, search for Checkout (Page) and drag the widget into your layout. The live WooCommerce checkout form will now appear on the canvas and from here, you can begin customizing everything.
This is where StoreKit really shines. It gives you deep visual control over every section of the checkout from form fields to typography and even the “Place Order” button.
Step 4: Customize the Checkout Design with Elementor
Let’s break down how you can style each part of the checkout form using StoreKit and Elementor. You’ll find all the options under the Style tab once the widget is selected.
Heading Section
You can customize the “Checkout” text color to match your brand, change its alignment, and finetune the typography to create a consistent look. A well-designed heading gives structure and clarity, especially on mobile.

Container Section
The container is the box that wraps around your form. You can set its background color, add borders, control spacing with margin and padding, and even adjust corner radius for a softer, modern look. If your form feels cramped or crowded, tweaking these settings will give it breathing room and polish.

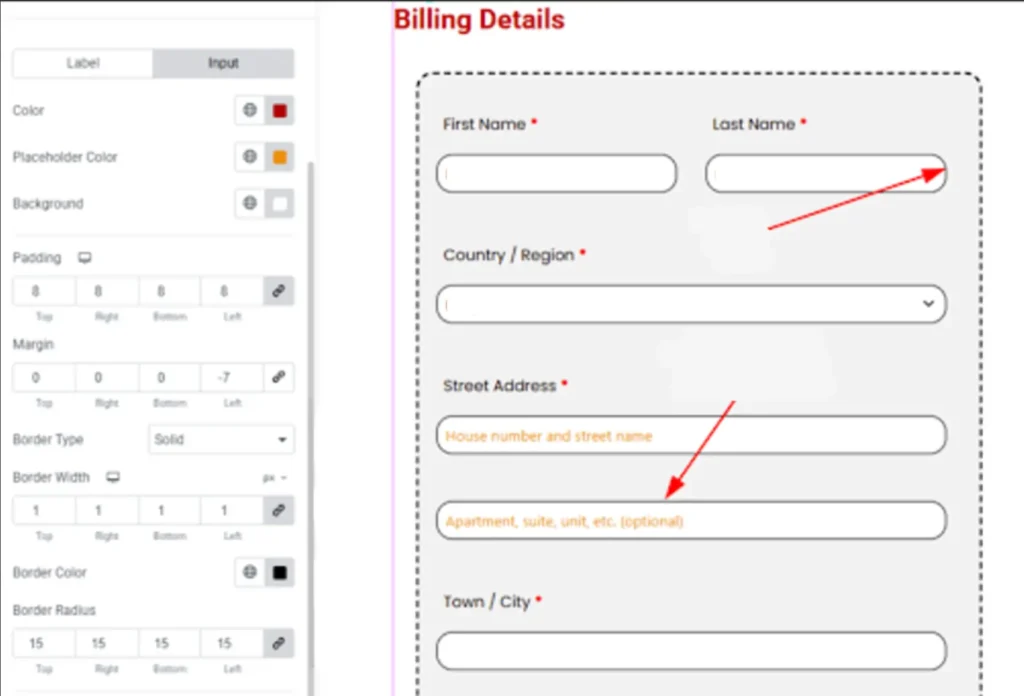
Form Section (Labels & Inputs)
You can style form labels, colors, spacing, fonts, and input fields. For each input, customize the text and background colors, padding, borders, and even how it looks when a user clicks or focuses on it.
Making form fields visually accessible and easy to interact with, reduces friction and keeps customers moving toward that final click.
Order Details Section
This section shows the products the customer is purchasing, including quantities, prices, and totals. StoreKit breaks this down into a header (like “Your Order”), the body (with item lines), and a footer (where the total is calculated).
You can tweak each part separately and adjust colors, fonts, and spacing to make sure everything is readable and visually balanced.

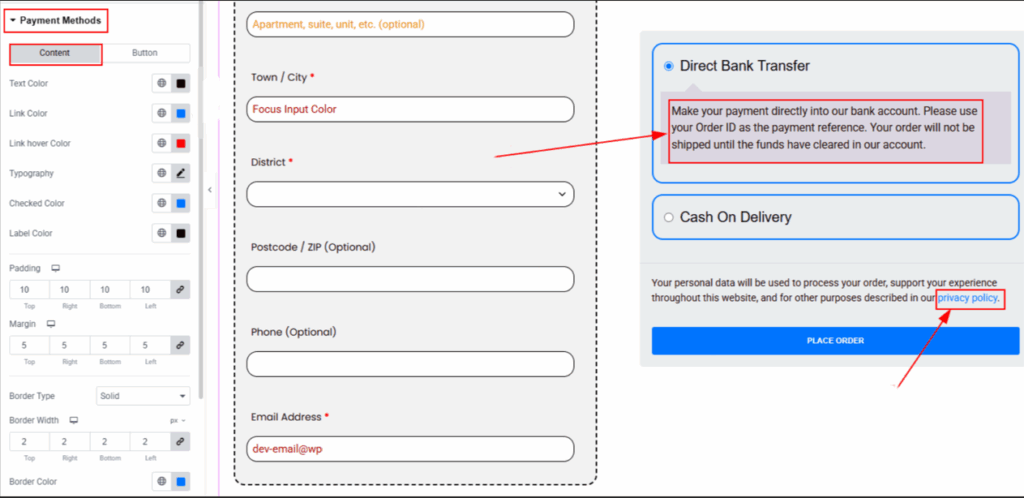
Payment Methods Section
Payment is the final (and arguably most important) step. With StoreKit, you can style the text for each payment option, add visual cues like hover effects, and make the “Place Order” button pop.
You can also adjust the button’s size, color, shape, and hover state. We recommend making the button full-width on mobile as it’s easier to tap and stands out clearly.
And, you’re done. Your fully customized checkout page is ready.
Let’s view the custom checkout page we just created.
Quick Overview of Design Elements
Let’s have a quick overview of what you can tweak using the Checkout Page widget in StoreKit. Here’s a visual summary of the design elements you have full control over.
Section | What You Can Customize |
Heading | Adjust text color, alignment, typography, and spacing below the heading |
Container | Customize background color, border style and radius, padding, margins, and alignment |
Form Fields | Style labels and input fields — colors, fonts, spacing, background, borders, and focus state |
Order Details | Control styling for the header, body, and footer — including fonts, colors, and spacing |
Payment Methods | Edit text links, button styles, padding, border settings, and hover effects |
Courtesy of Ninja Tables
Why Do I Trust StoreKit for Checkout Customization?
StoreKit just gets it right!
It finds that perfect balance between flexibility and simplicity which is rare.
- It’s super beginner-friendly. You don’t need to touch a single line of code or dig into confusing WooCommerce templates. You just drag, drop, and style things visually inside Elementor, which makes the whole process actually enjoyable instead of a chore.
- The smooth UX is a unique attribute. It doesn’t feel like a third-party patchwork. It blends right into Elementor like it belongs there. You can rearrange sections, tweak form fields, change colors, and control spacing exactly the way you want, and see the changes live as you go.
- And here’s the kicker: StoreKit doesn’t stop at checkout. It gives you a full WooCommerce builder toolkit so you can also design custom product pages, thank you pages, and more, all using the same intuitive workflow.
So yeah, if you’re tired of wrestling with rigid templates or over-complicated tools, StoreKit is for you. It just works and works really well.
Bonus Tips
You’re worried about WooCommerce checkout page, but have you focused on other optimizations for conversion?
- Display your Woo products in tables to keep customers engaged and hit the “Add to cart” button. First impressions are important. Hook them right away with the perfect product presentation using tables.
| Image | Name | Category | Price | Choose | |
|---|---|---|---|---|---|
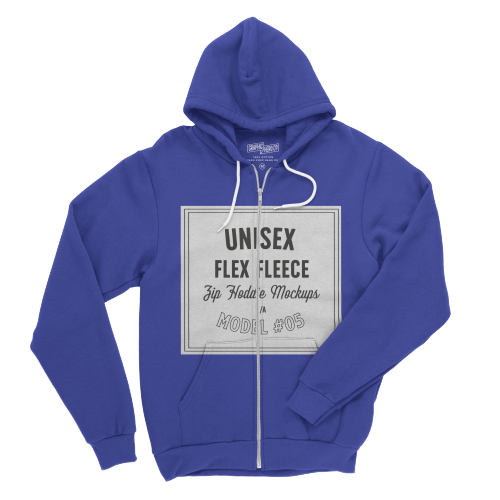 | Blue Hoodie (Zipper) | Hoodies | Original price was: $40.00.$35.00Current price is: $35.00. | | |
 | Hat | Hat | Original price was: $20.00.$15.00Current price is: $15.00. | | |
 | T Shirt | Half sleeve | $45.00 | | |
| T-Shirt with Logo | Tshirts | Original price was: $10.00.$8.00Current price is: $8.00. | | ||
| Beanie with Logo | Accessories | Original price was: $20.00.$18.00Current price is: $18.00. | | ||
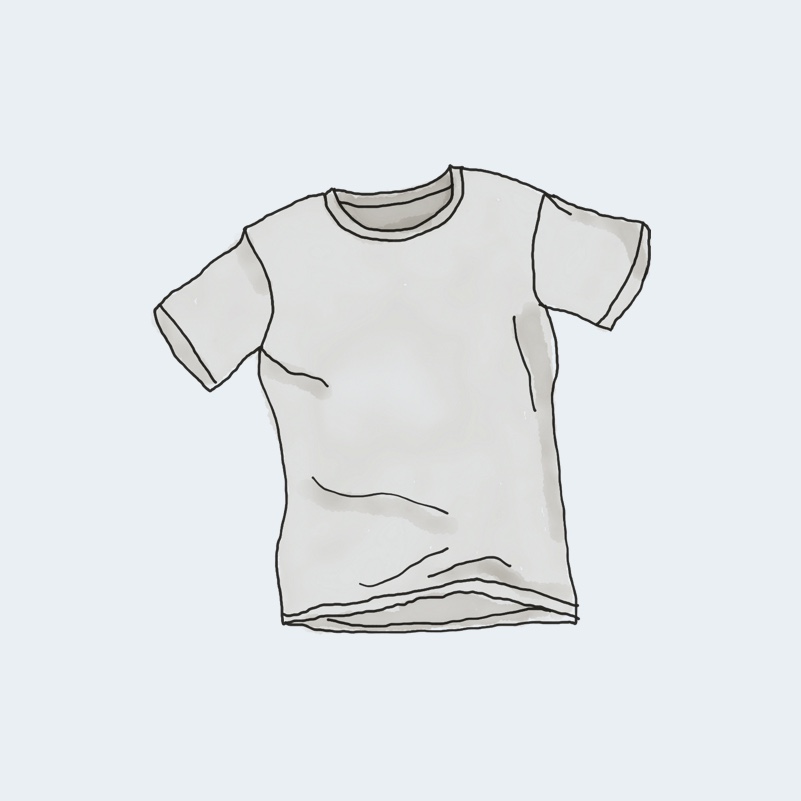 | T-Shirt | Tshirts | $18.00 | | |
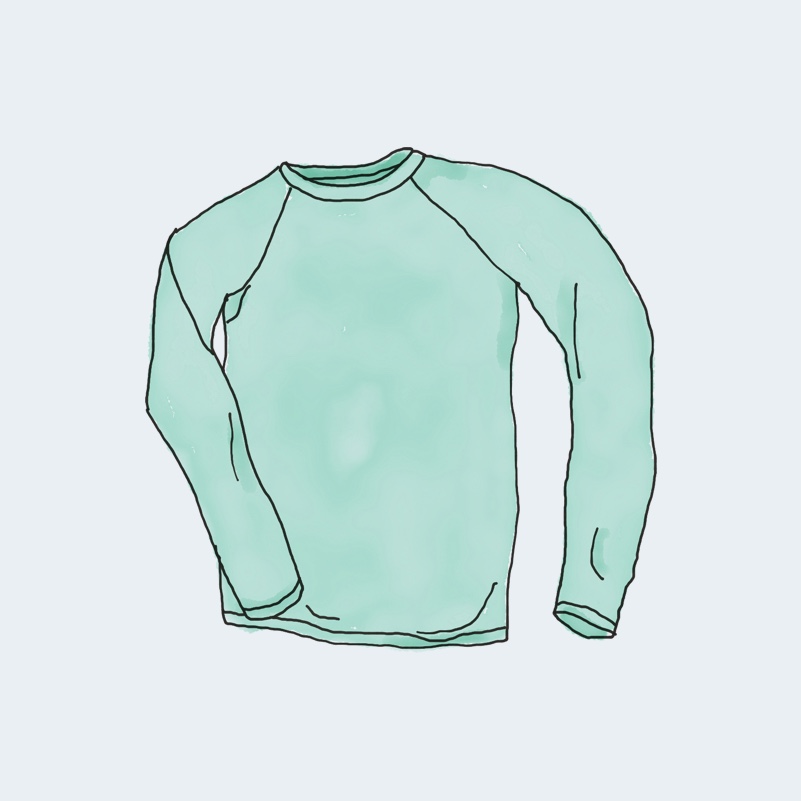 | Long Sleeve Tee | Tshirts | $25.00 | | |
 | Polo | Tshirts | $20.00 | | |
| Hoodie with Logo | Hoodies | $45.00 | | ||
 | Hoodie with Pocket | Hoodies | Original price was: $45.00.$35.00Current price is: $35.00. | | |
 | Hoodie with Zipper | Hoodies | $45.00 | | |
 | Beanie | Accessories | Original price was: $20.00.$18.00Current price is: $18.00. | | |
 | Belt | Accessories | Original price was: $65.00.$55.00Current price is: $55.00. | | |
 | Cap | Accessories | Original price was: $18.00.$16.00Current price is: $16.00. | | |
 | Sunglasses | Accessories | $90.00 | | |
 | Tank Top | Tanktop | Original price was: $45.00.$40.00Current price is: $40.00. | |
- Ensure WooCommerce store UI is user-friendly and not crammed with unwanted popups, overwhelming colors, or unorganized product section.
- Loading speed optimization is a must! Slow loading site will turn everyone away.
- Page responsiveness and personalization.
- You can also customize the default WooCommerce buy button, or even change product table’s background with Ninja Tables.
Learn more about increasing WooCommerce conversion rate.
StoreKit FAQs
Do I need to know how to code?
Nope! StoreKit is built for non-developers. You can customize everything visually using Elementor.
Will my payment gateways still work?
Yes. Customizing the layout doesn’t change how WooCommerce processes payments or orders.
Can I preview my changes before publishing?
Absolutely. Elementor’s preview tools let you see your design on desktop, tablet, and mobile before it goes live.
Will this work with my current theme?
Yes. StoreKit is designed to work with most Elementor-compatible WooCommerce themes.
Can I go back to the original checkout page?
Sure! Just disable the Checkout (Page) widget in StoreKit, and WooCommerce will use its default layout again.
Start Custom Checkout Today
The checkout page is the last step before a sale and it should feel as smooth and trustworthy as the rest of your store. Thanks to StoreKit and Elementor, customizing that experience doesn’t require coding skills or expensive developers. You’re in full control.
Whether you want to simplify form fields, redesign your layout, or style the “Place Order” button to perfection, StoreKit makes it all possible. Create a WooCommerce checkout page that’s clean, fast, and conversion-focused, without coding.
So if you’re using Ninja Tables to get those clicks on “Add to Cart” buttons, get ready to stop losing sales at the finish line and start building a better checkout experience with StoreKit!
Let us know how it goes.
Get In touch with Ninja Tables
Ninja Tables– Easiest Table Plugin in WordPress


Add your first comment to this post