
How to Create an Image Gallery in WordPress

Familiarizing customers with your products has various benefits. They may be able to learn more about your business, learn more about the caliber of your product, and even find solutions to some issues without having to call your customer service line.
The main issue is choosing a strategy that will bring your customers closer to your products in a way they will value. It is true for all business challenges.
A photo gallery can be extremely helpful in this situation to put your physical products in front of your customers’ eyes. The best part is that this could become a crucial component of your company’s digital marketing strategy, or you could just set it and forget it once a quarter.
This article will show you how to make a photo gallery in WordPress. There are two methods for that, and we will show you both.
Create WordPress Image Gallery without a Plugin
WordPress has a built-in gallery that you can use to add eye candy to your website quickly. Here’s what you need to do:
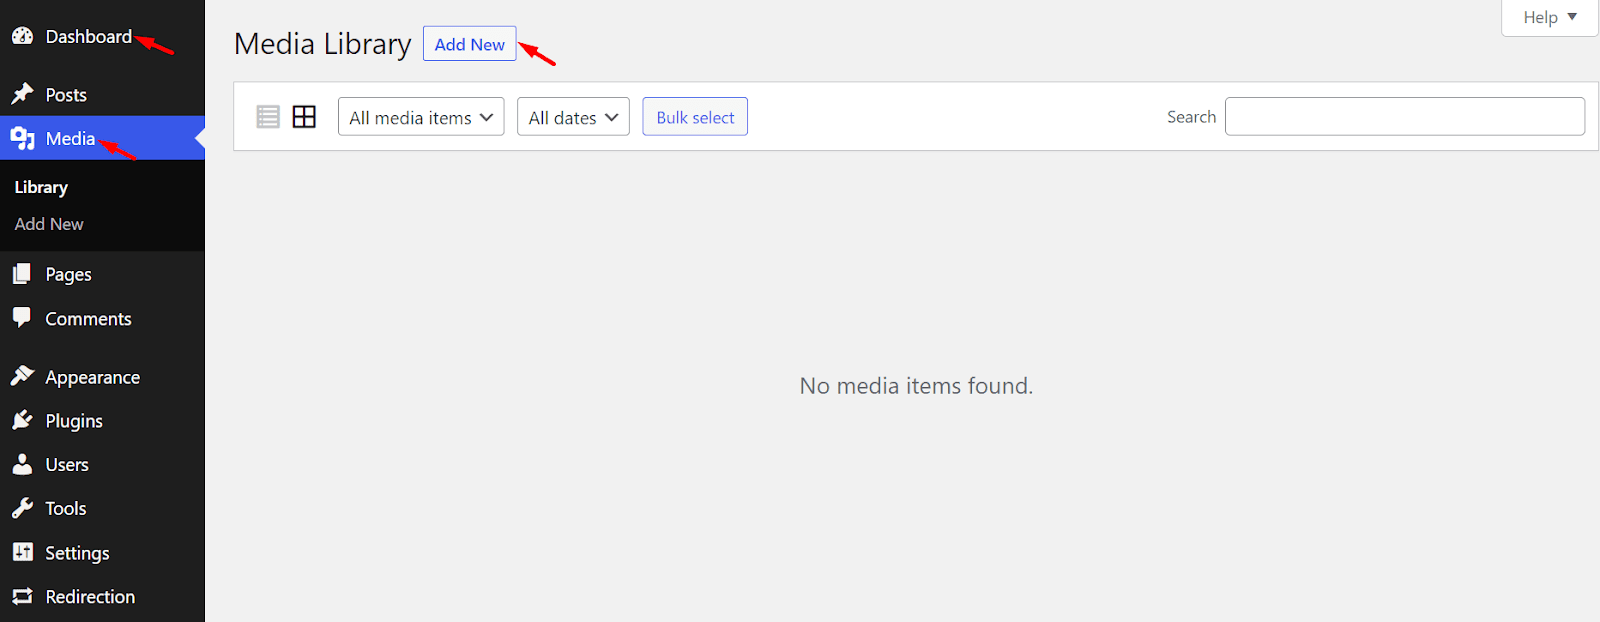
- Go to your WordPress dashboard
- Click on Media from the left side of the page
- Select Add New
- Click on the Select files button, select your images from your local storage, and click open.
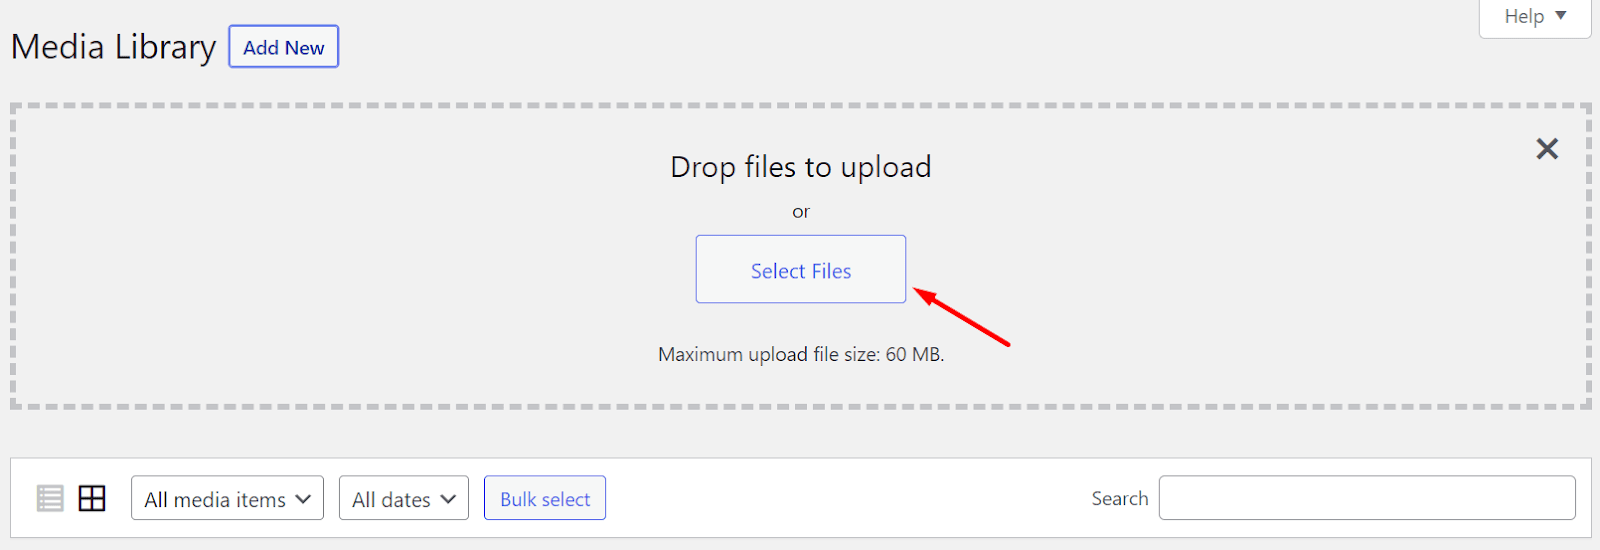
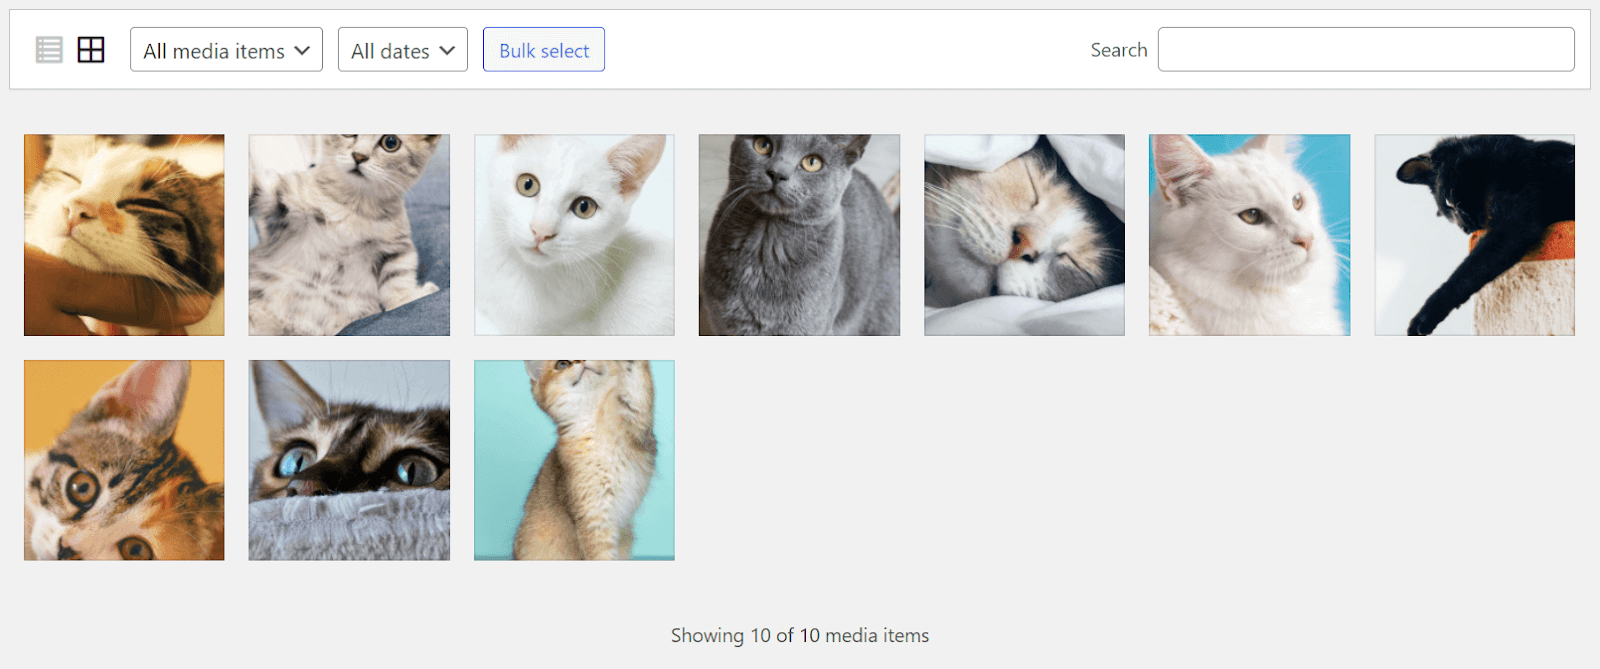
Your files are now uploaded to your WordPress storage, and you can make your image gallery from this storage.
Now, go to your pages/posts from your dashboard again.
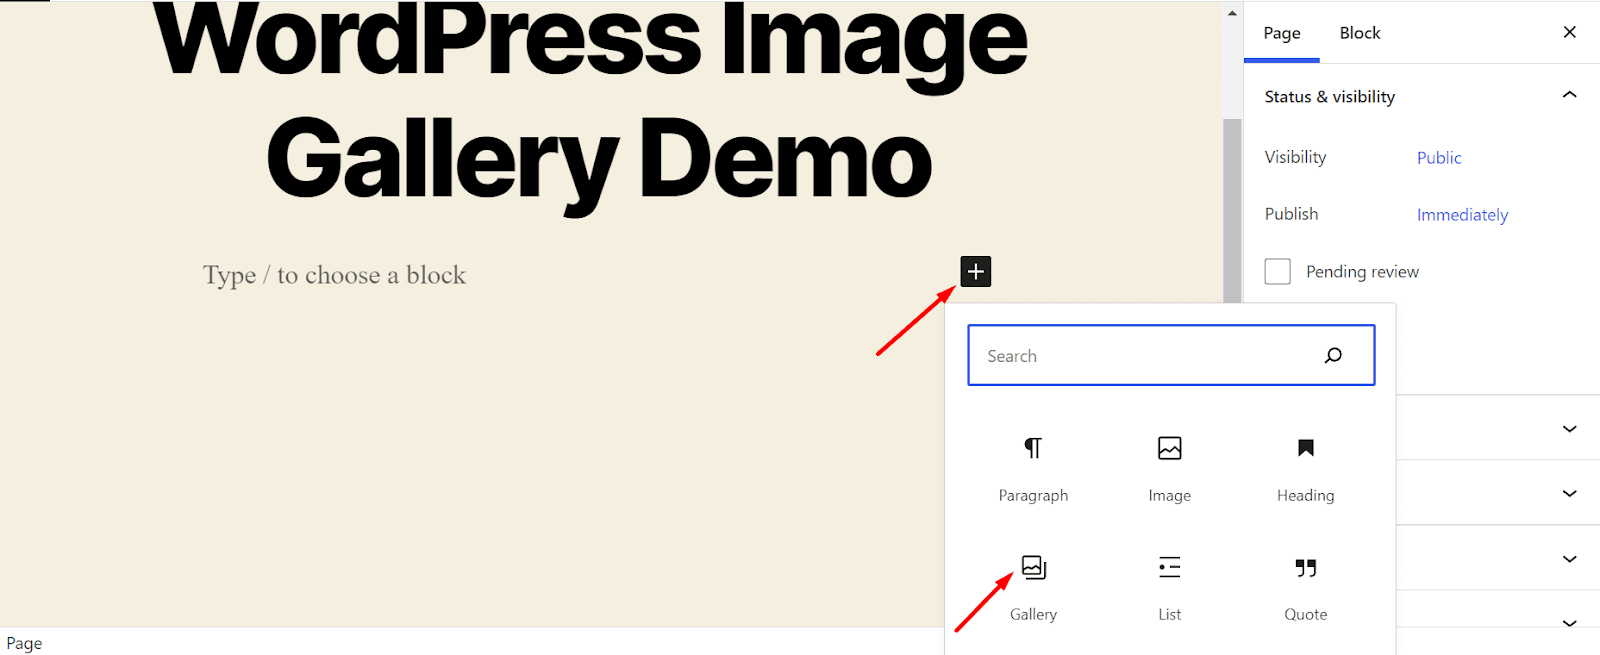
- Click on Add New button and define your title for the page/post.
- Click on the add(+) icon and select Gallery. Click the Media Library button after that, and the click will take you to the media library you uploaded just now.
- Select your desired gallery images from the list and click on Create a new gallery from the bottom right of the page.
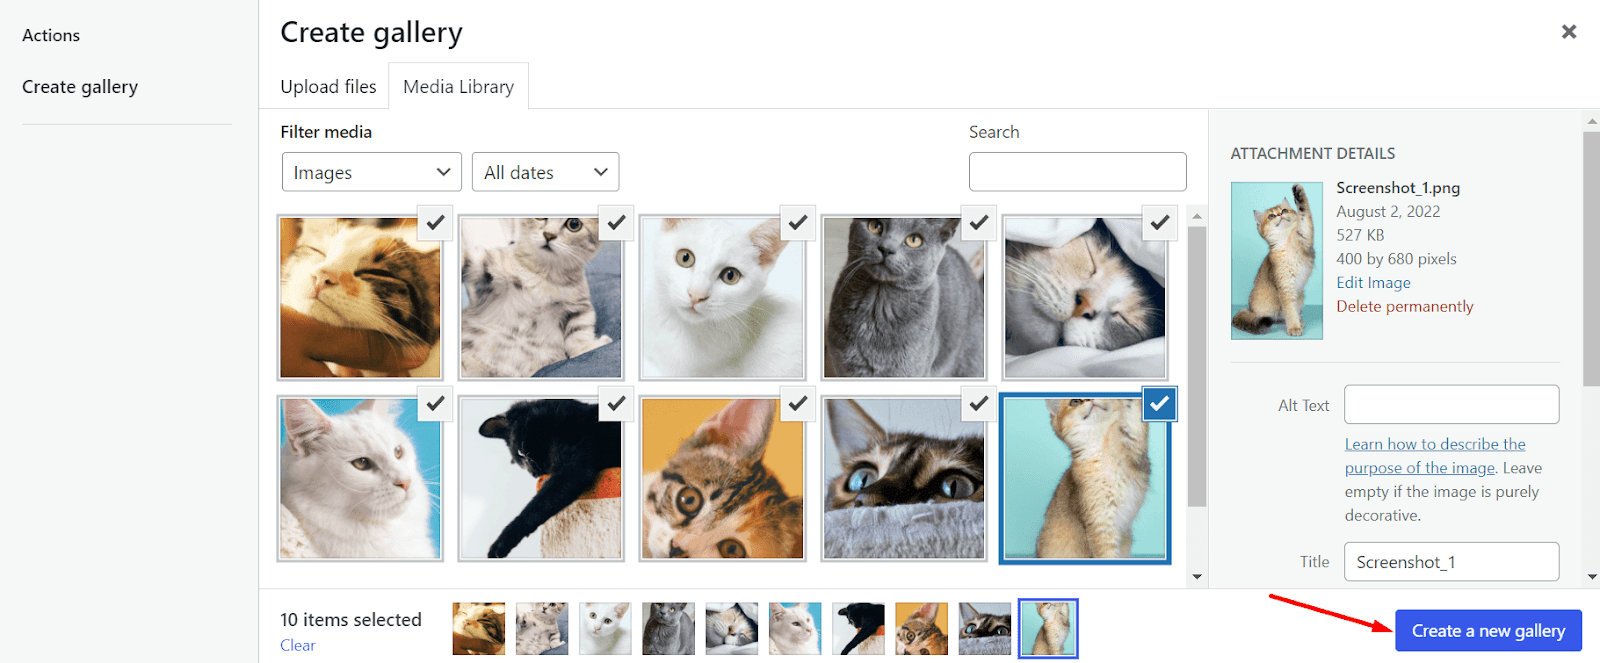
- Set up the captions now and click insert gallery.
At this point, you have to define alternative text for all images. Set a featured image for the post/page. Optimize the permalink, and you are set to publish it.

Short and sweet, right? The gallery layout is much cleaner if you upload your photos one after one.
However, you may face a few limitations after going through the steps above. For example, if you link the gallery to a media file, users click on it, and they will be redirected to the destination window and have to click the back button to return to your site.
These galleries won’t appear the same on mobile devices or tablets because they are not responsive. You cannot tag the pictures or categorize your galleries into albums or topics.
Moreover, Your galleries aren’t saved anywhere, so you’d have to start from scratch if you want to add the same gallery to another post.
You’ll have to use a plugin to get a complete gallery that satisfies all of your requirements.
Create an Image Gallery in WordPress with a Plugin
There are thousands of plugins to set up and optimize a gallery in WordPress. When selecting one, you’ll want to check the plugin speed, ease of access, ratings, and additional features.
WPManageNinja offers a fascinating table builder plugin to help you create a stunning WordPress image gallery for your website. Yes, that’s Ninja Tables, a well-known table builder plugin for your WordPress website.
With Ninja Tables, you can create a beautiful image gallery along with a linking option for the URLs you want. Even you can make your image gallery responsive so you won’t have to worry about mobile or tablet views.
Additionally, you can tag the pictures or categorize your galleries into albums or topics. And, since your galleries are saved in Ninja Tables, you won’t need to start from scratch if you want to add the same gallery to another post.
Just use the shortcode.
Now, see how you can create an image gallery in WordPress with Ninja Tables.
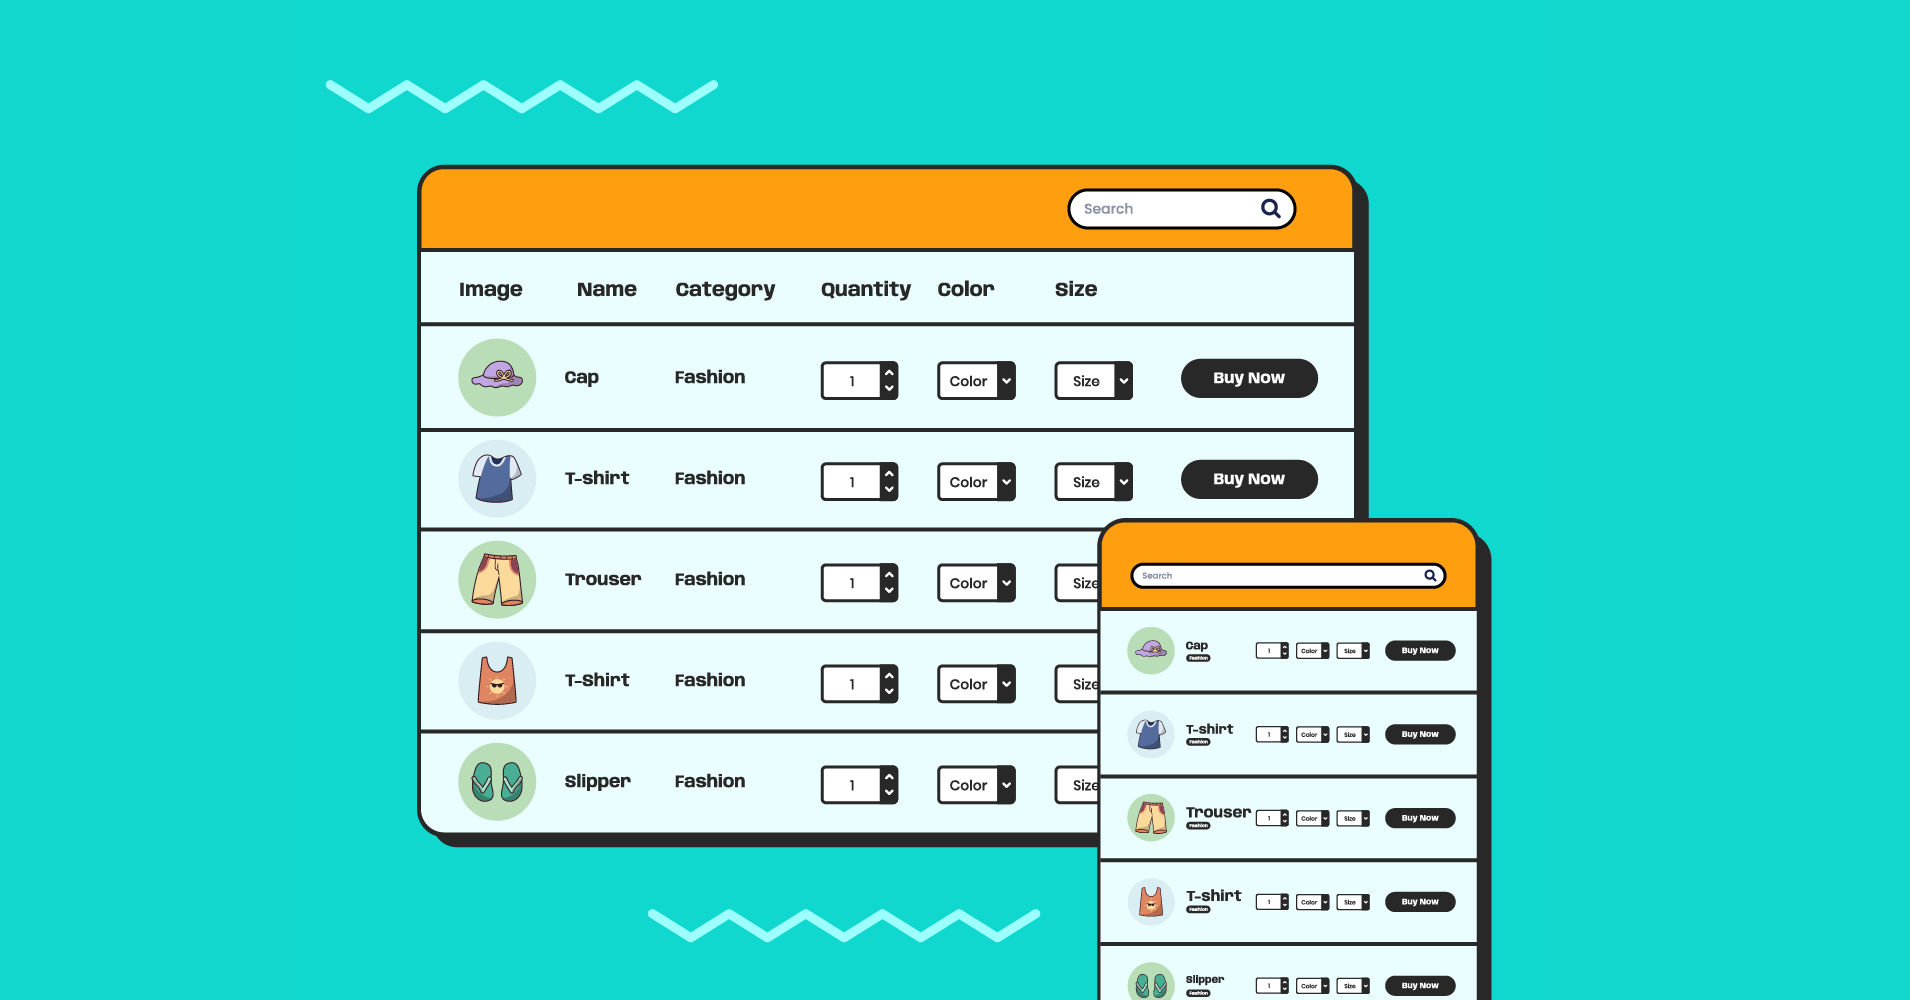
Image Gallery Table
Here’s the table made with Ninja Tables.


Select your method for WordPress Image Gallery
Whether you’re satisfied with WordPress’s core functionality or ready to try Ninja Tables, you can create attractive and engaging galleries in just a few clicks. That’s the best option for the users of Ninja Tables because they won’t need any additional plugins for this action.
Signing off for now. Hopefully, this article helped you.
Don’t forget to share this and comment below if you want to add your thoughts with us.
Ninja Tables– Easiest Table Plugin in WordPress


Add your first comment to this post