
How To Integrate WooCommerce With Ninja Tables

We see all kinds of eCommerce stores selling all kinds of stuff. But if you’re a beginner and want to start an online business, how do you know what works?
Using WooCommerce for eCommerce product stores is the most popular way, and at this point, over 4 million websites are powered by WooCommerce. For example, Porter & York, Cupcake Studio, Over Clothing, etc.
But if you want your audience to notice all the necessary details of your products, WooCommerce alone can’t be an option.
The default WooCommerce plugin will only show a specific amount of product details. However, if you integrate WooCommerce with WordPress table plugin, your product tables will look the way you want.
This is where Ninja Tables plays a big role! Integrate WooCommerce with Ninja Tables and customize the product tables to show any data you want. Likewise, control the table appearance and design flexibly.
Ninja Tables WooCommerce product table
Both are user-favorite plugins in the WordPress directory. WooCommerce is a free and open-source plugin for eCommerce store owners, and Ninja Tables is for those who want to present data dynamically.
Anyone who started an eCommerce store had to struggle managing hundreds or thousands of different products. WooCommerce eases this process a little.
The default grid-style product display of WooCommerce can sometimes be unappealing. Besides, online buyers have a shorter attention span and are most likely to close the tab if they don’t find what they’re looking for.
Would you prefer product blocks with fewer details or a product table with every piece of information you need?
Ninja Tables and WooCommerce deeply integrate for a better experience for both ends.
- Customers can find all the product details in a single row
- Tables are sortable, searchable, and filterable
- Responsive and customizable
- Easy cart and checkout
- Unlimited data, rows, and columns
Check out all that Ninja Tables can do for your WooCommerce business.
And if you already know the awesomeness of Ninja Tables, learn how you can use WooCommerce with it.
How to integrate WooCommerce with Ninja Tables
This is a simple 3-step process even for a beginner.
But first, install and activate WooCommerce and Ninja Tables on your WordPress dashboard.
Note down the steps to integrate WooCommerce with Ninja Tables.
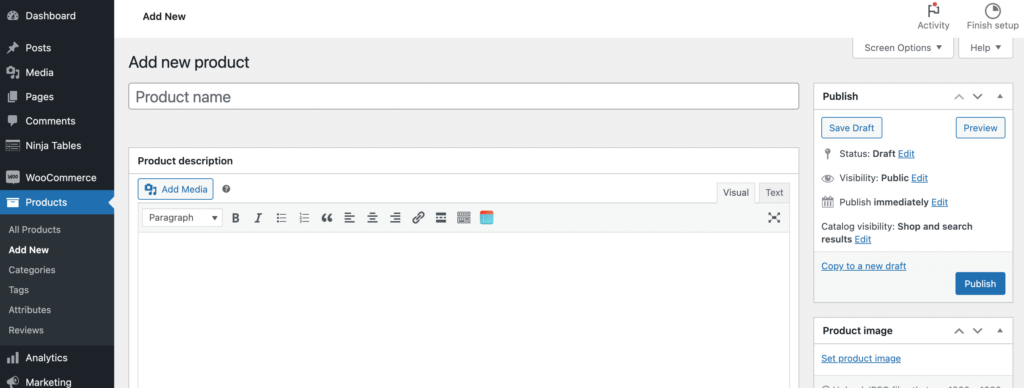
Step 1: Add products you wanna sell
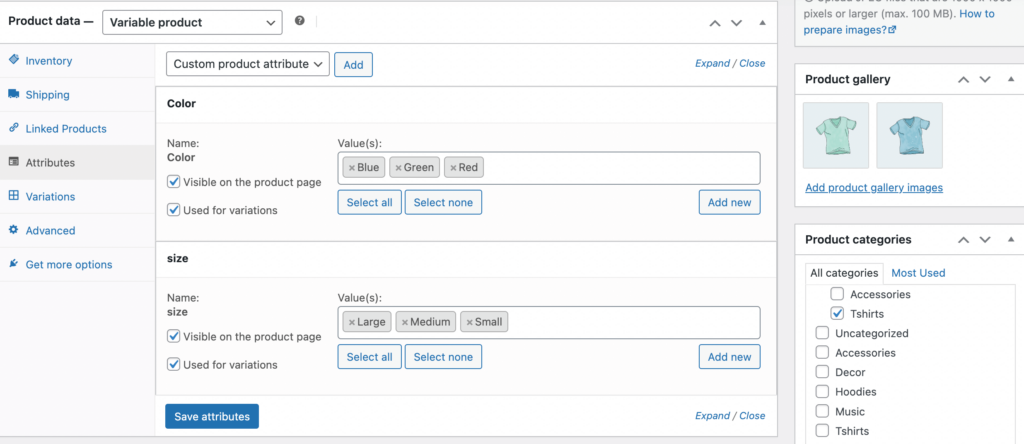
Create the products under WooCommerce with images, SKU, stock, prices, categories, etc.
Add as many products and attributes as you need. The WooCommerce product table in Ninja Tables will show a dropdown with the product attributes you set. For example, size or color variations.
After setting up WooCommerce, you need to set up Ninja Tables. Ty the free version and upgrade to pro for WooCommerce functions.
Step 2: Pick “WooCommerce Table” from the menu
Now that you know what you’re gonna sell in your store, it’s time to present those products in a perfectly organized data table.
Go to Ninja Tables dashboard and hit “+ Create New Table.”
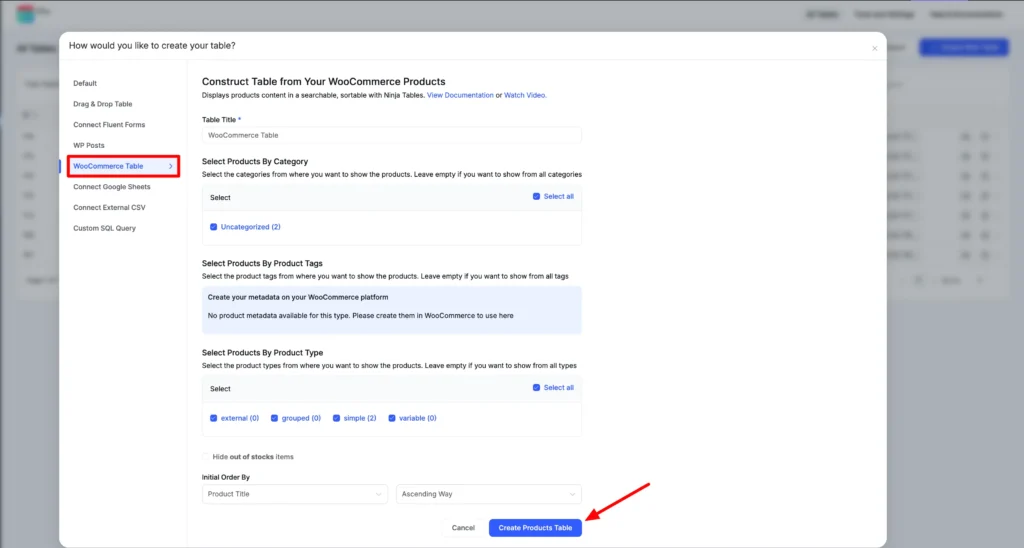
Select the “WooCommerce Table” option from the table creation menu, and you’ll see a window to pick products.
Step 3: Select products to show on the table
This is where integration with WooCommerce is more or less done.
You can see the products according to their category, tags, and types.
- Name the table
- Select the products for the table
- Hide out-of-stock items
- Decide the product order
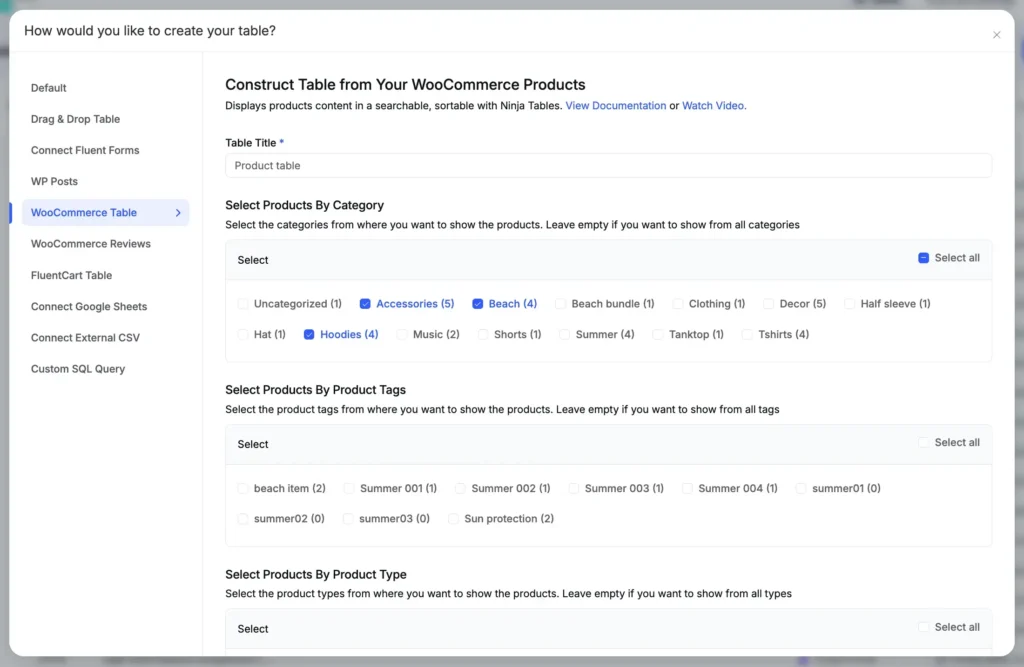
Scroll below and hit “Create Products Table” button.
That’s all! Your product table is ready for your website.
Step 4: Customization
Now you can customize the tables with multiple dynamic features like colors, coding, ratings, etc.
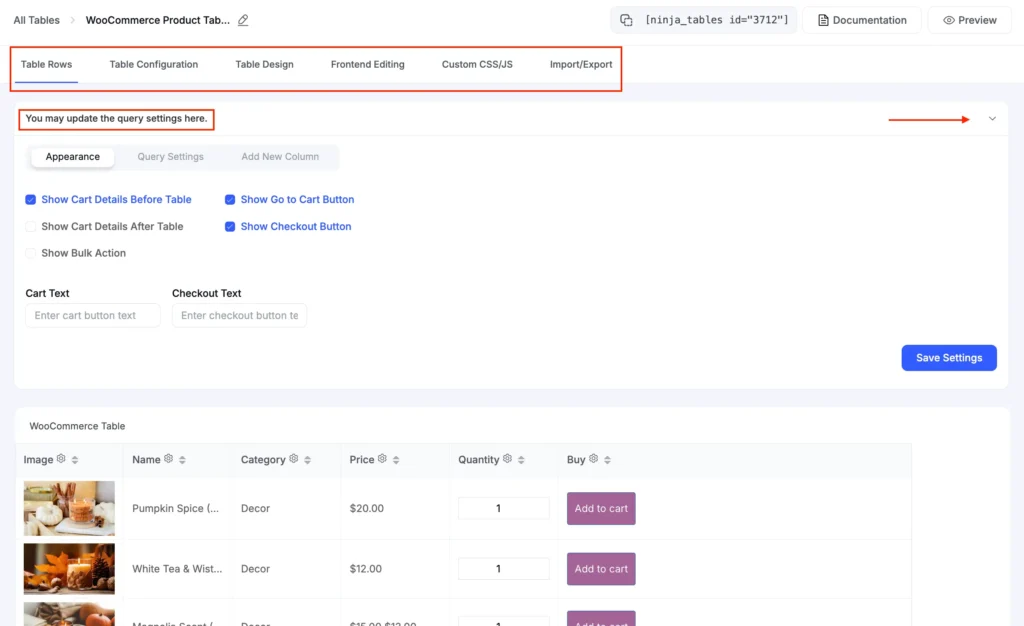
Appearance
The table is finished and shows the products with details. You can change the cart text, checkout text, and their positions from “Appearance” settings.
Customize the texts to whatever you want.
*** New version of Ninja Tables adds a “Show Bulk Actions” checkbox here. Enabling this means customers can bulk select products in the frontend. It allows “Bulk add to cart” and “Bulk product comparison.”
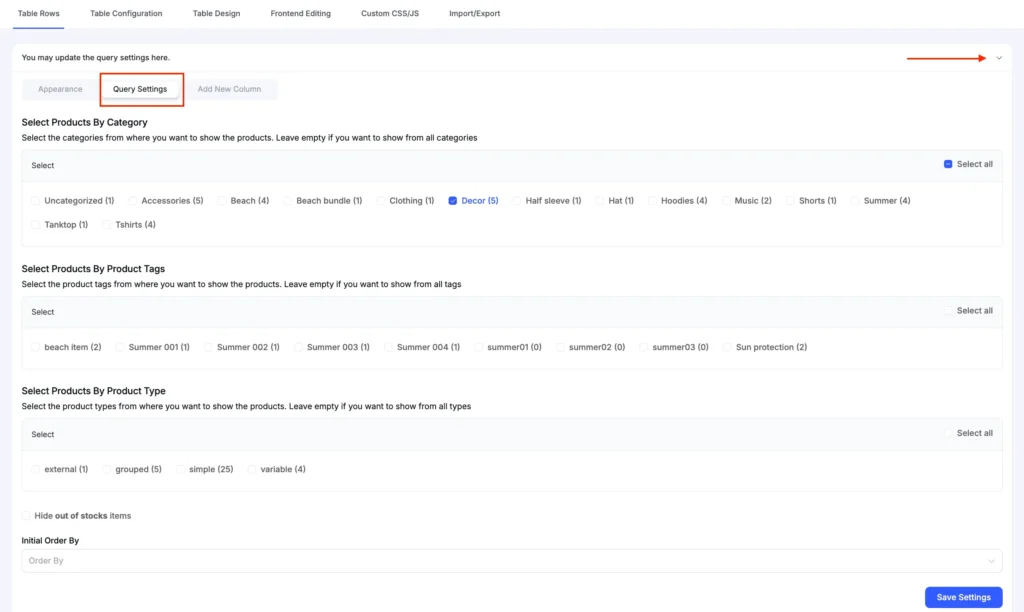
Query Settings
This is where you can select or deselect more products if you change your mind after creating the table.
Add New Column
What if you want to add product reviews for each product row? Or an unboxing video?
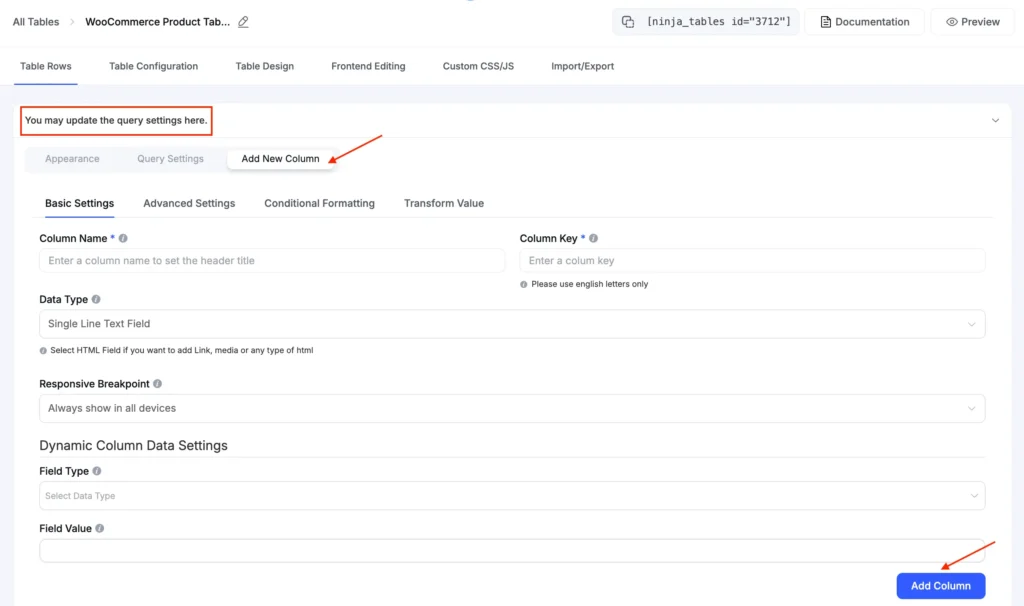
With Ninja Tables, you can add a new column to the WooCommerce table.
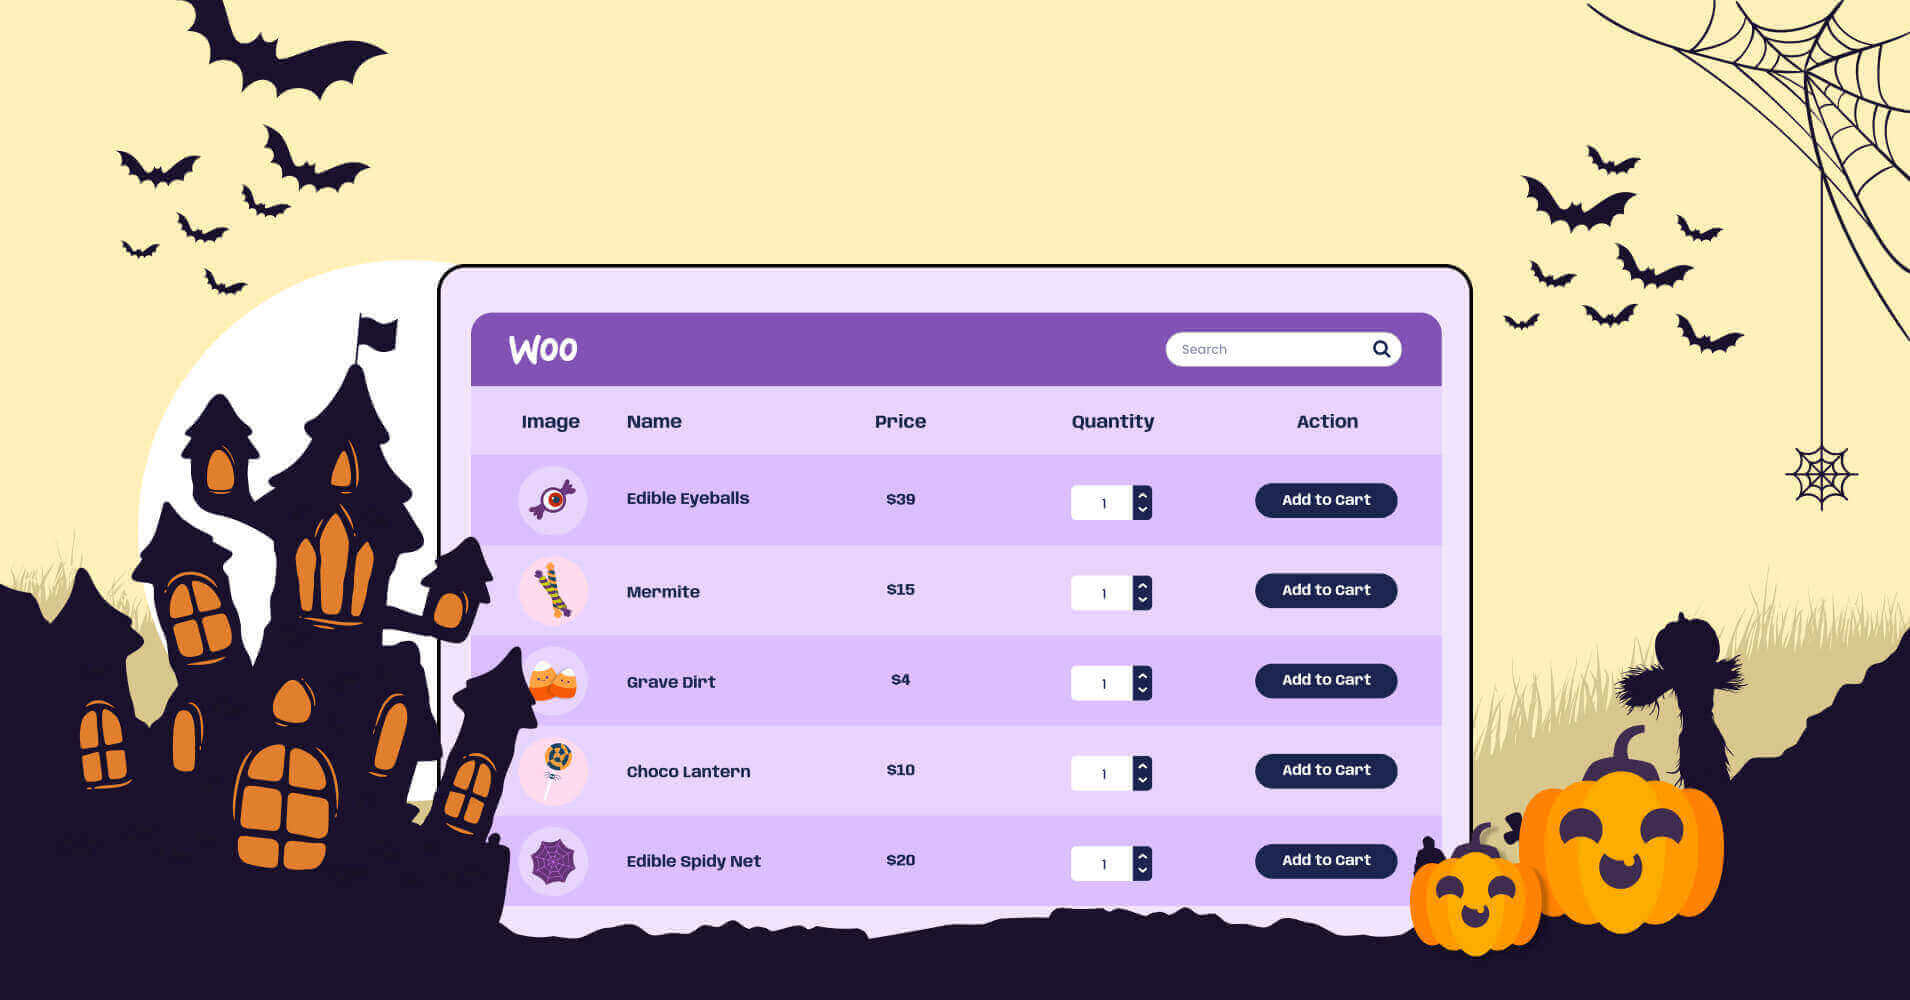
Here’s an example of product table for WooCommerce business by Ninja Tables:
| Image | Name | Category | Price | Choose | |
|---|---|---|---|---|---|
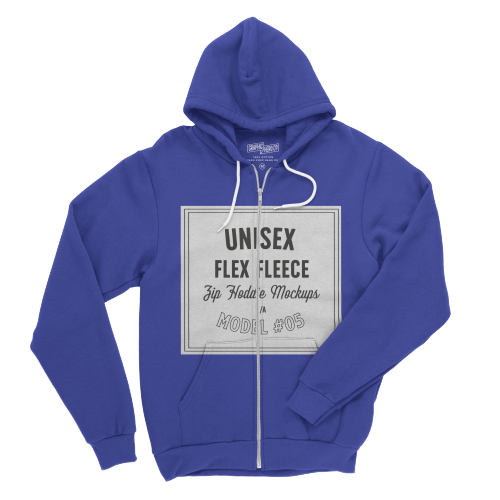 | Blue Hoodie (Zipper) | Hoodies | Original price was: $40.00.$35.00Current price is: $35.00. | | |
 | Hat | Hat | Original price was: $20.00.$15.00Current price is: $15.00. | | |
 | T Shirt | Half sleeve | $45.00 | | |
| T-Shirt with Logo | Tshirts | Original price was: $10.00.$8.00Current price is: $8.00. | | ||
| Beanie with Logo | Accessories | Original price was: $20.00.$18.00Current price is: $18.00. | | ||
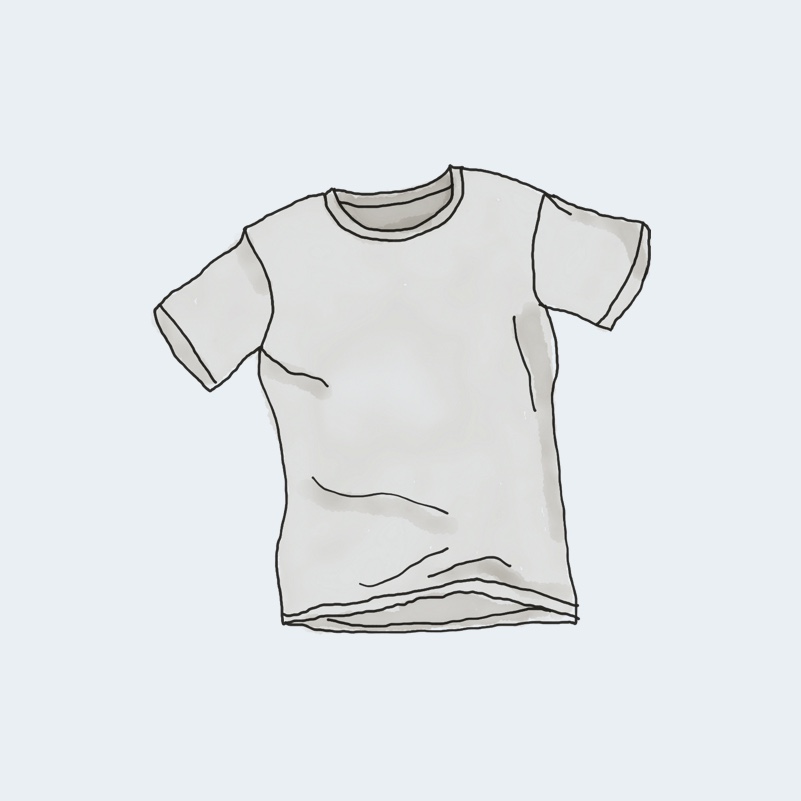 | T-Shirt | Tshirts | $18.00 | | |
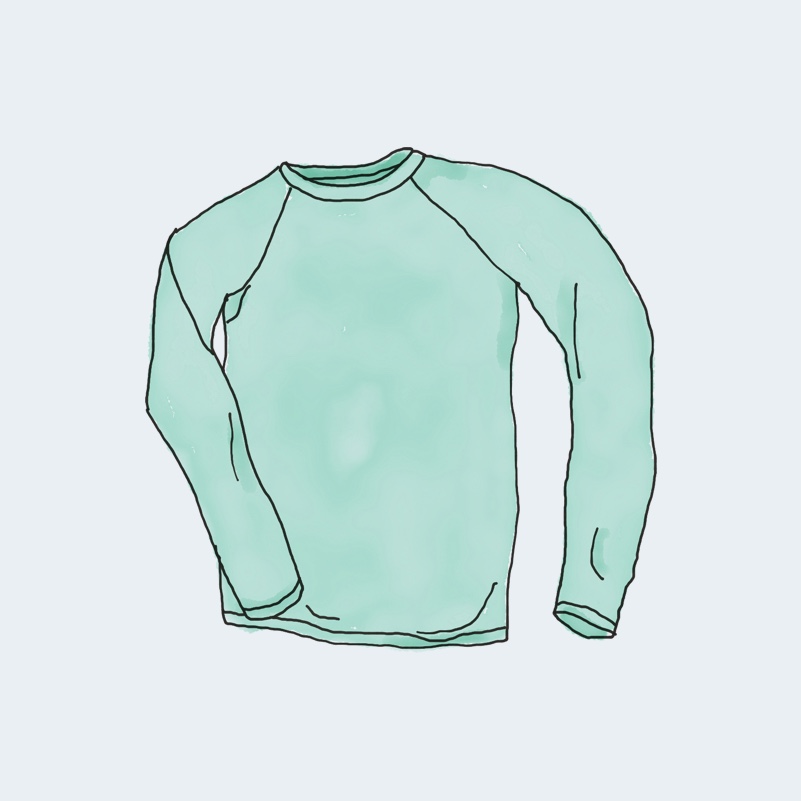 | Long Sleeve Tee | Tshirts | $25.00 | | |
 | Polo | Tshirts | $20.00 | | |
| Hoodie with Logo | Hoodies | $45.00 | | ||
 | Hoodie with Pocket | Hoodies | Original price was: $45.00.$35.00Current price is: $35.00. | | |
 | Hoodie with Zipper | Hoodies | $45.00 | | |
 | Beanie | Accessories | Original price was: $20.00.$18.00Current price is: $18.00. | | |
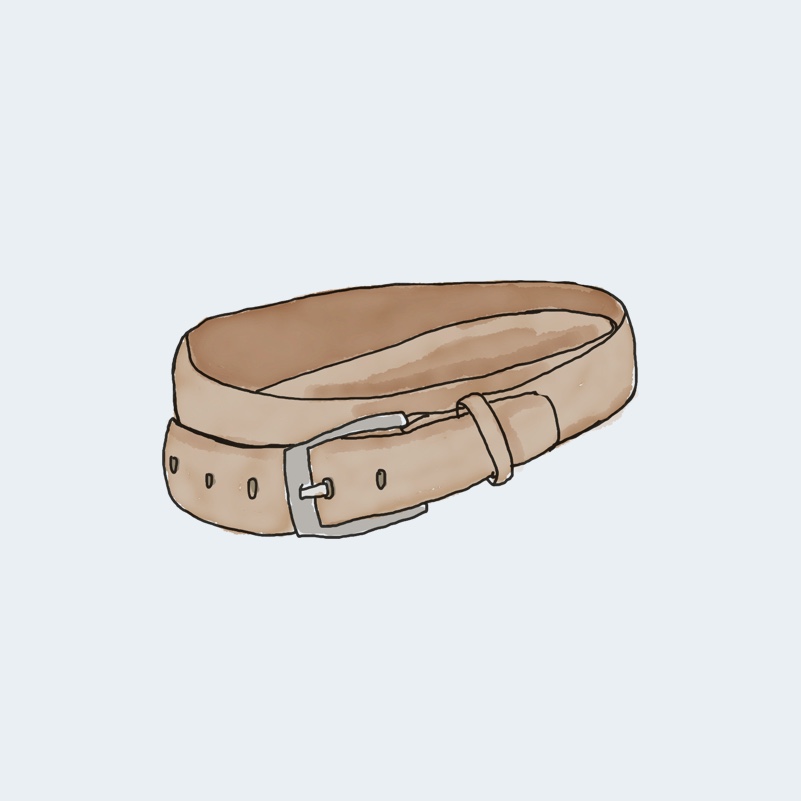 | Belt | Accessories | Original price was: $65.00.$55.00Current price is: $55.00. | | |
 | Cap | Accessories | Original price was: $18.00.$16.00Current price is: $16.00. | | |
 | Sunglasses | Accessories | $90.00 | | |
 | Tank Top | Tanktop | Original price was: $45.00.$40.00Current price is: $40.00. | |
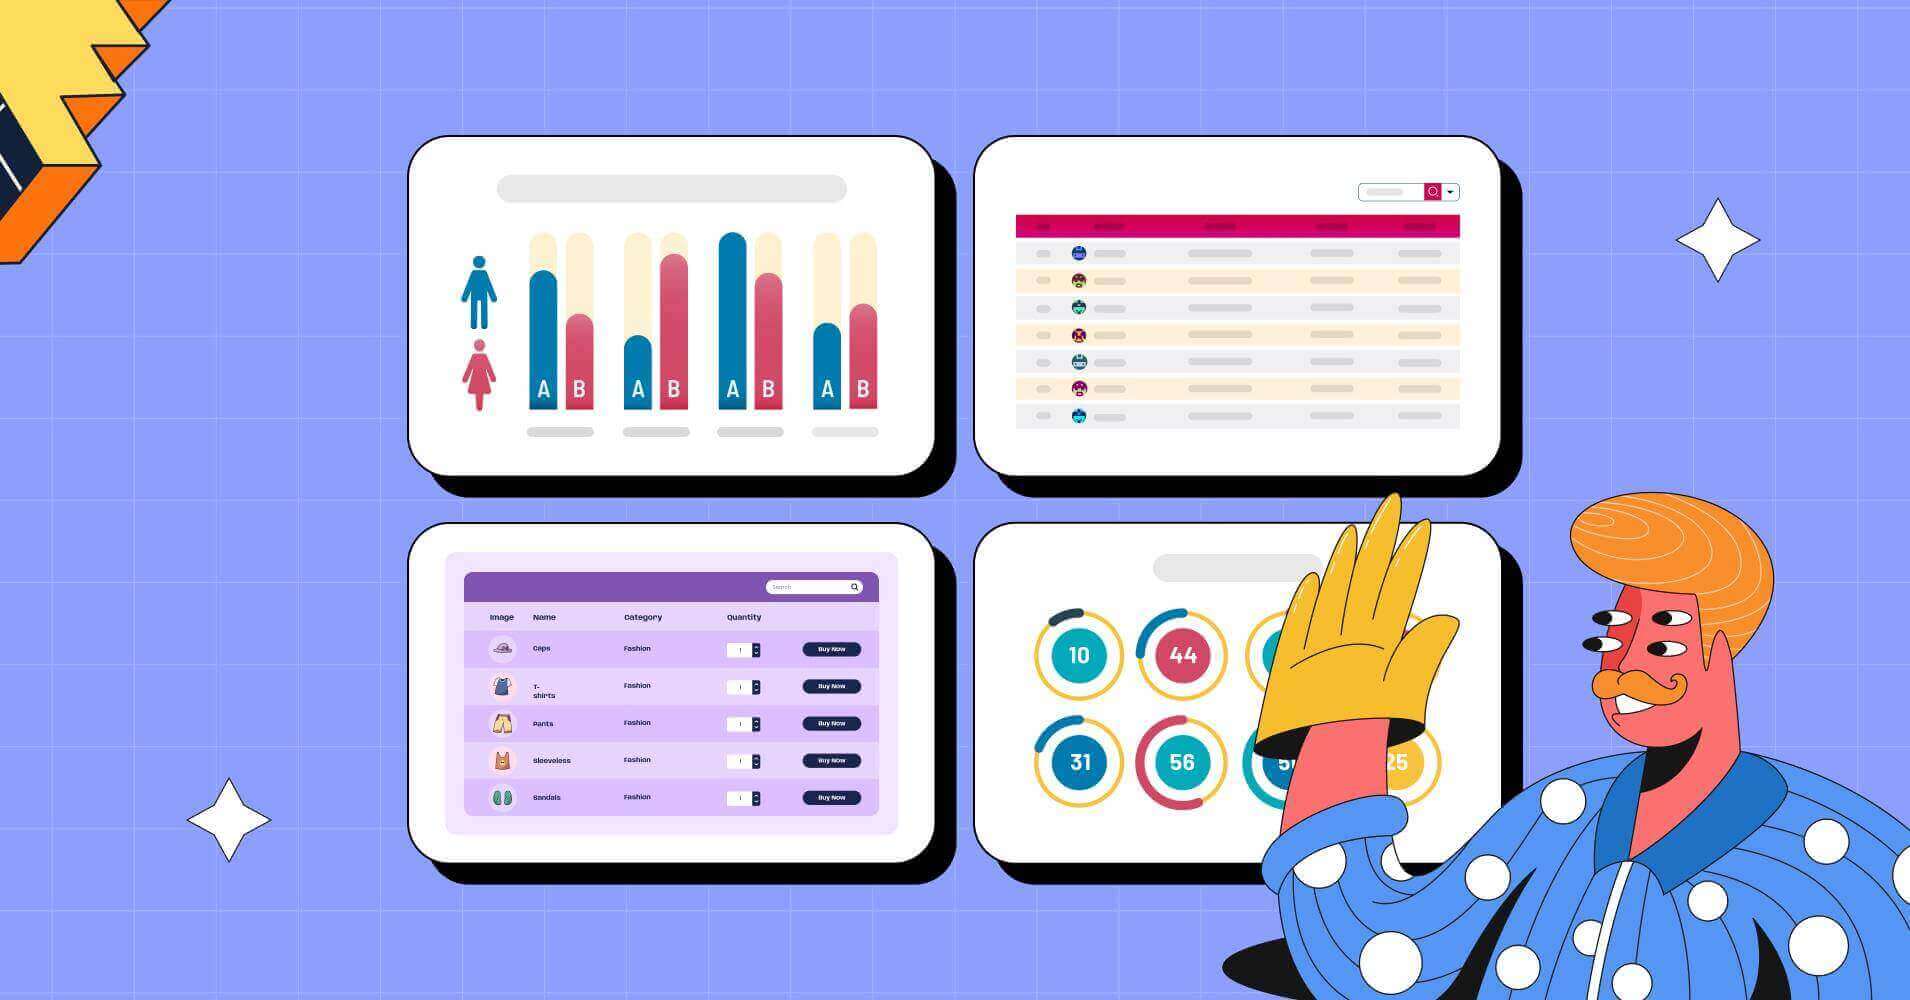
Features of Ninja Tables useful for WooCommerce stores
As a feature-rich table plugin in WordPress, Ninja Tables is nothing less of a complete package!
Here’s a list of some awesome features you can use to customize a WooCommerce products table.
- Coloring and designing the table
- Integration with Fluent Forms
- Customize default WooCommerce features
- Import-export
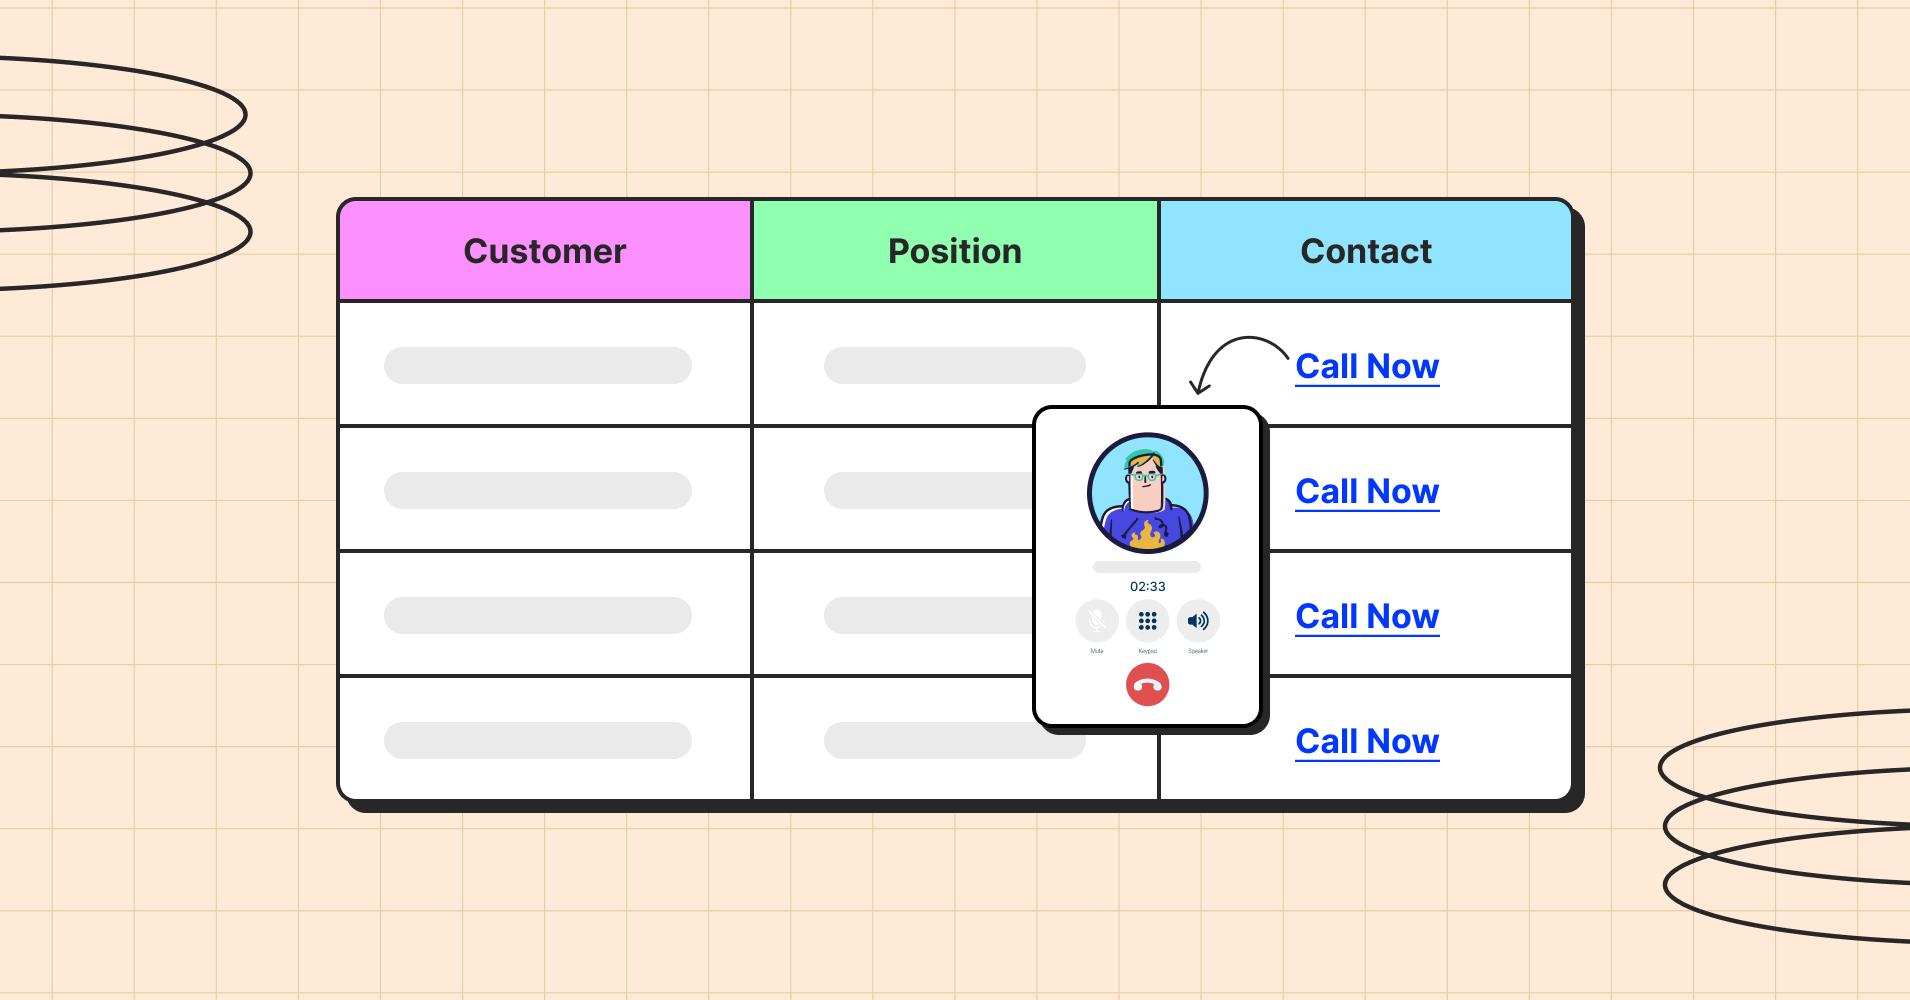
- Single-click contact
- Dynamic table data
- Changing table background for different occasions
- Apply conditions to highlight specific cells
- Custom filters
- Responsiveness
- Custom CSS/JS
- Unlimited columns and data
- Drag and drop elements
- Merge cells
Learn about all these features in short here.
New upcoming features: WooCommerce review table and product average rating column.
The list doesn’t end that fast. You can only find out more when you try this plugin yourself!
Wrapping up
Online product stores always have a targeted crowd. But that doesn’t mean you can’t upgrade how the store looks.
Give your WooCommerce store a new layout by displaying all products in a customized and organized product table.
No need to install some other WooCommerce product table plugin. Just integrate WooCommerce with Ninja Tables and make the visitors fall in love with your store once again!
📌 See the easiest way to create a WooCommerce product table(step by step)
If you’re curious, here’s a list of top 5 WooCommerce table plugins compared.

Add your first comment to this post