
WordPress WooCommerce Tutorial: Step-by-Step Guide
Around 7 million websites use WooCommerce and do billions of dollars worth of business every day. We already discussed WooCommerce’s history, pros, cons, and brief overview.
So if you want to be one of them and are looking for ways to earn money from your WooCommerce store but need help knowing where to start, put an end to your worries. This WooCommerce tutorial will teach you how to turn a WordPress website into an online store.
What is required to make a WooCommerce store?
To create a WooCommerce website from scratch, you will need the following three things.
- You will need a WordPress hosting account. All your website files will be stored here.
- The name of a domain. This is your website’s internet address.
- An SSL certificate to securely accept payments.
These things cost money. Beginners may wonder why they should pay for these services if WooCommerce is free. FYI, you have to pay for these three things to build any website-not just WooCommerce.
Which services you buy for your website will determine the total cost of your online store. Simply buying what you need will help you keep your costs under control.
You can add more when the company generates revenue. Normally, web hosting costs $7.99/per month, a domain name costs $14.99/per year, and an SSL certificate costs $69.99/per year.
Many companies offer discounts and special deals to lower these costs. For example, Cybernews provides GoDaddy promo codes so you can get the best price when purchasing domain names or hosting services.
When starting a new business, every dollar counts and this is a significant investment. So, after discussing WooCommerce requirements, let’s look at the setup process in detail.
The basics: installation and activation
Most web hosting companies offer 1-click WordPress installation. If you are using a hosting company that doesn’t host WordPress, see the step-by-step guide on how to install WordPress.
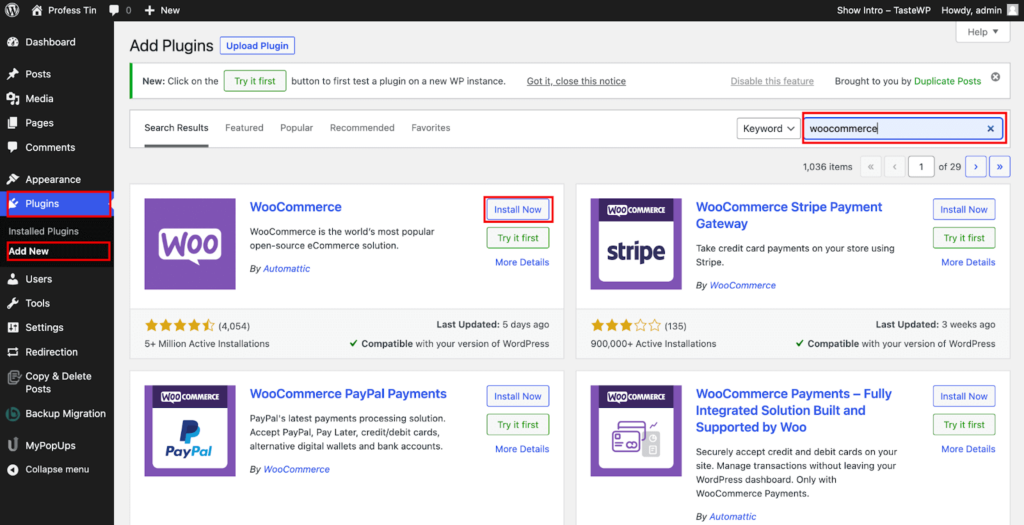
You can install and activate the WooCommerce plugin like any other WordPress plugin. The first step is to log into the WordPress admin area.
- From the WordPress dashboard, select Plugins from the left-side menu.
- Press Add New and search for WooCommerce in the search bar.
- Find WooCommerce in the results and click Install Now.
- After installation, click the Activate button.
The setup: Setting up WooCommerce
Once the Setup Wizard is launched, you will see a WooCommerce welcome message. To set up the WooCommerce store, click the purple “Yes” button.
The wizard is also available in WooCommerce -> Help -> Setup Wizard.
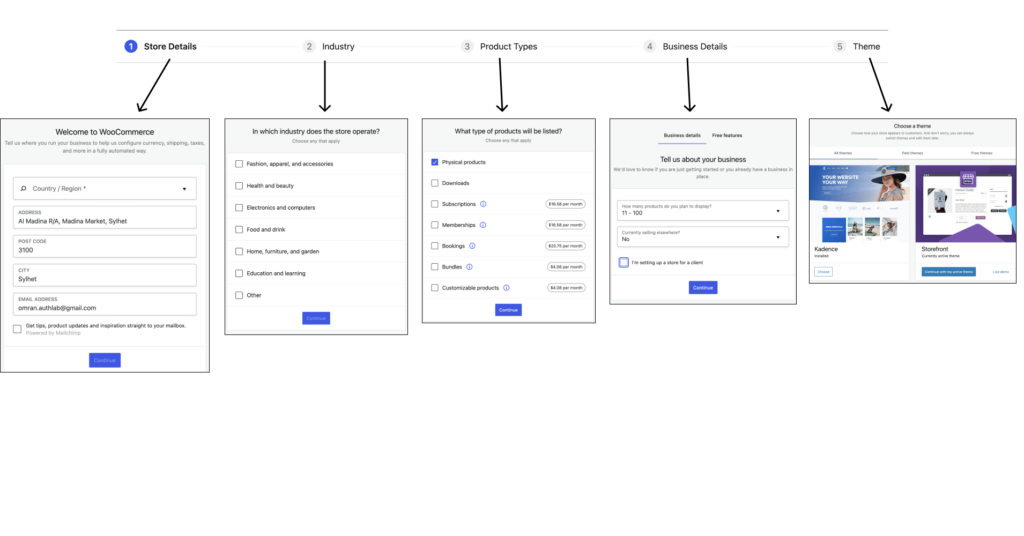
You can set it up by following the WooCommerce tutorial below:
- Enter your country, address, and zip code in Store Details.
- Identify your WooCommerce store’s industry. Be sure to check all the fields.
- Select the type of product you wish to list in Product Types.
- Add more details about your business, such as how many products you’ll display and where else you’ll sell.
- The next step is to select a Theme, which can be either paid or free theme. However, the theme can be changed later.
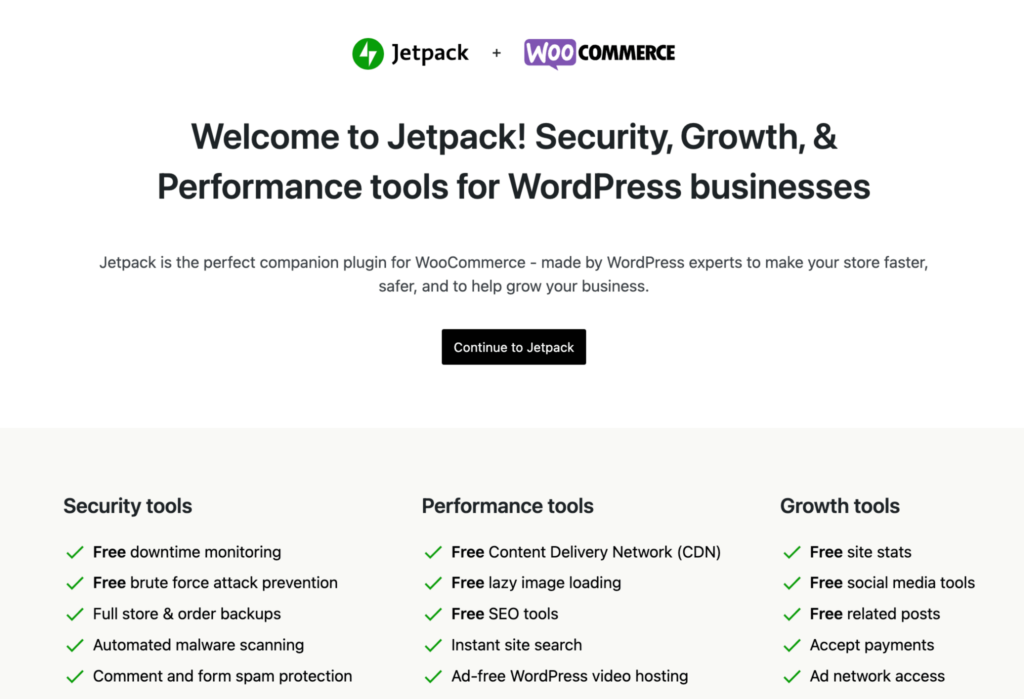
- Afterward, you’ll receive a prompt to enhance your store with Jetpack. This step is crucial if you wish to enable automated sales taxes and payment gateways.
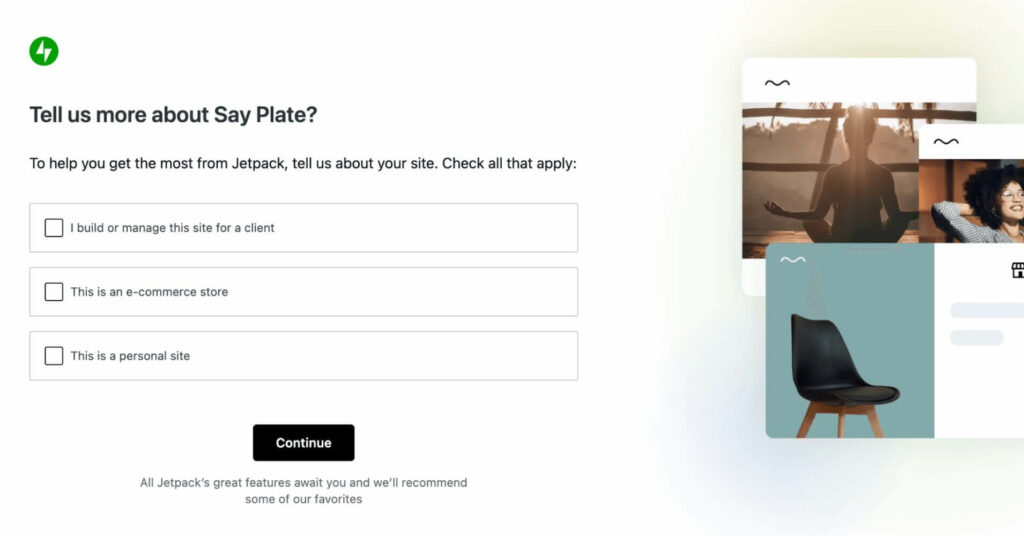
Additionally, Jetpack offers various advantages, such as enhanced security, improved speed, store monitoring, product promotion, and the ability to manage your store from your phone. To continue, simply click on Yes Please.
- To create a Jetpack account, you can enter your email address, username, and password. Alternatively, you can take advantage of the one-click registration option by logging in through your Google or Facebook account. If you choose to create a new account, you’ll be directed to the Jetpack interface. On the other hand, if you sign in, you’ll be taken to the final part of the setup process.
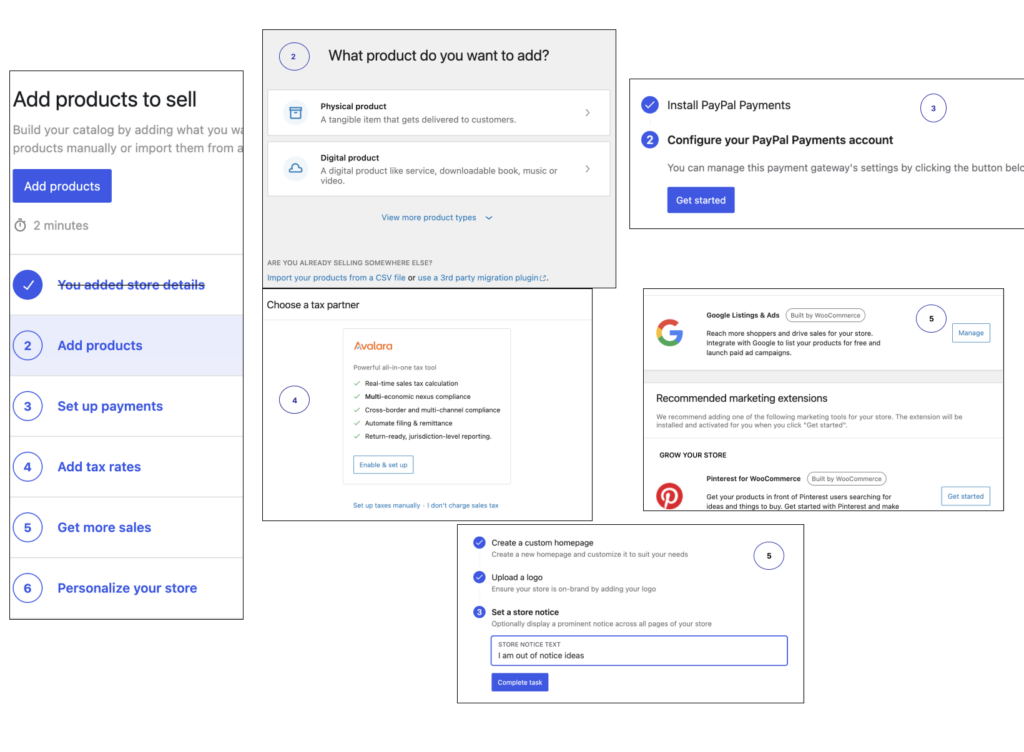
In the next setup area, click and complete the following: Add my products, Personalize my store, Set up shipping, Set up tax, and Set up Payments.
- Select Add my products to add your first product. It will let you Add manually, Import CSV files, or Migrate stores from another location.
- The next step is, to set up payments. You will have the option to choose from bank transfers, cash on delivery, PayPal, or credit cards.
- Set up tax next. Either connect your store to WordPress for automated sale tax calculation or you can set up tax rates manually.
- Get more sales to come next. Here, you can set up Google listing and ads, Pinterest, and mail poet. That’s where you have to set your marketing handles.
- Finally, Personalize your store by creating a custom homepage. Upload a logo, or change the settings on a store notice.
The products: Add new products
Adding WooCommerce products to your site is a process similar to uploading a new post on your WordPress blog. To include a new product in your eCommerce store, simply follow the steps outlined below.
- Go to the admin dashboard, and click on Products. From there, click on Add New.
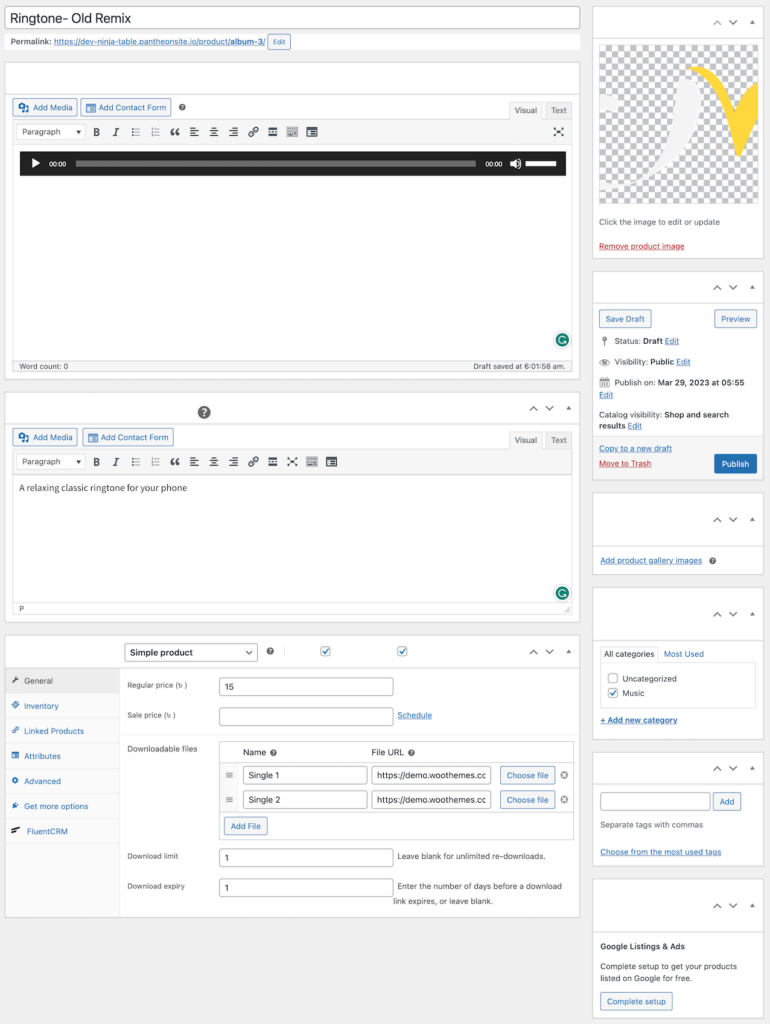
- Then, type the product name and add a detailed description including relevant information about your product.
- Navigate to the Product data section and select the appropriate product type. From there, input additional information such as price, stock and inventory, shipping, linked products, and more.
If your products are non-physical goods and do not require shipping, select the Virtual box. Alternatively, for products such as software or files, or music choose downloadable.
- Afterward, assign a price to your product and provide a brief description to appear under the product’s name.
- Add product categories from On the right side of the window. Add a new category or list it under a previous parent category.
- Product tags enable you to label your products, making it easier for customers to get them.
- The Product image area lets you upload or assign an image to your product.
- Product Gallery is the folder where you can add more images of your product.
- Once you’re done with the settings, check out Preview, Save Draft, or click Publish. Here you can also choose the visibility of your product. The default is public, and other options are password-protected and private.
Note, the catalog visibility option has the following settings:
- Shop and search results: Products will be visible everywhere in search results, categories, and shop pages.
- Shop only or Search results only: Products will show up either only on shop and category pages or only on search results.
- Hidden: Products will be visible only on the single product page, and not on any other pages.
WooCommerce product example with a featured image:
-
 Album$15.00
 -
 Product on saleBeanie with LogoOriginal price was: $20.00.$18.00Current price is: $18.00.
 -
 Product on saleBeltOriginal price was: $65.00.$55.00Current price is: $55.00.
WooCommerce product fundamentals
It is essential to have basic knowledge of product categories, attributes, and types.
Product category
Categorizing your products can simplify the buyer’s journey. For example, if you specialize in apparel, you could organize your products into categories such as top wear, bottom wear, and nightwear.
This makes it easier for shoppers to find products in the same category without hassle. You have the flexibility to create any number of categories you need and make changes to them at any time.
Attributes
You can facilitate the selection process for your customers by filtering products based on attributes such as size, color, fabric, and customer preferences.
This allows them to easily find the products they want. You can choose to assign attributes to individual products or set up a universal attribute for your entire website.
Product types
WooCommerce offers predefined product types that can save your customers time while shopping. These product types include:
- Simple: This refers to a stand-alone product that doesn’t have any additional options and is shipped as is.
- Grouped: This type allows you to group related items, such as a dozen shot glasses, for sale as a single product.
- Virtual: These products don’t require shipping as they are not physical, like services.
- Downloadable: This refers to digital products that can be downloaded, such as songs, images, videos, and eBooks.
- External: These products are advertised on your website but are sold elsewhere.
- Variable: These products have variable attributes such as sizes, colors, and more. For instance, clothes, shoes, and custom mugs.
The management: how to manage your WooCommerce store
In the WooCommerce tutorial, you previously configured basic settings for your online store. However, there are more options available in the new WooCommerce tab.
You can access this tab to view orders, coupons, and reports, as well as customize settings and add new extensions. Let’s go through each screen one by one.
Order: The Orders page displays a list of recent purchases on your store, and it’s where you can find out what products you need to ship and the status of your orders if you sell physical goods.
Coupon: The Coupon tab enables you to add new coupons to your e-commerce store. You can edit the coupon’s basic information such as its value, type, free shipping options, expiry date, and usage restrictions.
Report: The Reports tab allows you to view charts and graphs of your sales, orders, and shipping costs over different periods. You can export all of this data as a CSV sheet if needed.
Settings: In the Settings screen, you can customize almost every aspect of your e-commerce store. You can tailor elements such as the placement of your thousands separators, the entire checkout process, email options, and much more to meet your needs. The General tab covers your store’s basic information such as its currency, selling locations, and display options.
Tax: The Tax tab, which is only available if you enable tax rates and calculations, allows you to configure taxes for your products. You can also customize how taxes will apply to shipping costs, and even determine whether they’ll be rounded.
Products: In the Products tab, you can customize your product data, including measurements, reviews, stock details, download methods, and add-to-cart buttons.
The Shipping tab allows you to configure your shipping zones and pricing, customize how shipping is calculated, and restrict your store availability to specific countries.
Payment: The Payments tab shows you what payment processors are available and active on your store, where you can enable and disable payment options.
Account and privacy: The Accounts & Privacy tab controls various aspects of your customer’s experience, such as setting up privacy and checkout policies, configuring how customer data will be stored and retained, and more.
Under the Guest checkout and Account creation sections, you can determine whether visitors will be able to place orders as guests and if they’ll have the option to log into and/or create a new account during the checkout process.
WooCommerce emails: In the Emails tab, you can customize email notifications that are sent through WooCommerce in response to specific triggers.
You can enable/disable them, as well as customize their contents, or even create your custom email templates. In the Advanced tab, you can enable the REST API, and configure it.
WooCommerce Advanced: Customizing your store
WordPress is widely considered the most popular Content Management System (CMS) globally, partly due to its supportive community. The platform boasts thousands of themes and tens of thousands of plugins, all user-contributed.
While WooCommerce, a popular eCommerce plugin for WordPress, may have a smaller community, there are still numerous tools available to customize your online store.
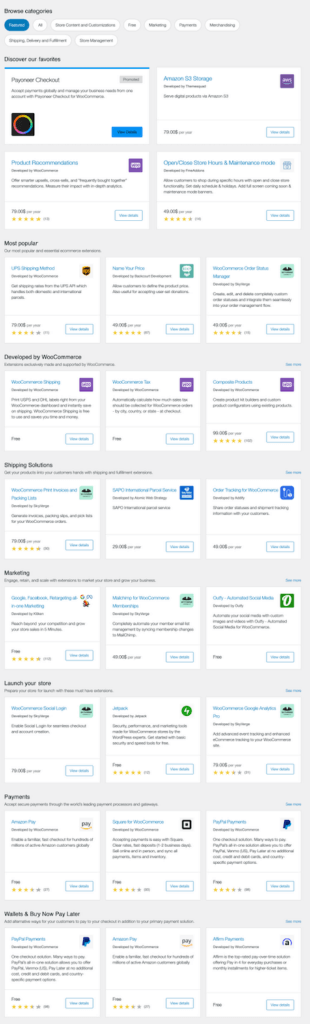
In the WooCommerce Extensions tab and other directories, you can find a variety of options to expand your store, add new features, and personalize its appearance.
Ninja Tables
Ninja Tables is a table builder plugin that can make almost every kind of table for WordPress websites. It is deeply integrated with WooCommerce. You can create a WooCommerce product table effortlessly with it. Even you can customize your tables more effectively.

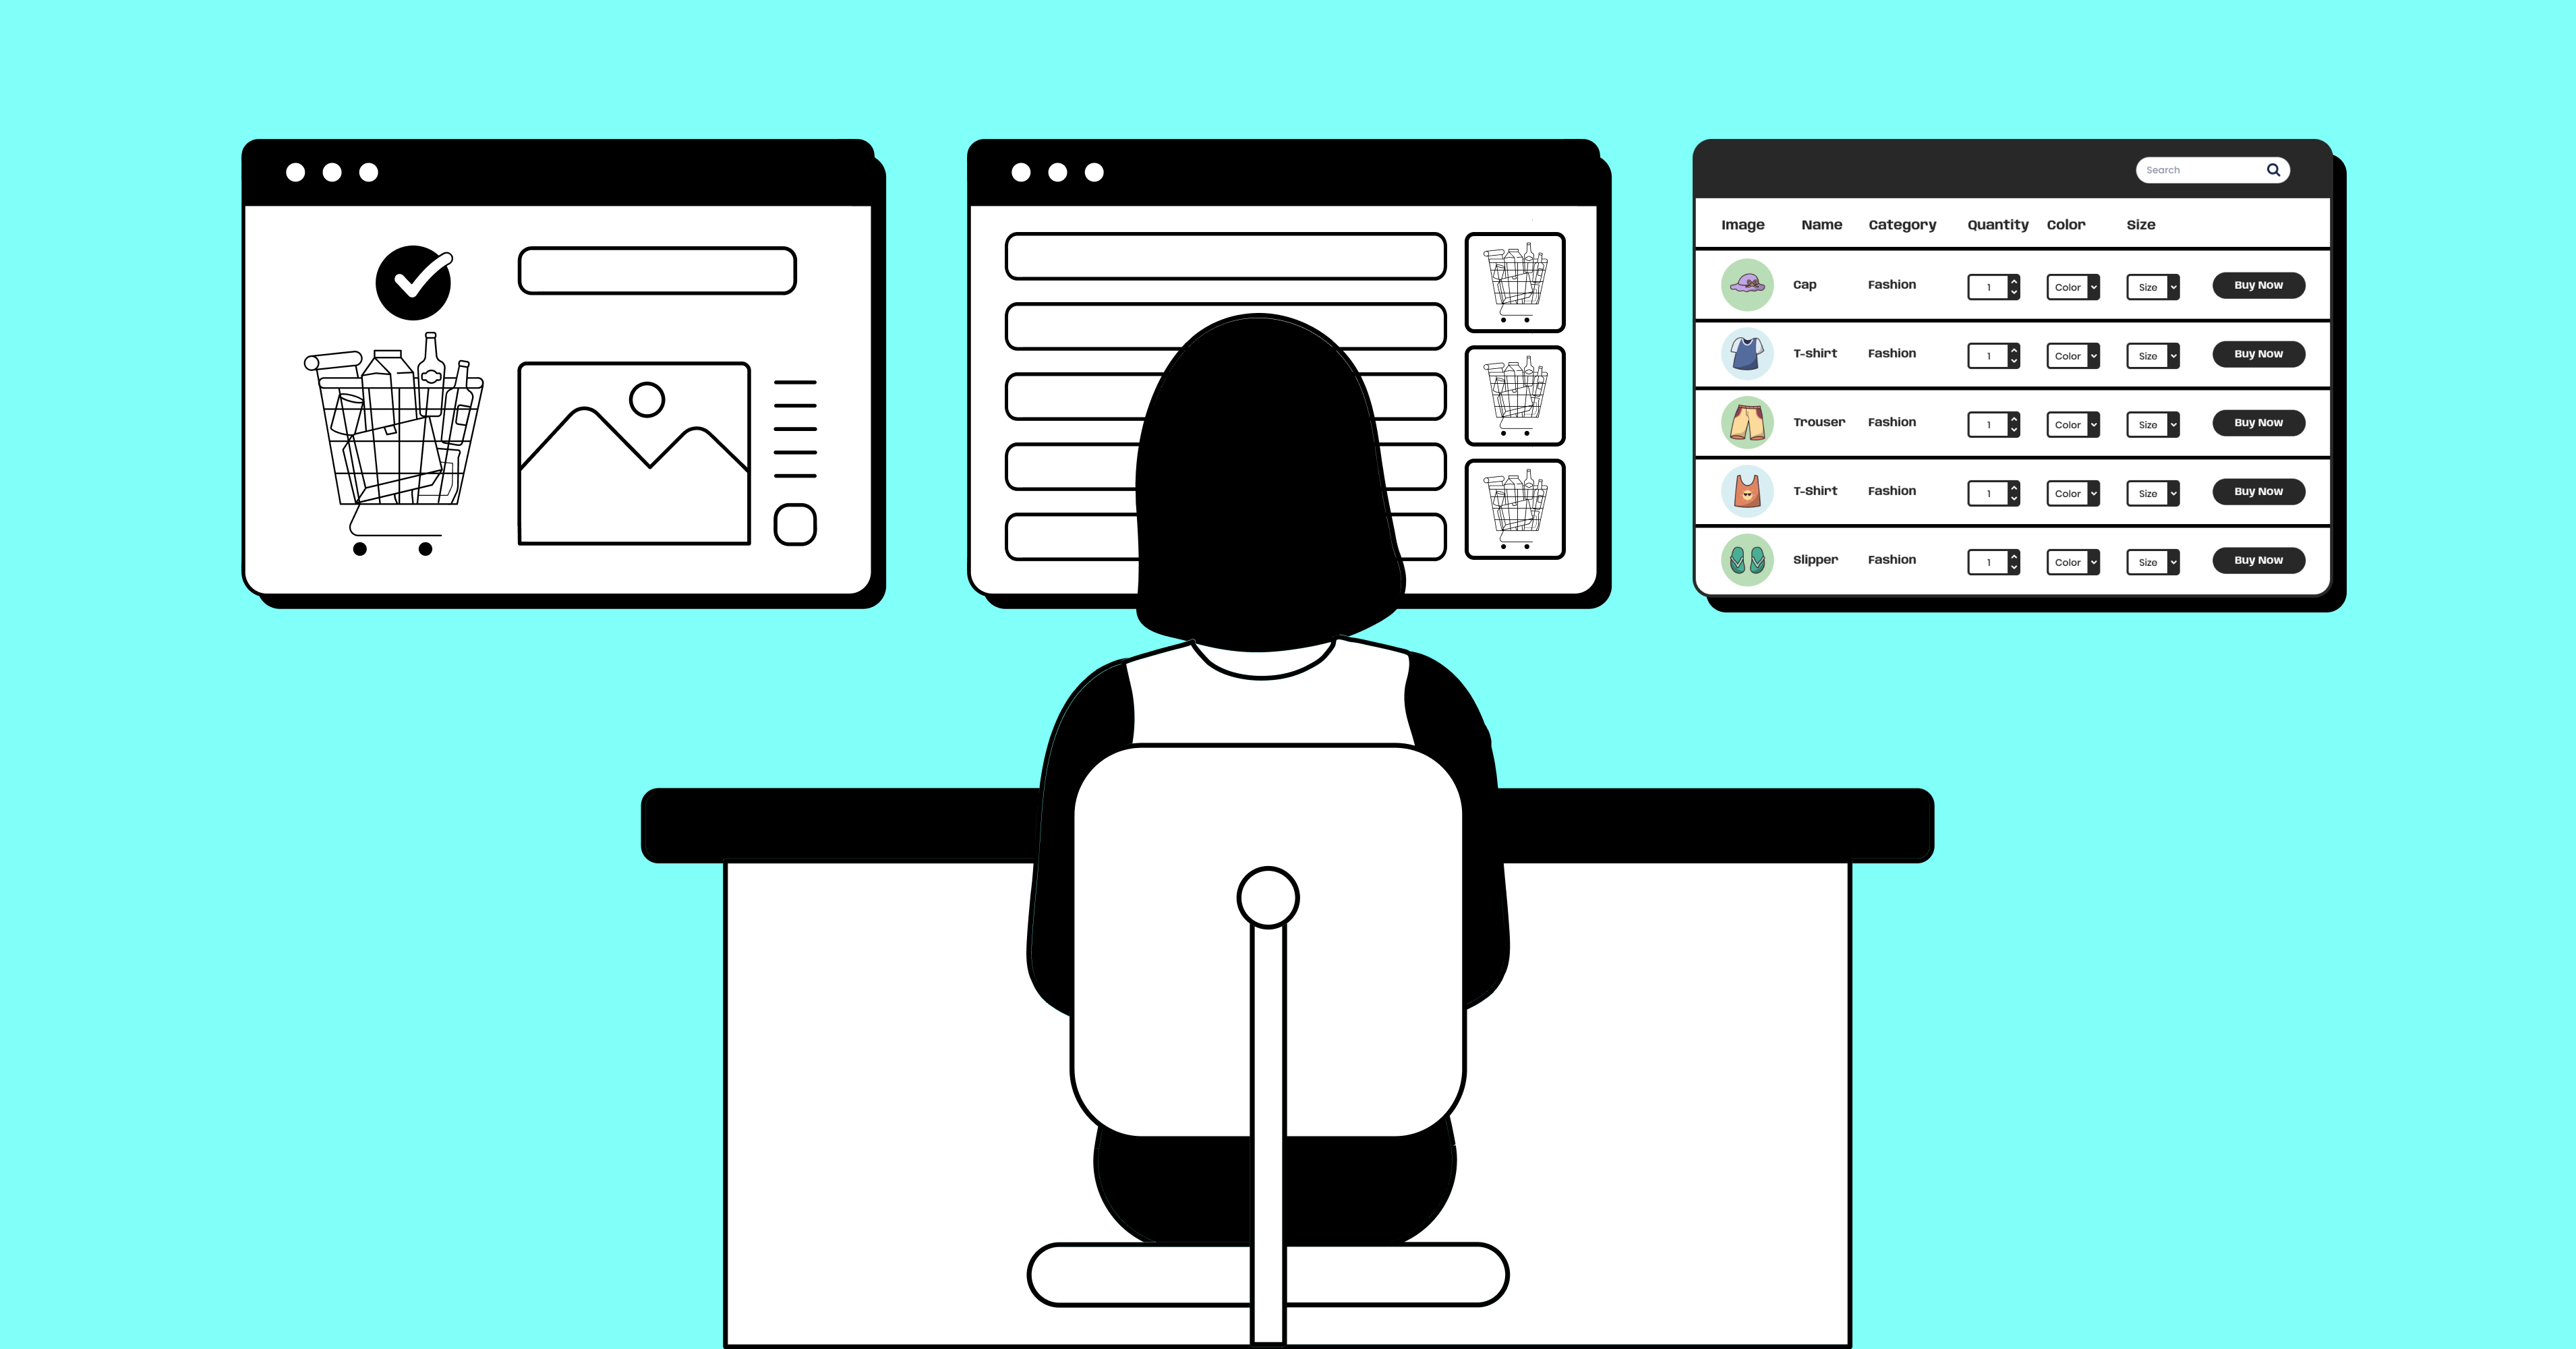
Best Way to Show
WooCommerce Product Table
You can explore the WooCommerce extension store, which includes third-party and developer-created options for extending your store. These extensions range from new shipping options to payment processors like Square and Amazon Pay.
Furthermore, many plugins, such as the Ninja Tables For WooCommerce plugin, are designed to augment WooCommerce functionality in various ways. With such a wide array of options available, you can likely modify any aspect of your WooCommerce store by identifying the right tool.
Check out some WooCommerce store design examples for inspiration and start your own!
ThriveDesk
ThriveDesk is a fully cloud-hosted, high-speed helpdesk platform designed to integrate effortlessly with WordPress. Forget about database maintenance or complex configurations—ThriveDesk makes customer support management simple and efficient.
Unlike other WordPress helpdesk plugins that depend on external live chat tools, ThriveDesk offers an integrated live chat system. Activate it instantly, either on your website or within the plugin dashboard, for seamless communication.
Core Features
- Cloud-Hosted with WordPress Integration: Leverage cloud-based hosting combined with native WordPress compatibility for a smooth, hassle-free experience.
- Unlimited Support Agents: Add as many team members as you need without additional costs.
- Shared Inbox and Ticketing: Organize multiple inboxes and streamline ticket management across departments.
- AI-Powered Live Chat: Deliver real-time support with a built-in AI-enhanced live chat system.
- Neo – AI Copilot for Support: Empower your team with Neo, an AI assistant that provides intelligent support recommendations.
- Customizable WP Portal: Embed a help center directly into your WordPress site to elevate user support.
- WooCommerce and Plugin Integrations: Seamlessly integrate with popular tools like WooCommerce, SureCart, FluentCRM, Freemius, and others.
Areas for Improvement
- Mobile App: Currently, a dedicated mobile app is unavailable.
- Advanced Reporting & Integrations: Reporting capabilities and third-party integrations are limited at this time.
Pricing
- Free Version: ThriveDesk does not offer a free plan.
- Pro Plans: Pricing ranges from $9 to $99 per month, with unlimited agents included in all tiers.
Wrap-Up
So, that was all for today. We tried to cover all the extensions and setup processes. Hopefully, now you will be able to set up WooCommerce easily after reading this. Let’s list what is needed for opening a WooCommerce store,
- Domain, Hosting, SSL
- WordPress
- WooCommerce
- Jetpack
- Payment method(Paypal account)
- Products, finally.
Those are the basic things you will need to launch a WooCommerce store. All of them are free except for domain, hosting, and SSL.
We will come back with WooCommerce inventory management. If you face any problems or anything installing your WooCommerce store, let us know in the comment section.


Add your first comment to this post