
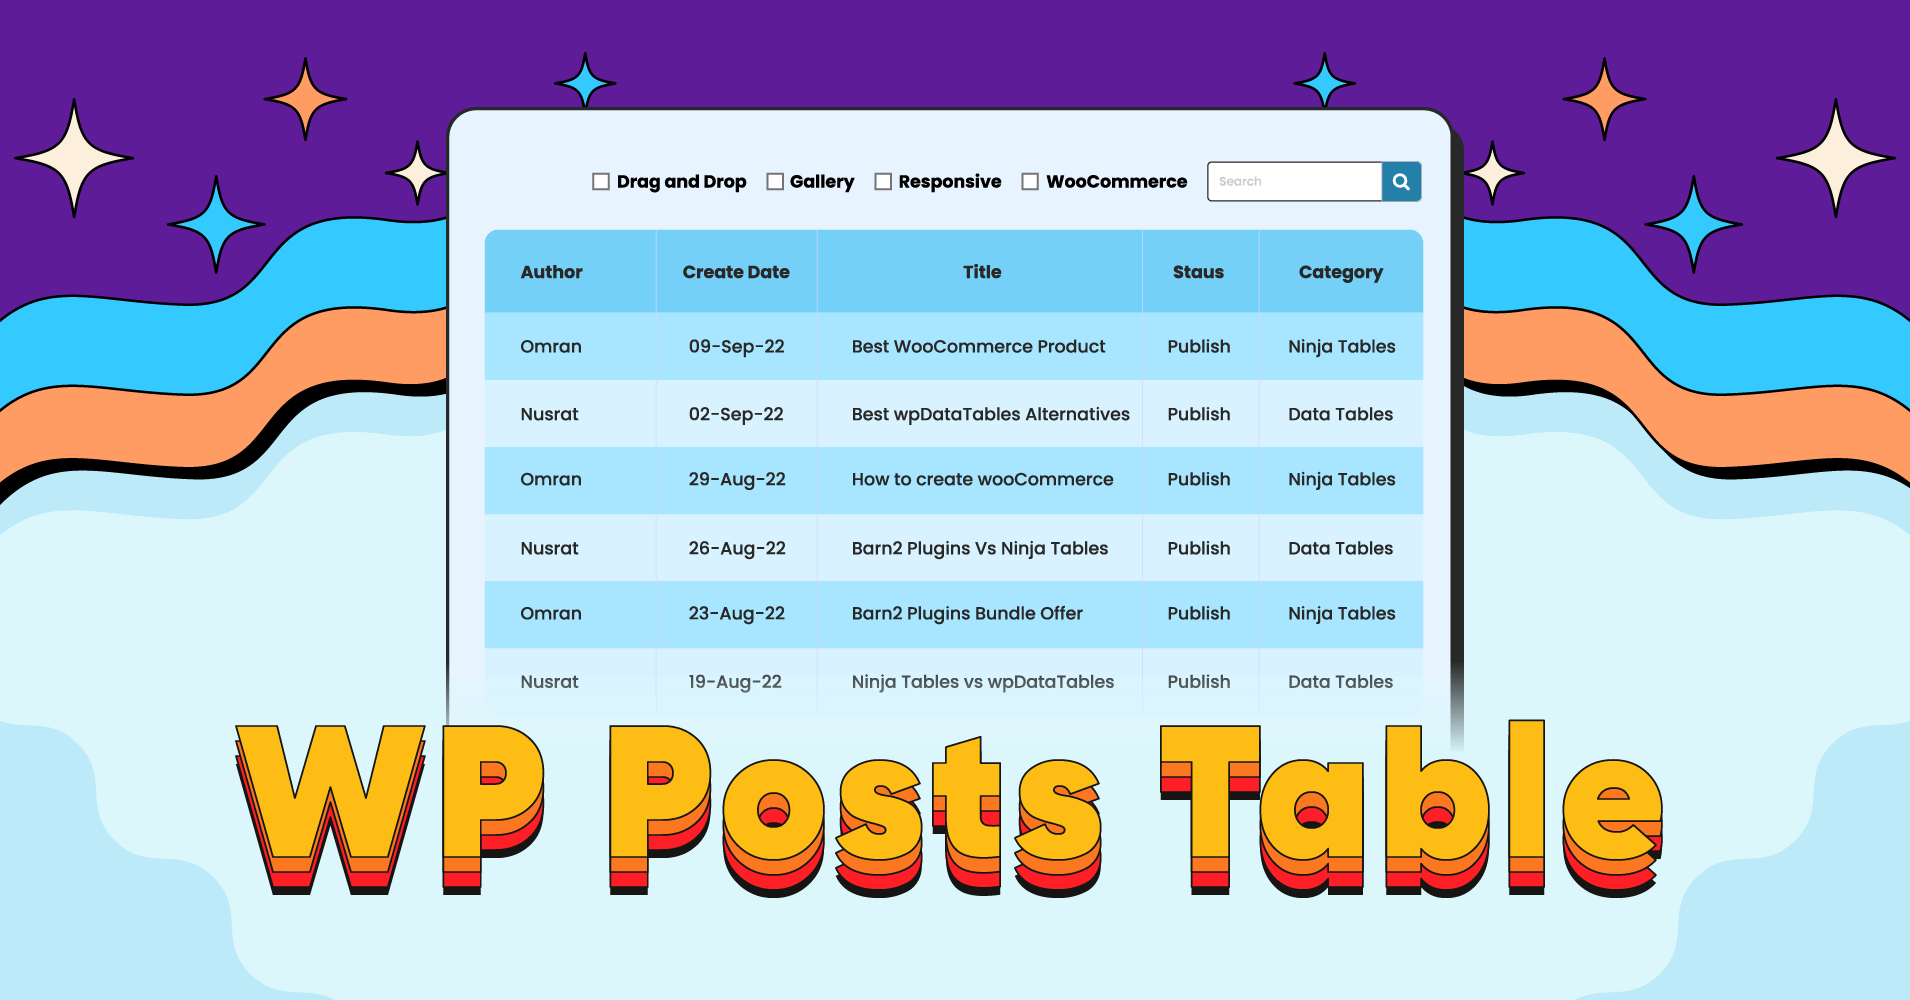
How To Create WooCommerce Product Table Effortlessly
Almost everyone who has ever started an eCommerce business had to suffer one common headache- adding and managing hundreds, if not thousands of products. Yes, having a wide range of products to sell is a blessing, but setting it up and catering the products to the right audience can be a hassle.
Not just that. Your shoppers leave your e-commerce store without making a purchase more times than you think. A major reason behind that is not being able to find the product they are looking for, products you are actually offering to sell!
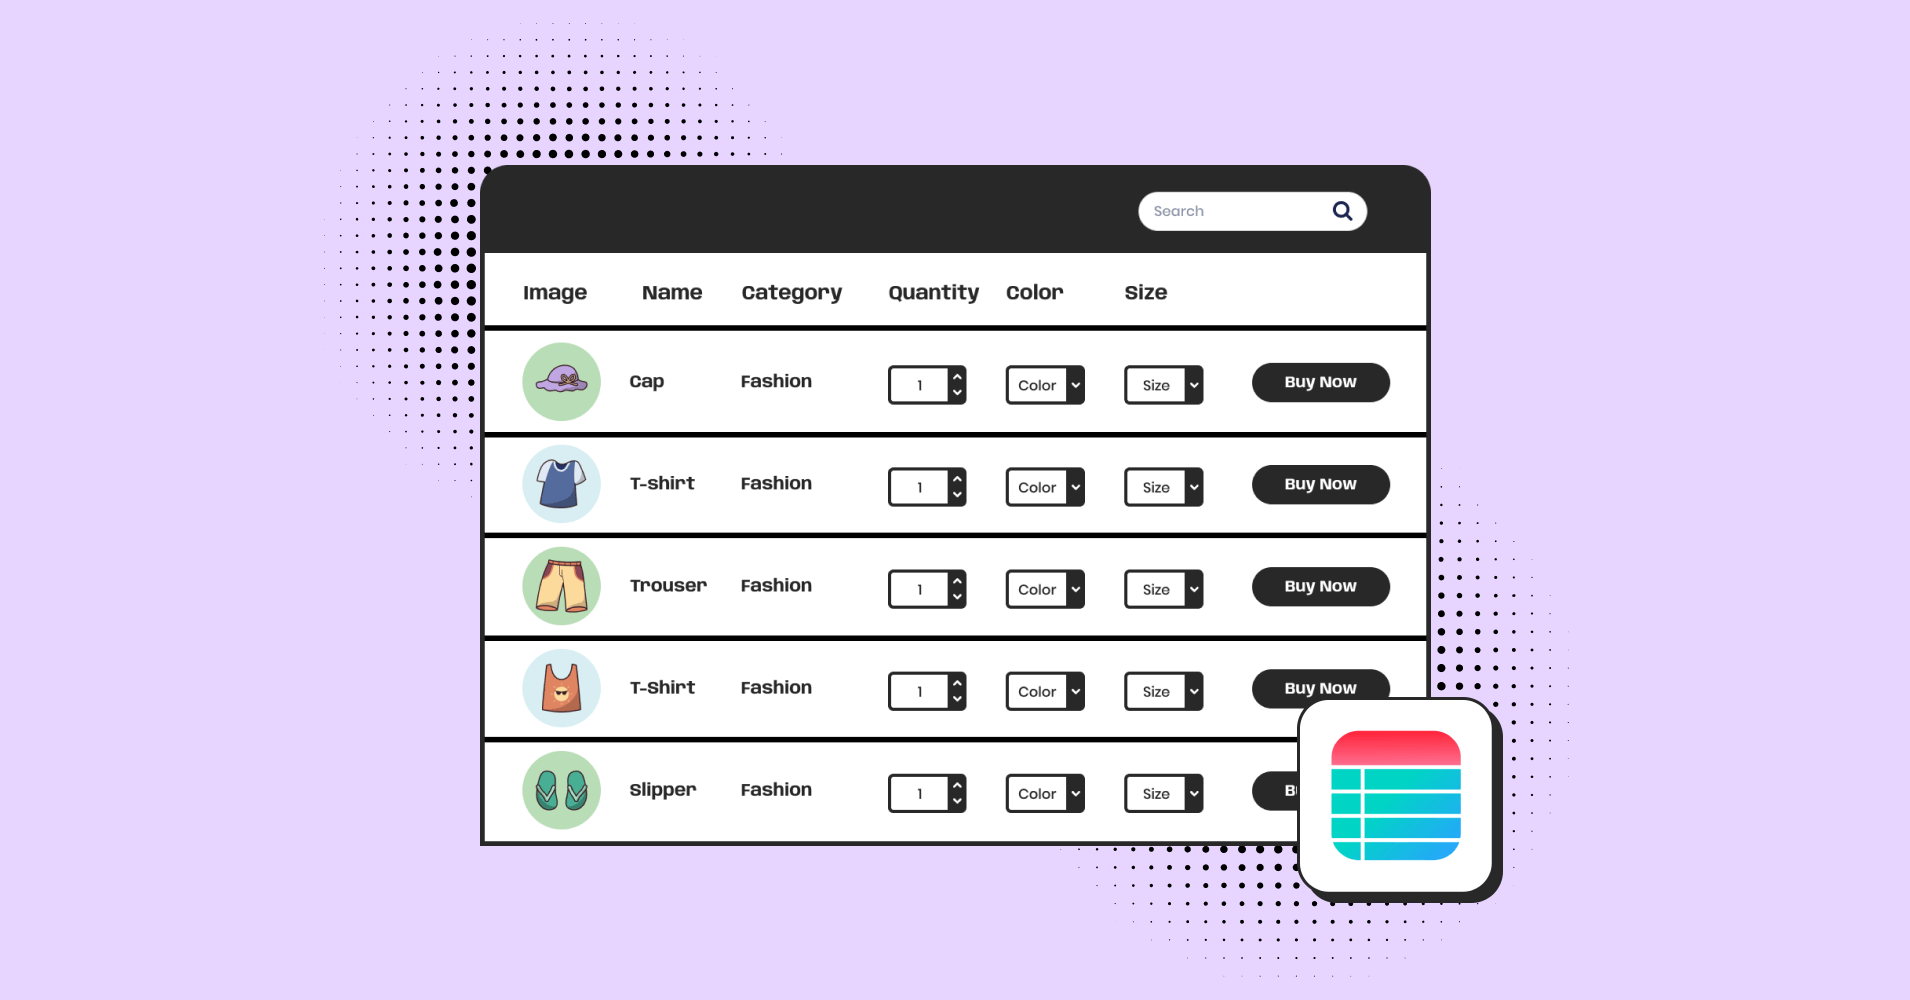
Wouldn’t it be great if the end-users could sort and search through your store products like this?
| Image | Name | Category | Price | Choose | |
|---|---|---|---|---|---|
 | Blue Hoodie (Zipper) | Hoodies | Original price was: $40.00.$35.00Current price is: $35.00. | | |
 | Hat | Hat | Original price was: $20.00.$15.00Current price is: $15.00. | | |
 | T Shirt | Half sleeve | $45.00 | | |
| T-Shirt with Logo | Tshirts | Original price was: $10.00.$8.00Current price is: $8.00. | | ||
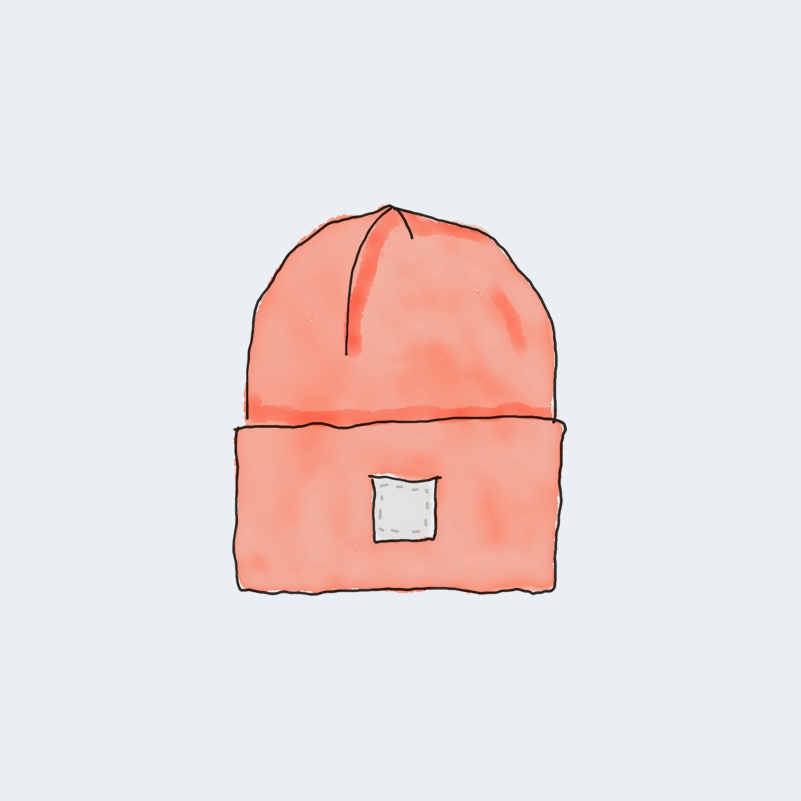
| Beanie with Logo | Accessories | Original price was: $20.00.$18.00Current price is: $18.00. | | ||
 | T-Shirt | Tshirts | $18.00 | | |
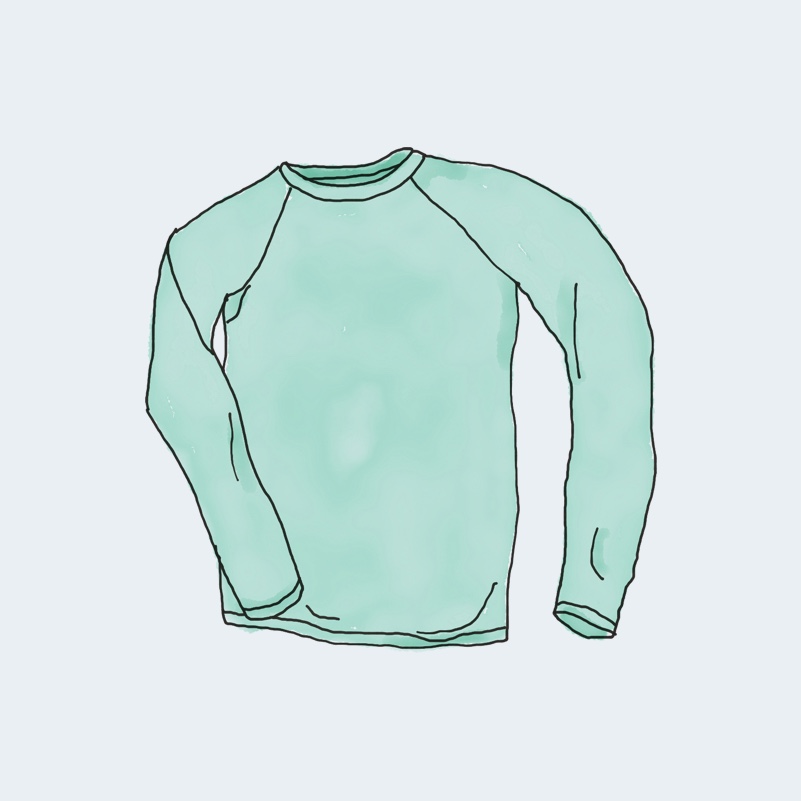 | Long Sleeve Tee | Tshirts | $25.00 | | |
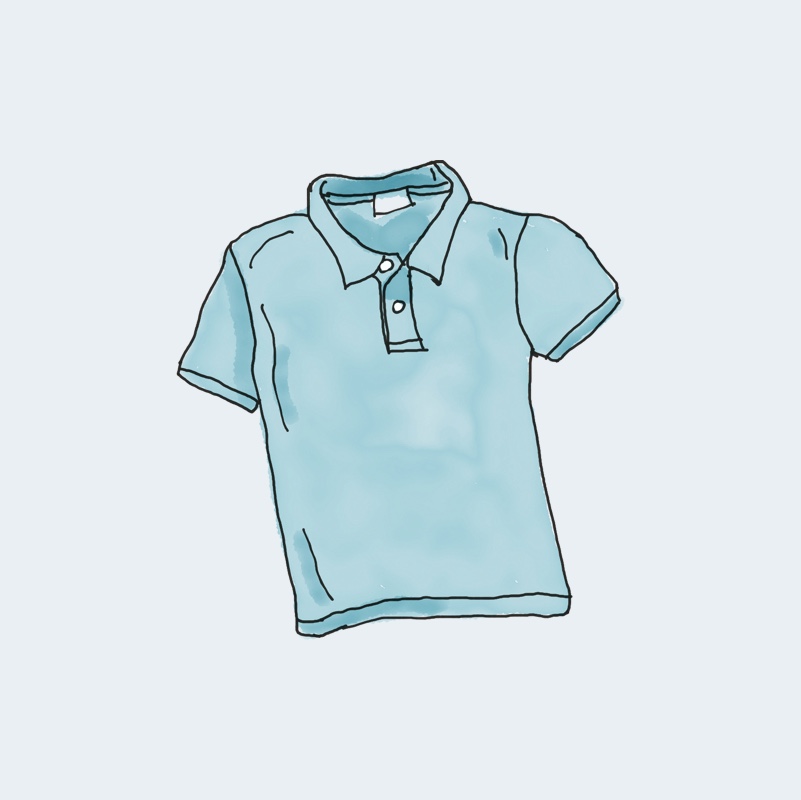 | Polo | Tshirts | $20.00 | | |
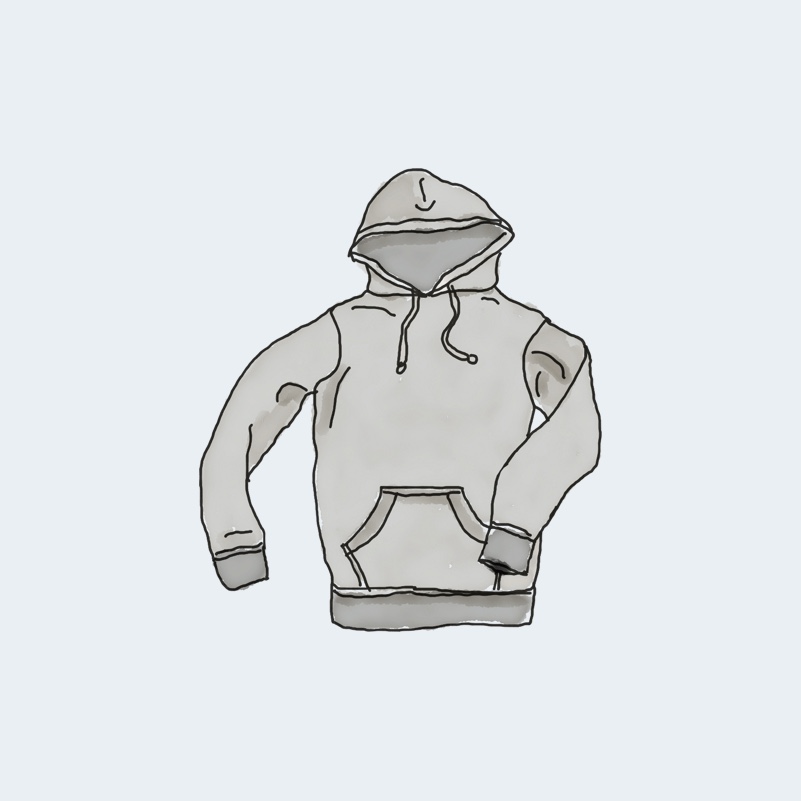
| Hoodie with Logo | Hoodies | $45.00 | | ||
 | Hoodie with Pocket | Hoodies | Original price was: $45.00.$35.00Current price is: $35.00. | | |
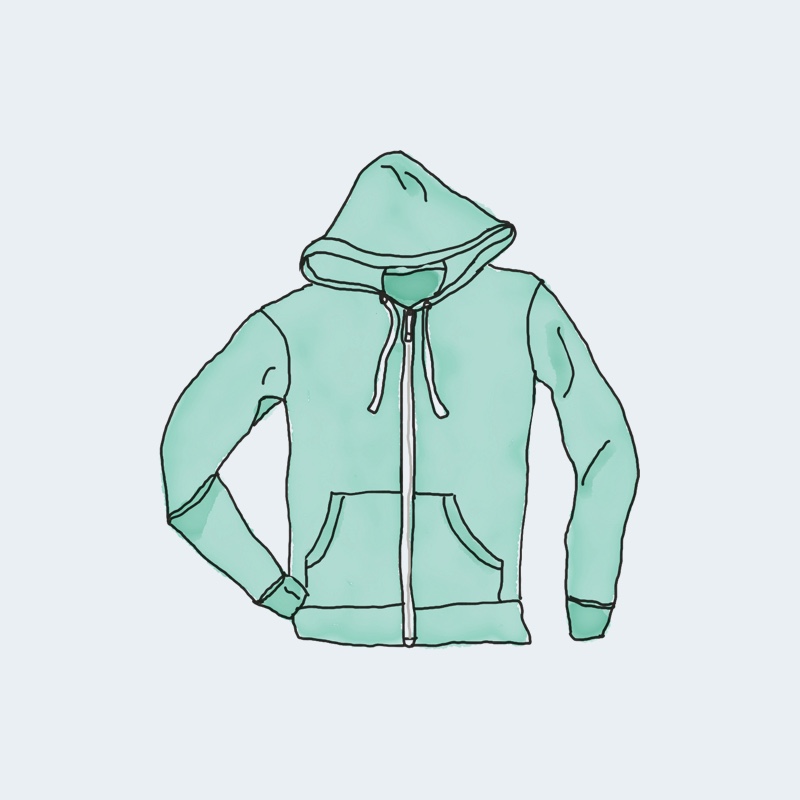 | Hoodie with Zipper | Hoodies | $45.00 | | |
 | Beanie | Accessories | Original price was: $20.00.$18.00Current price is: $18.00. | | |
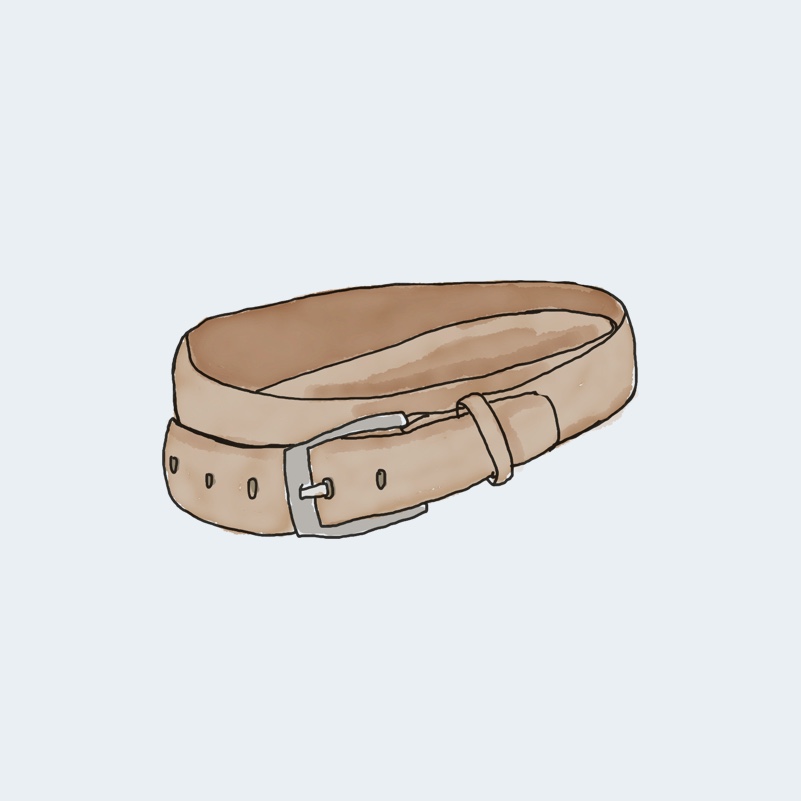 | Belt | Accessories | Original price was: $65.00.$55.00Current price is: $55.00. | | |
 | Cap | Accessories | Original price was: $18.00.$16.00Current price is: $16.00. | | |
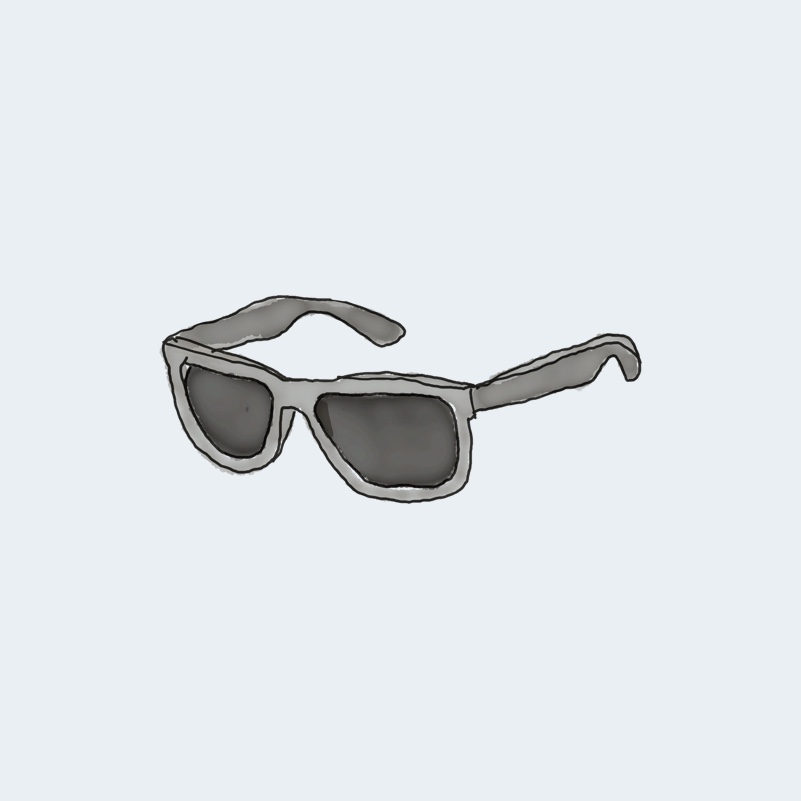 | Sunglasses | Accessories | $90.00 | | |
 | Tank Top | Tanktop | Original price was: $45.00.$40.00Current price is: $40.00. | |
Grab this Woo table template
Worry no more; Ninja Tables has got your back. Don’t waste time importing or manually entering thousands of products into custom-coded product tables. Also, relieve users from the hassle of scrolling through billions of products. Our native WooCommerce integration helps you make stunning product tables without hassle.
Create WooCommerce product tables using Ninja Tables
First, using a WordPress theme with WooCommerce compatibility is recommended. It ensures that your site will have nice styling on all e-commerce pages. Having a WooCommerce-compatible theme installed is not mandatory but highly suggested.
And then, you need Ninja Tables to execute your task. Using this plugin is a breeze. WPManageNinja has done an amazing job of providing all the options without making it overly complex to create a product table.
Follow the easy steps below to create a WooCommerce product table with Ninja Tables and add it to your site.
Step 1: Install and activate Ninja Tables
Ninja Tables installation is as easy as the other plugin installation. You must purchase the Ninja Tables Pro to create an effective WooCommerce product table.
You can go through the installation documentation to install and activate Ninja Tables. Or there is an in-depth video tutorial for this process.
Step 2: Creating a WooCommerce product table
As you have products inserted in your WooCommerce store to create a WooCommerce product table, click on the Add Table button from the top right corner of the dashboard.
A pop-up will appear with multiple table-creating options. Now, click on the WooCommerce Table from the left sidebar. You will find an input field for defining the table’s name and many product selection options.
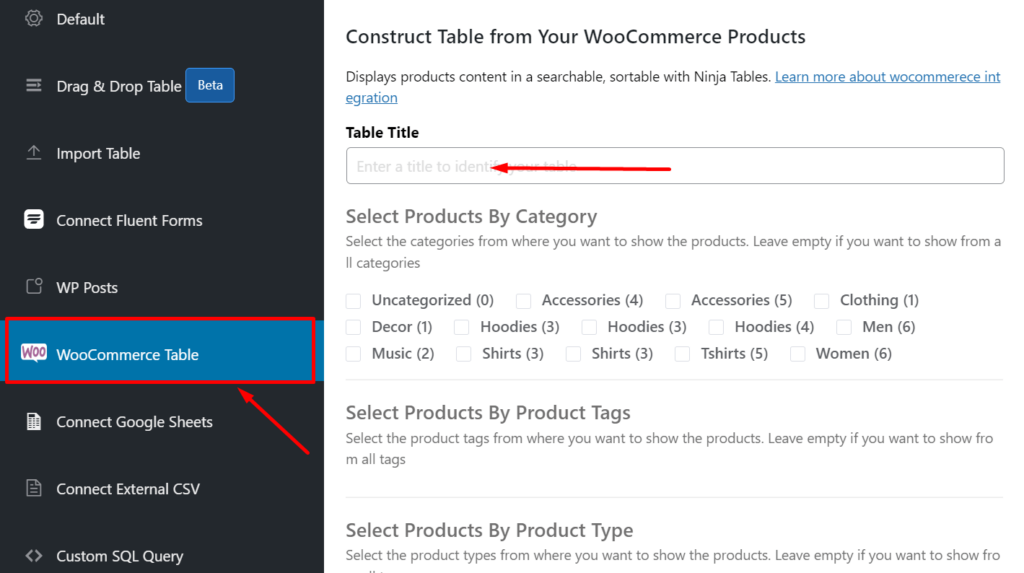
After defining the name and selecting your desired products, click on Create Product Table.
The click will take you to a product table based on your preferred configuration. Let’s look at the back end of the created table.
You have got your WooCommerce product table using Ninja Tables. Apart from the features for WooCommerce, you will get all the possible generic features available while creating a product table.
Step 3: Customizing the WooCommerce product table
The best thing about Ninja Tables is that you create a table with it and have full control over your table. Now, you can customize your WooCommerce product table easily.
Here, you have three different tabs with several options relating to the table. These will help you to enrich your table creation. You can add, delete, and edit features and functionalities using them.
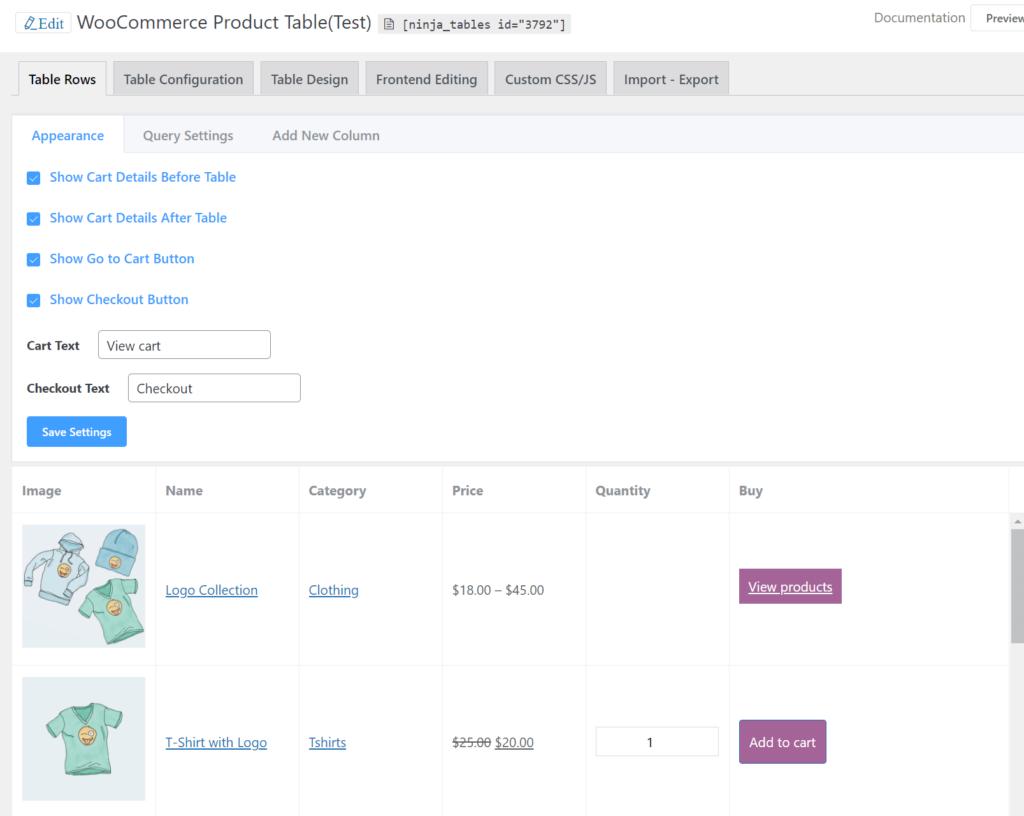
Control your table appearance
You can take control over your table appearance. There are all the options here about cart settings and texts. Just set it up as you need and press the save setting button.
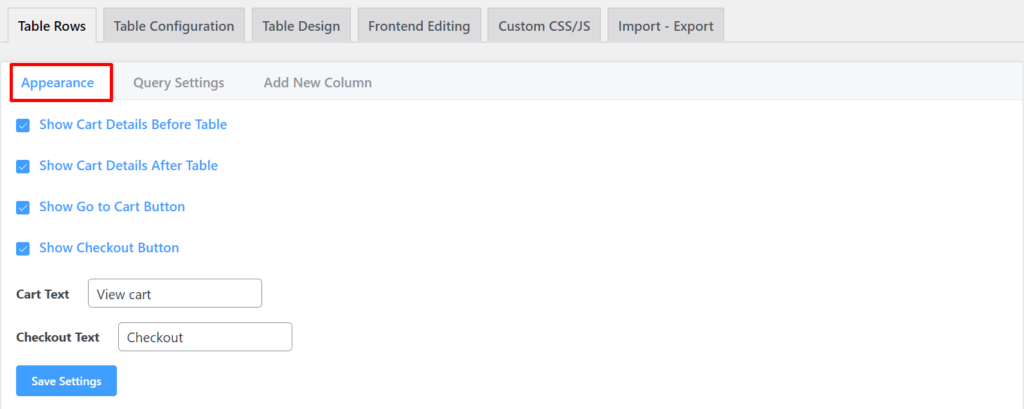
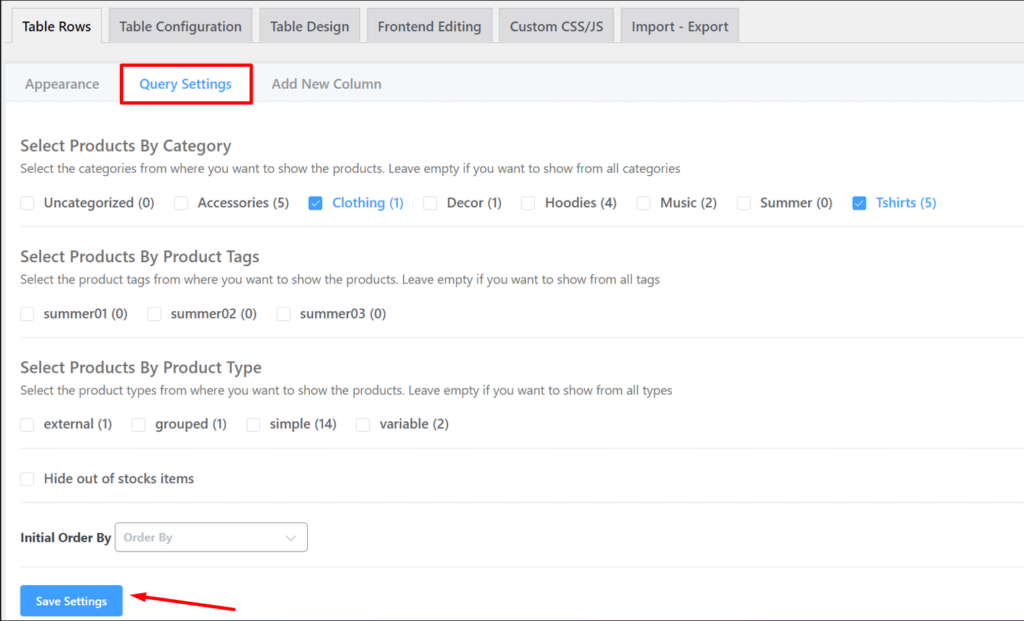
Manage your query settings
Your query settings are also easy to set up from this tab. Just sort out how you want to display the products from the category, tag, or types of your WooCommerce product table.
Add columns if you need
The third tab is Add New Column, which lets you add a new column to the existing table. You have all the necessary options there for creating a new column.

Finalize your table configuration and select the table design
From the table configuration tab, you can check your columns and data. And the table design tab lets you design your table styles from 100+ options. There are three most popular CSS libraries with complete color schema. Design your table like a pro.
Ninja tables are a lot more than those. You can make the best use of Ninja tables for WooCommerce and open the door for many potentials.
Here is one of the WooCommerce Product Tables with some sample WooCommerce products.
| Image | Name | Category | Price | Choose | |
|---|---|---|---|---|---|
| Blue Hoodie (Zipper) | Hoodies | Original price was: $40.00.$35.00Current price is: $35.00. | | |
| Hat | Hat | Original price was: $20.00.$15.00Current price is: $15.00. | | |
| T Shirt | Half sleeve | $45.00 | | |
| T-Shirt with Logo | Tshirts | Original price was: $10.00.$8.00Current price is: $8.00. | | ||
| Beanie with Logo | Accessories | Original price was: $20.00.$18.00Current price is: $18.00. | | ||
| T-Shirt | Tshirts | $18.00 | | |
| Long Sleeve Tee | Tshirts | $25.00 | | |
| Polo | Tshirts | $20.00 | | |
| Hoodie with Logo | Hoodies | $45.00 | | ||
| Hoodie with Pocket | Hoodies | Original price was: $45.00.$35.00Current price is: $35.00. | | |
| Hoodie with Zipper | Hoodies | $45.00 | | |
| Beanie | Accessories | Original price was: $20.00.$18.00Current price is: $18.00. | | |
| Belt | Accessories | Original price was: $65.00.$55.00Current price is: $55.00. | | |
| Cap | Accessories | Original price was: $18.00.$16.00Current price is: $16.00. | | |
| Sunglasses | Accessories | $90.00 | | |
| Tank Top | Tanktop | Original price was: $45.00.$40.00Current price is: $40.00. | |
This is a dummy table. No order will be placed if you select and add products to the cart.
A step-by-step tutorial video
Final Thoughts
Designing a consumer-friendly product table for your WooCommerce store is not a piece of cake. You’ll have to put serious effort into it. It might not be easy with the default options in WooCommerce.
You have to think about UX, UI, and even responsiveness when you want to stand out from the crowd.
📌 Additionally, Read Optimize WooCommerce for Higher Conversion Rates.
Here we tried to show you one of the easiest ways of making that happen. Hopefully, the article helped you create WooCommerce product tables for your WooCommerce website.
Here we tried to show you one of the easiest ways of making that happen. Hopefully, the article helped you create WooCommerce product tables for your WooCommerce website.
Ninja Tables– Easiest Table Plugin in WordPress
If you have anything to share regarding the topic, feel free to let us know in the comment section.


Add your first comment to this post