
How to Build a Membership Comparison Table for Your WordPress Course Community

If you run an online course community on WordPress, chances are the last few months have had you rethinking your whole setup. And when rebuilding, one of the first things you need is a clean way to show the membership tiers, plans, offerings, and what makes you different from competitors.
Chances are, you offer more than one membership tier. A free plan, a paid plan, maybe a premium or lifetime option. The problem is, most course site owners throw those plans onto a page with a few bullet points and hope for the best. Visitors have to squint, scroll back and forth, and mentally piece together the differences themselves. That friction costs you signups.
In this blog, we will walk through why a proper membership comparison table matters specifically for course communities like FluentCommunity right now, what it should actually contain, and how to build one in WordPress using Ninja Tables, without any coding.
TL;DR
- FluentCommunity is a WordPress-native LMS and community platform that handles courses, access control, quizzes, progress tracking, and member spaces in one install.
- When visitors land on your course community site, the first question they ask is: “What do I get and what does it cost?” A membership plan comparison table answers that instantly.
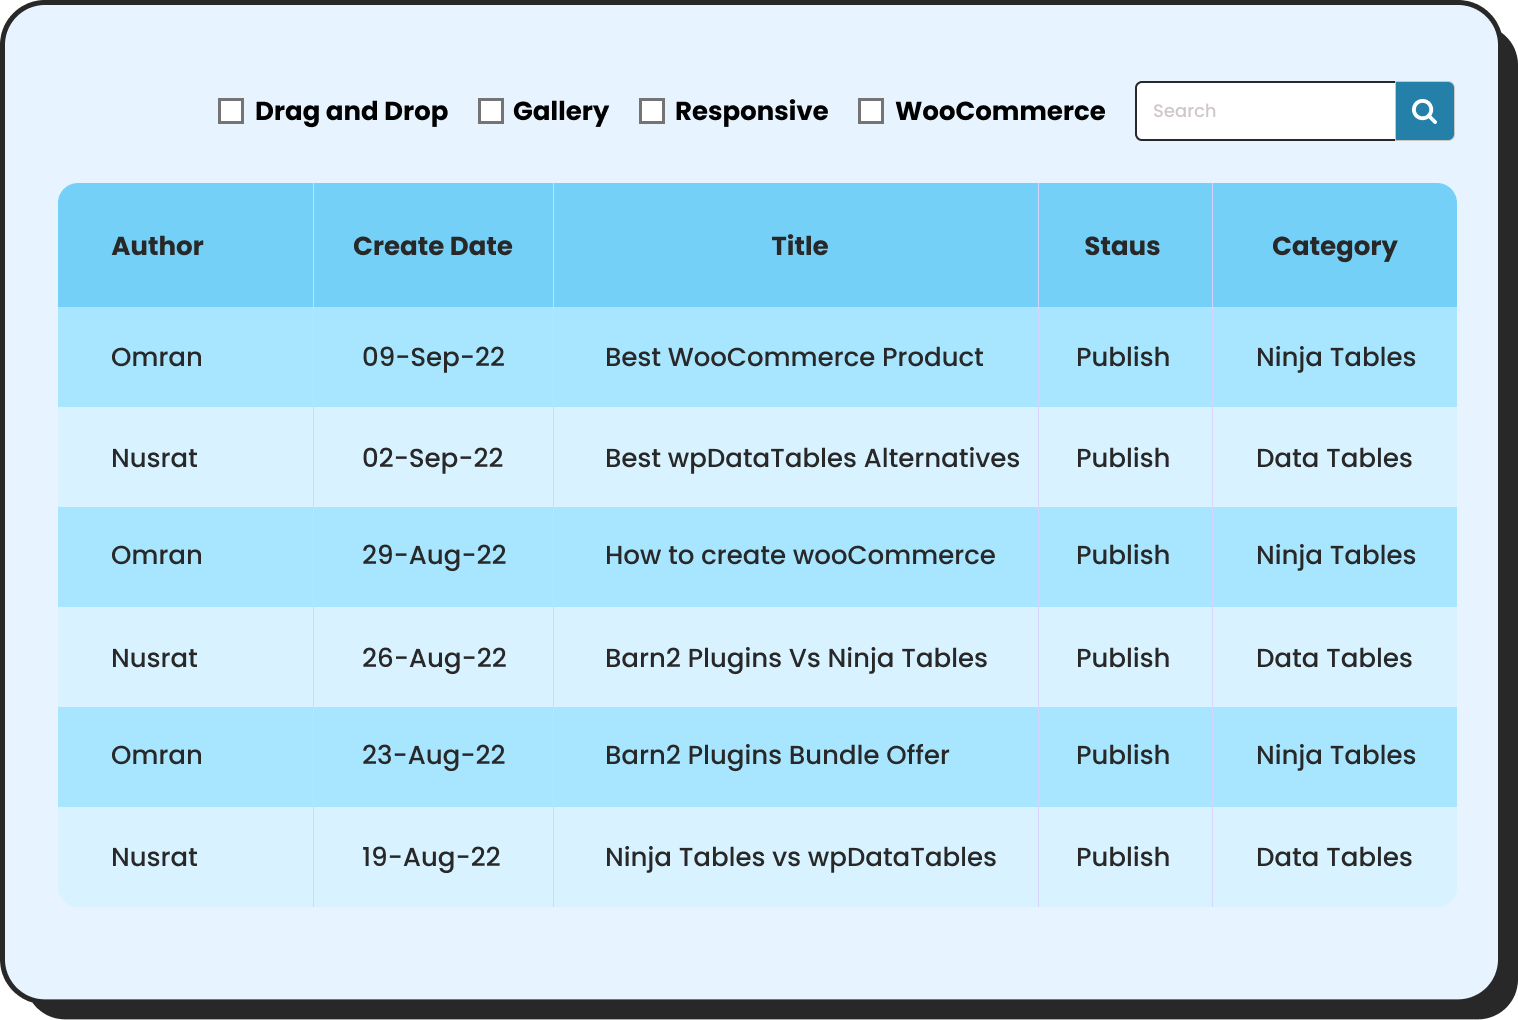
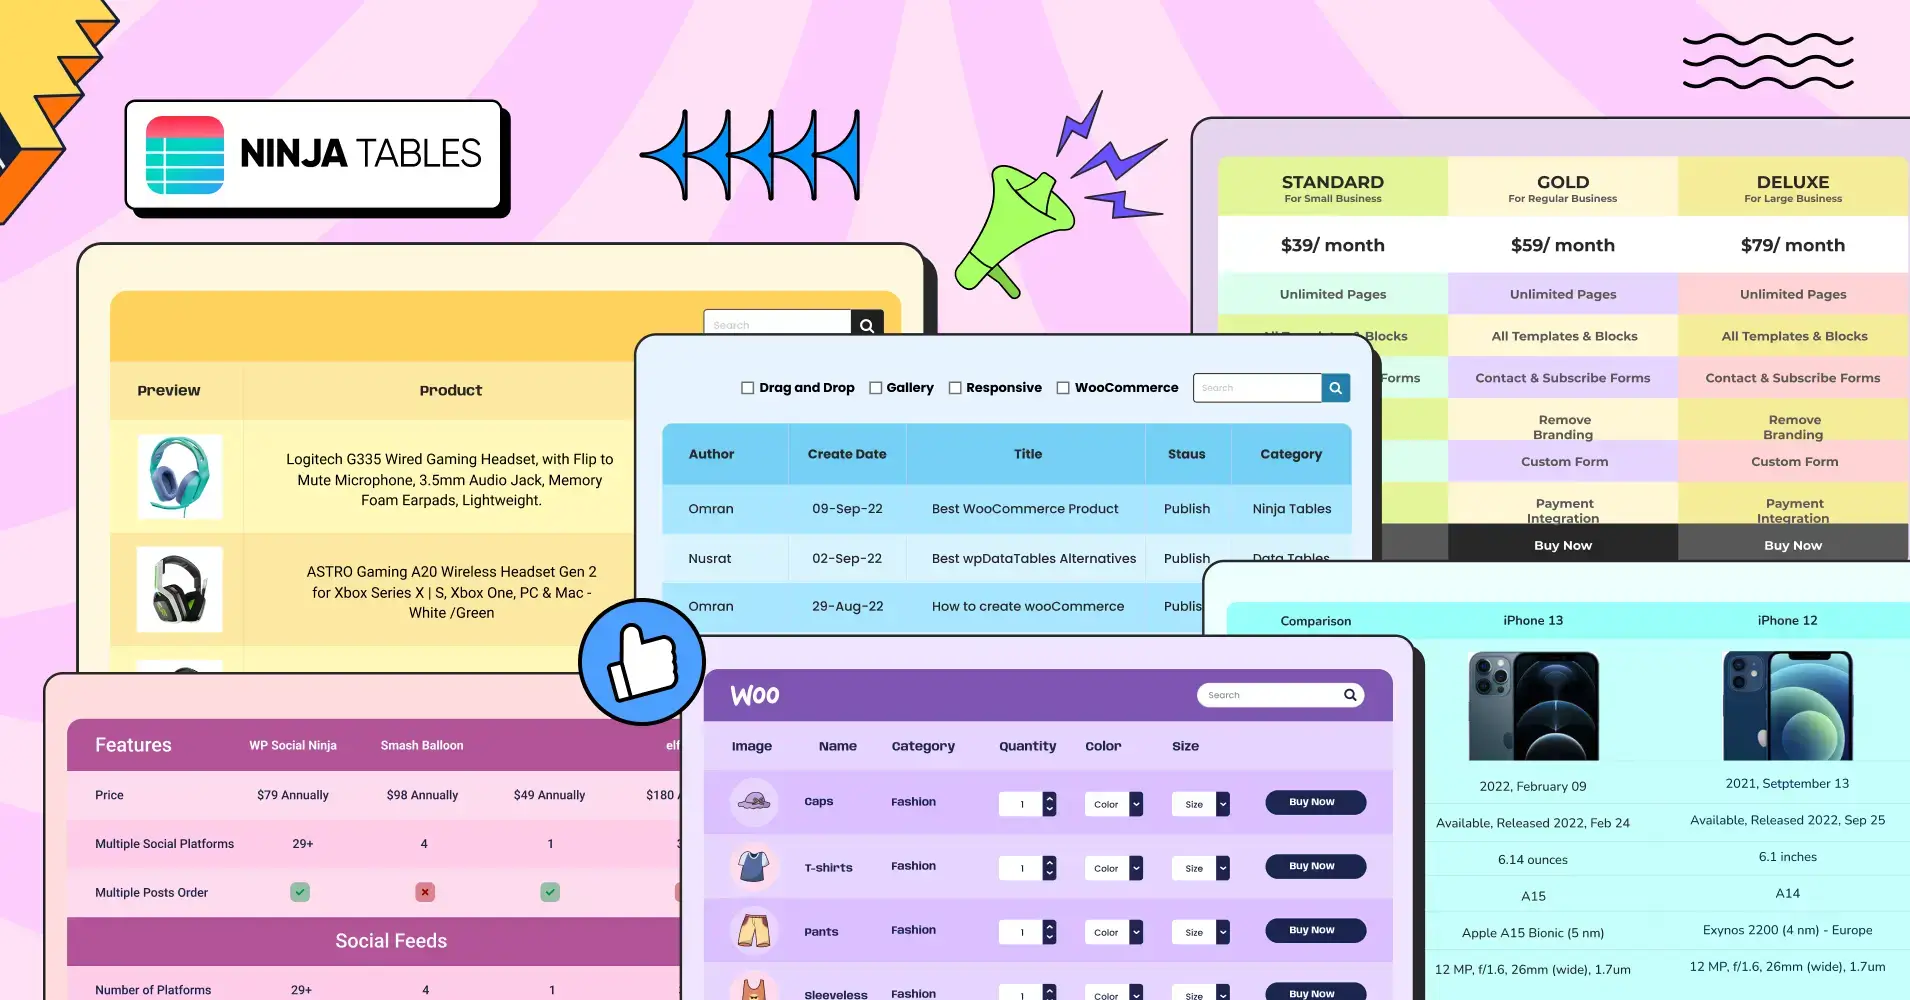
- Ninja Tables builds fully responsive, visually styled comparison tables in WordPress with no coding, using a drag-and-drop builder, pre-built templates, conditional formatting, and embedded CTA buttons.
- The combination of FluentCommunity’s tiered access control and a Ninja Tables comparison table on your pricing page is one of the highest-leverage setups you can build on a course site.
- Tables built with Ninja Tables embed via shortcode, render responsively on mobile, and update in seconds when your plans change.
Building a Course Community with FluentCommunity
Before building the pricing table, the course needs a home. FluentCommunity is a WordPress plugin that combines a full LMS with a built-in community platform. It handles everything course creators need on the delivery side: structured modules and lessons, multiple enrollment types including self-paced, structured, and scheduled, drip content, sequential lesson locking, progress tracking, quizzes, and content privacy controls that let you set courses as public, private, or accessible by invitation only.

What makes it worth serious consideration is what it does beyond the course content itself. Most LMS plugins deliver the lessons and stop there. Student discussion, peer interaction, and community features require a separate forum plugin, a separate membership tool, and ongoing compatibility management between everything. FluentCommunity builds the community layer directly into the same plugin. Students discuss lessons, connect, and engage with the course material without leaving the learning environment to find a separate forum.
It is built by the WP Manage Ninja team, the same team behind Ninja Tables, Fluent Forms, FluentCRM, and FluentCart. The integration between FluentCommunity and Ninja Tables is easy. Make a table in Ninja Tables and then paste the copied shortcode on the lesson pages, or even course pages, which is easy to display.
For course creators evaluating their options, FluentCommunity stands out as a platform that treats community as a core feature rather than an optional add-on. That distinction matters when the long-term goal is student retention and course completion, not just initial enrollment.
What Is a Membership Plan Comparison Table?
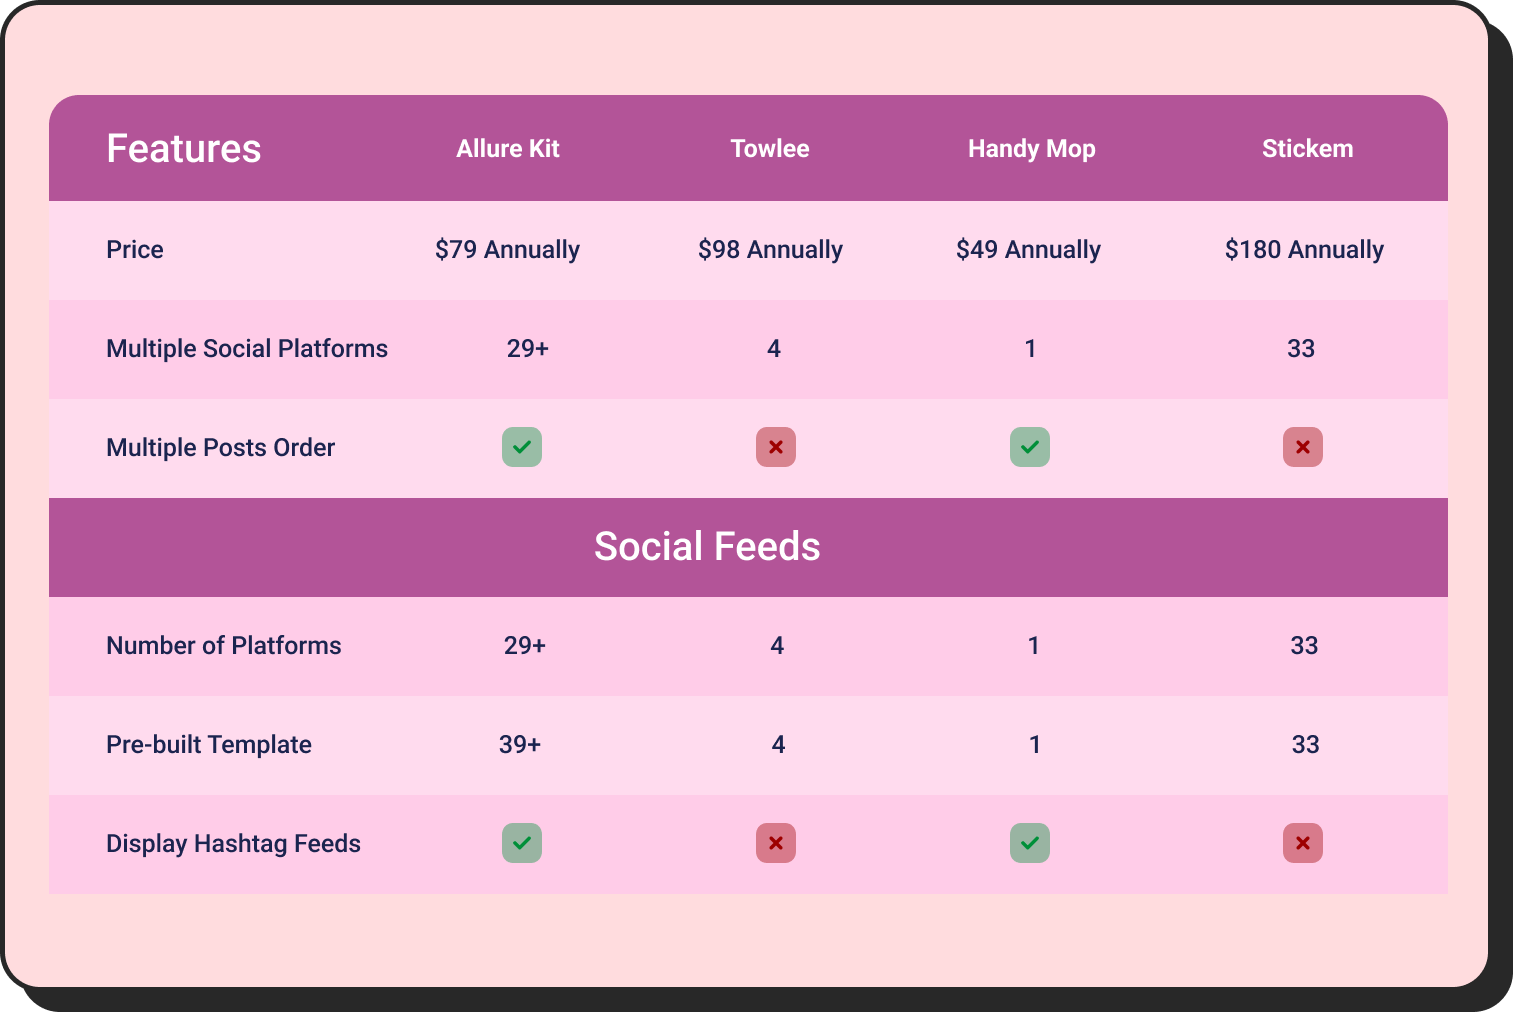
A membership plan comparison table is a structured, side-by-side display of your available membership tiers. Plans sit in columns. Features, access levels, pricing, and limitations run in rows. Visitors scan across, not down, and see exactly what separates each tier at a glance.
For a course community, this typically means comparing things like which courses are included, whether the community space is accessible, what support tier applies, and whether coaching or live sessions are part of the plan.
The goal is not to list every feature you offer. It is to show the meaningful differences between your tiers so clearly that a visitor can choose within 30 seconds without clicking away.
Done well, it reduces decision paralysis. Done poorly — or skipped entirely — it forces visitors to construct the comparison in their head, which most of them will not do. They leave instead.
| Features | Starter Member | Growth Member | Pro Member |
|---|---|---|---|
| Community Access | ✓ | ✓ | ✓ |
| Discussion Groups | ✓ | ✓ | ✓ |
| Course Library Access | 1 Course | 10 Course | All Courses |
| Live Q&A Sessions | — | Monthly | Weekly |
| Member Directory | ✓ | ✓ | ✓ |
| Exclusive Content | — | ✓ | ✓ |
| Course Certificates | — | ✓ | ✓ |
| Downloadable Resources | Limited | ✓ | ✓ |
| Group Coaching Calls | — | — | ✓ |
Created by Ninja Tables
How to Create a Membership Plan Comparison Table in WordPress
When someone lands on a FluentCommunity course site for the first time, the first thing they want to know is what each membership tier includes. That answer belongs in a comparison table- visible, scannable, and honest. Let’s start with building the course community and planning the membership tier to display with Ninja Tables.
Step 1: Set up course in FluentCommunity
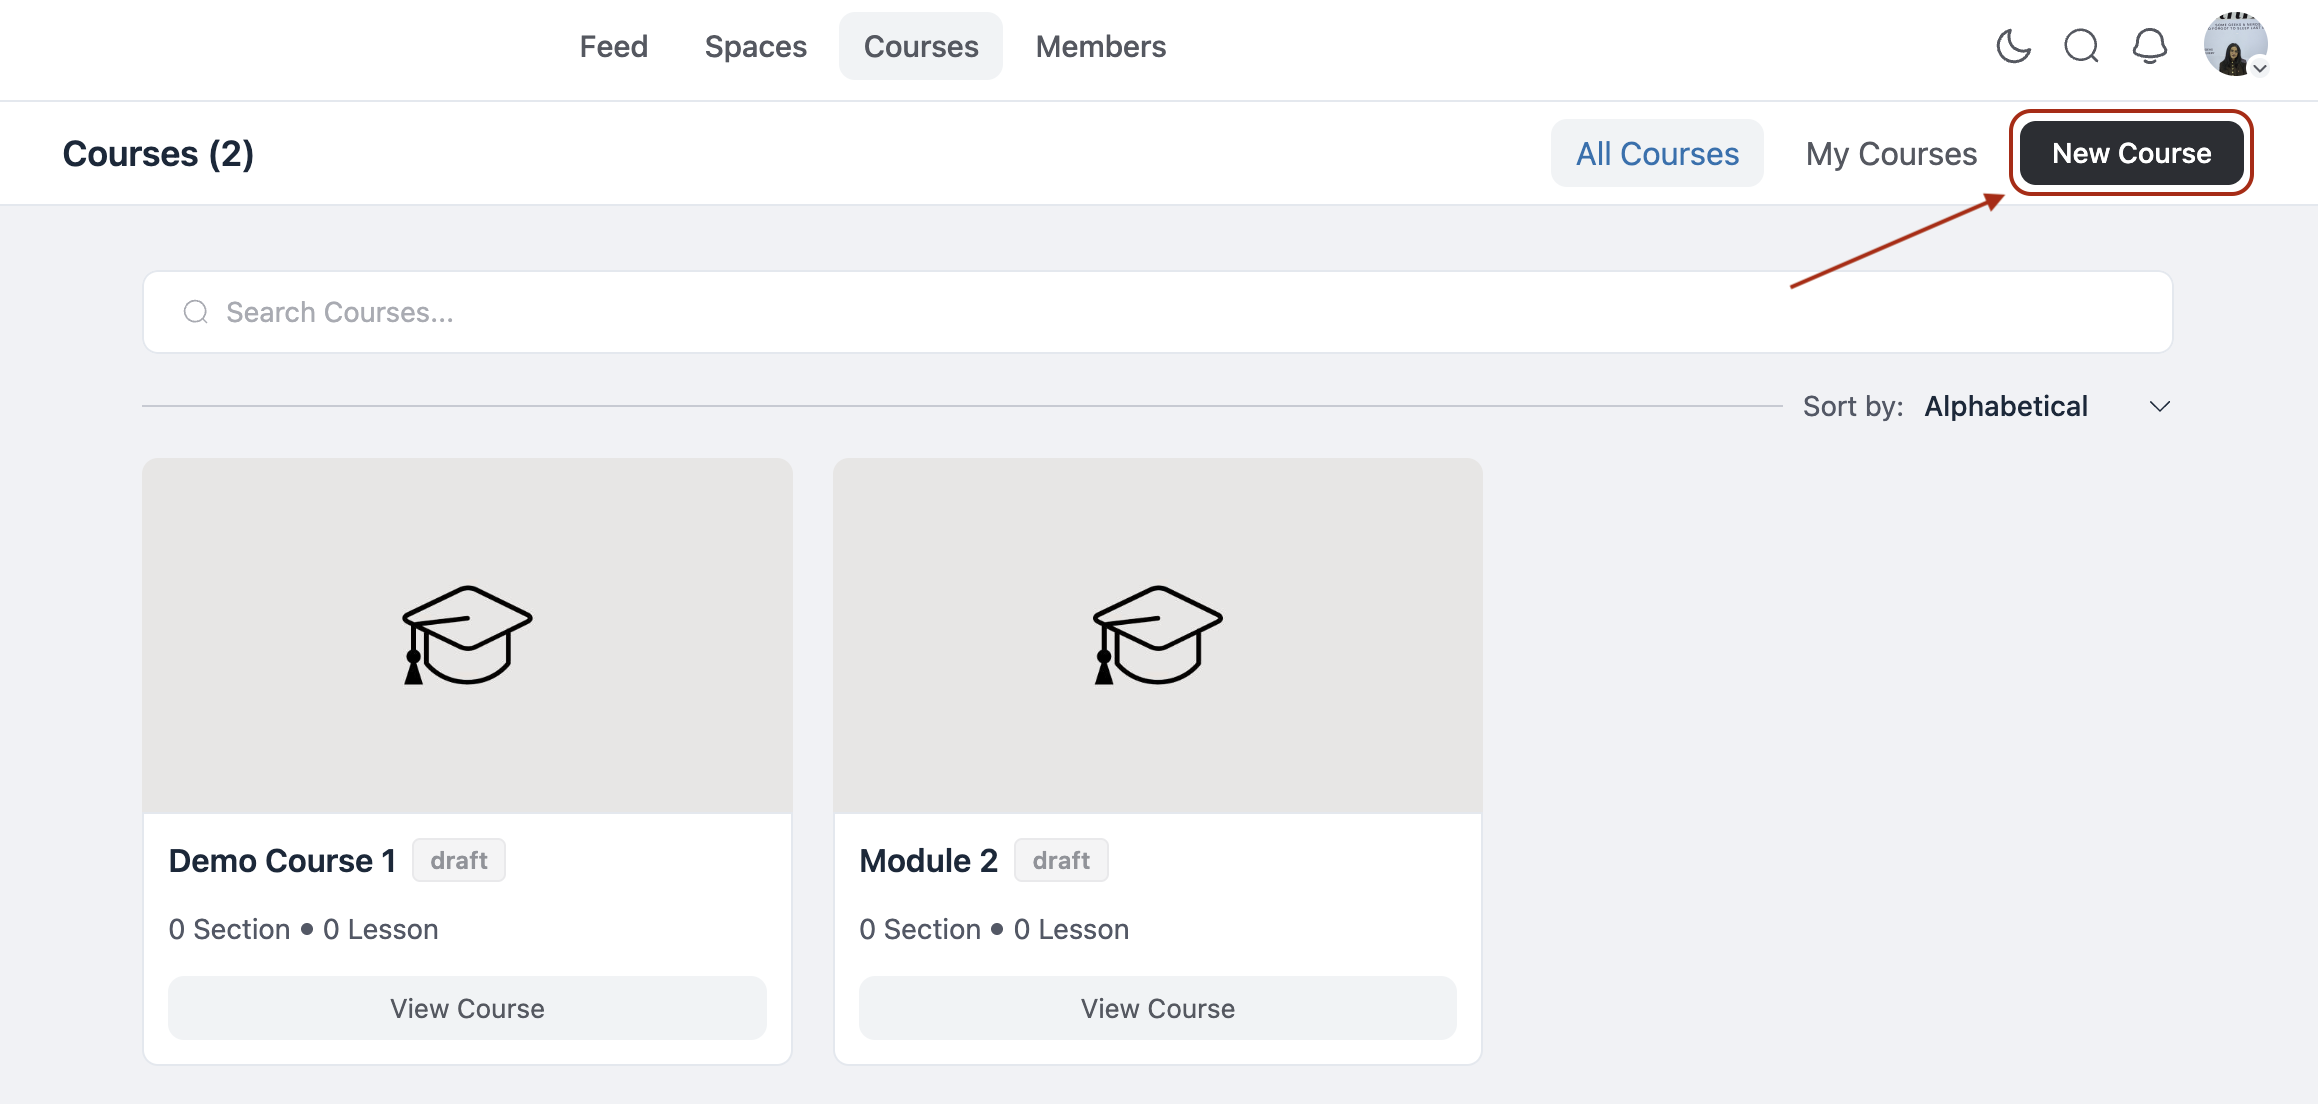
Go to FluentCommunity > Settings > Features and Addons and enable the Course Module. Then create your course through Portal Settings > Manage Courses > Add Course.
Click the New Course button to create a new course.
Fill in the title, description, and slug from the course setting tab, then set:
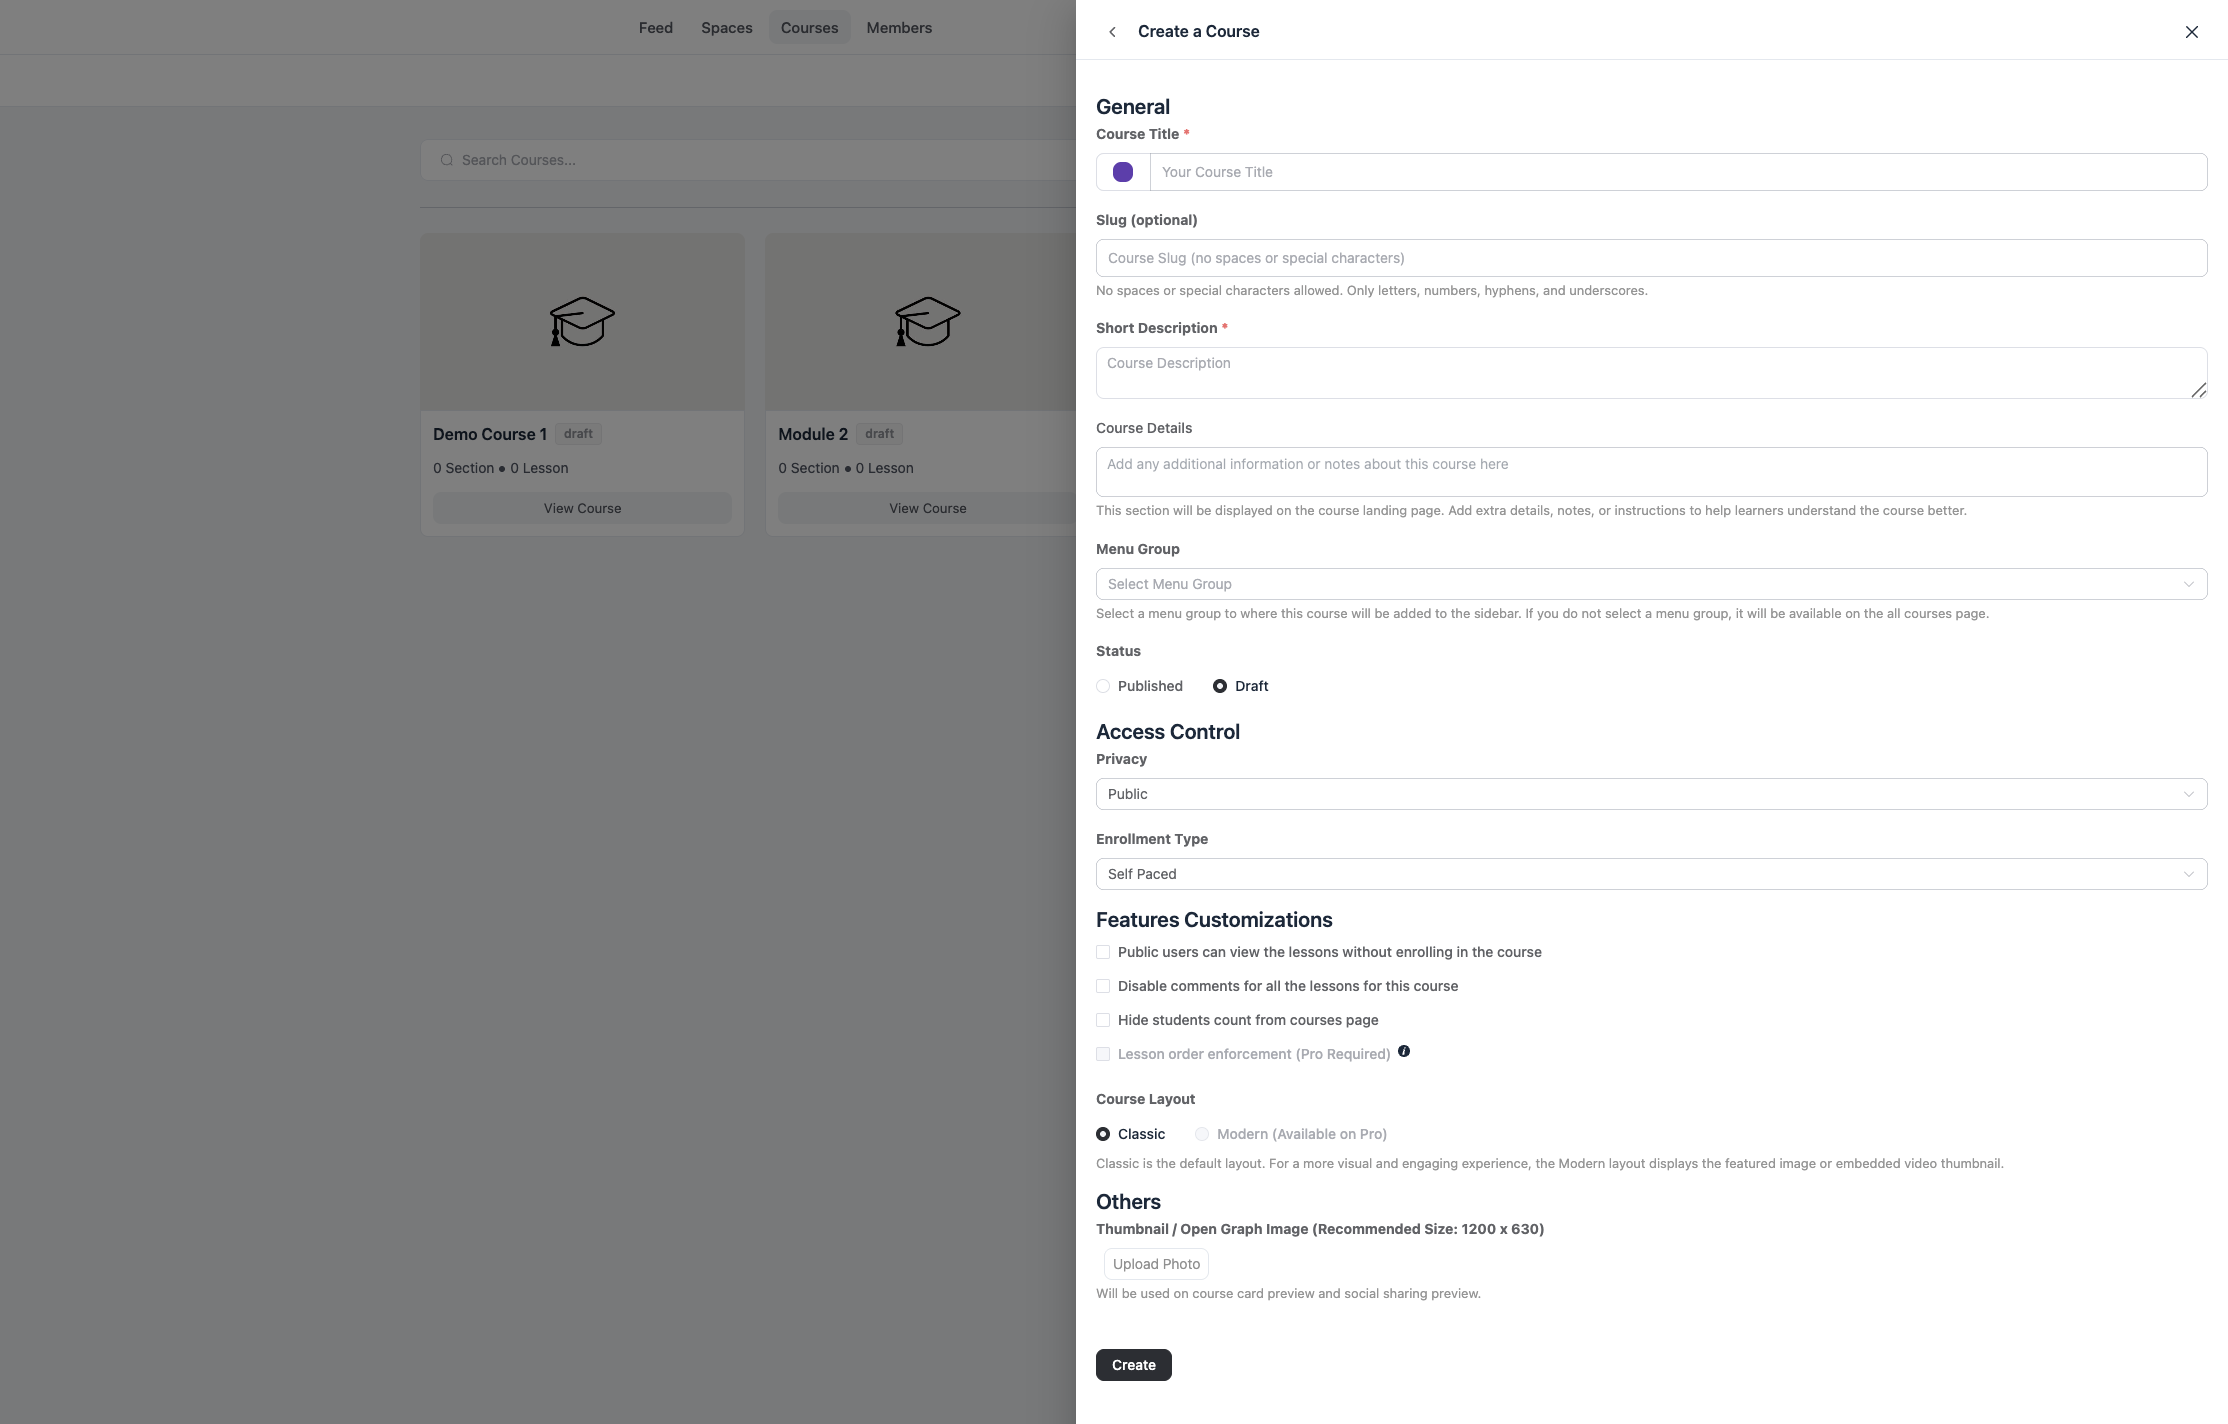
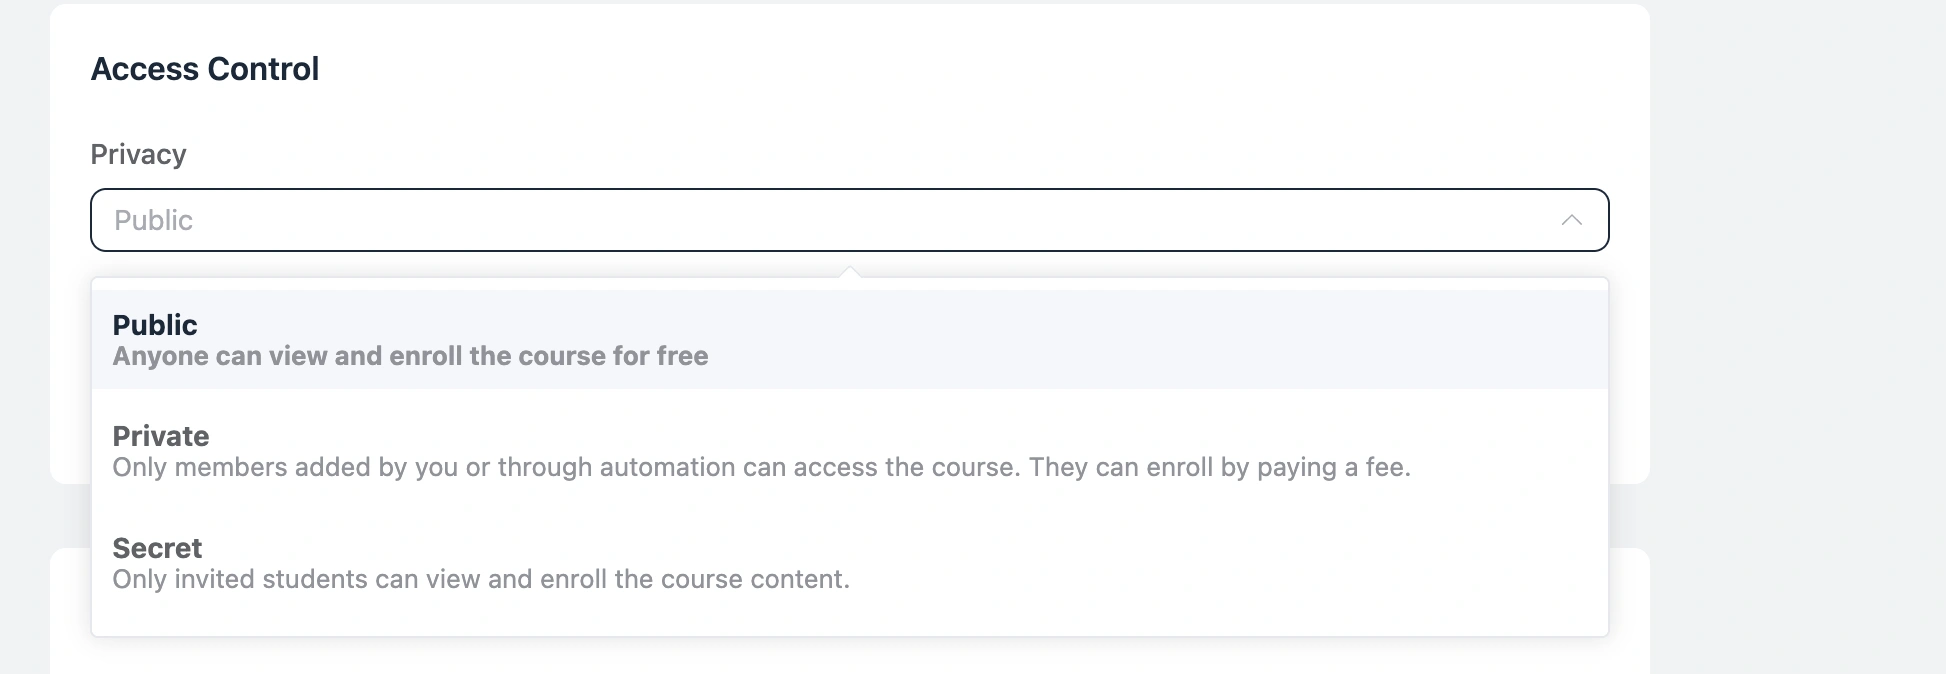
Course privacy: Public courses are open to anyone. Private courses show a login prompt to non-enrolled visitors. Secret courses do not appear in the course directory and are accessible only by direct link or admin enrollment.
To set the privacy for a new course, click Create a Course and use the menu on the left to find the privacy settings.
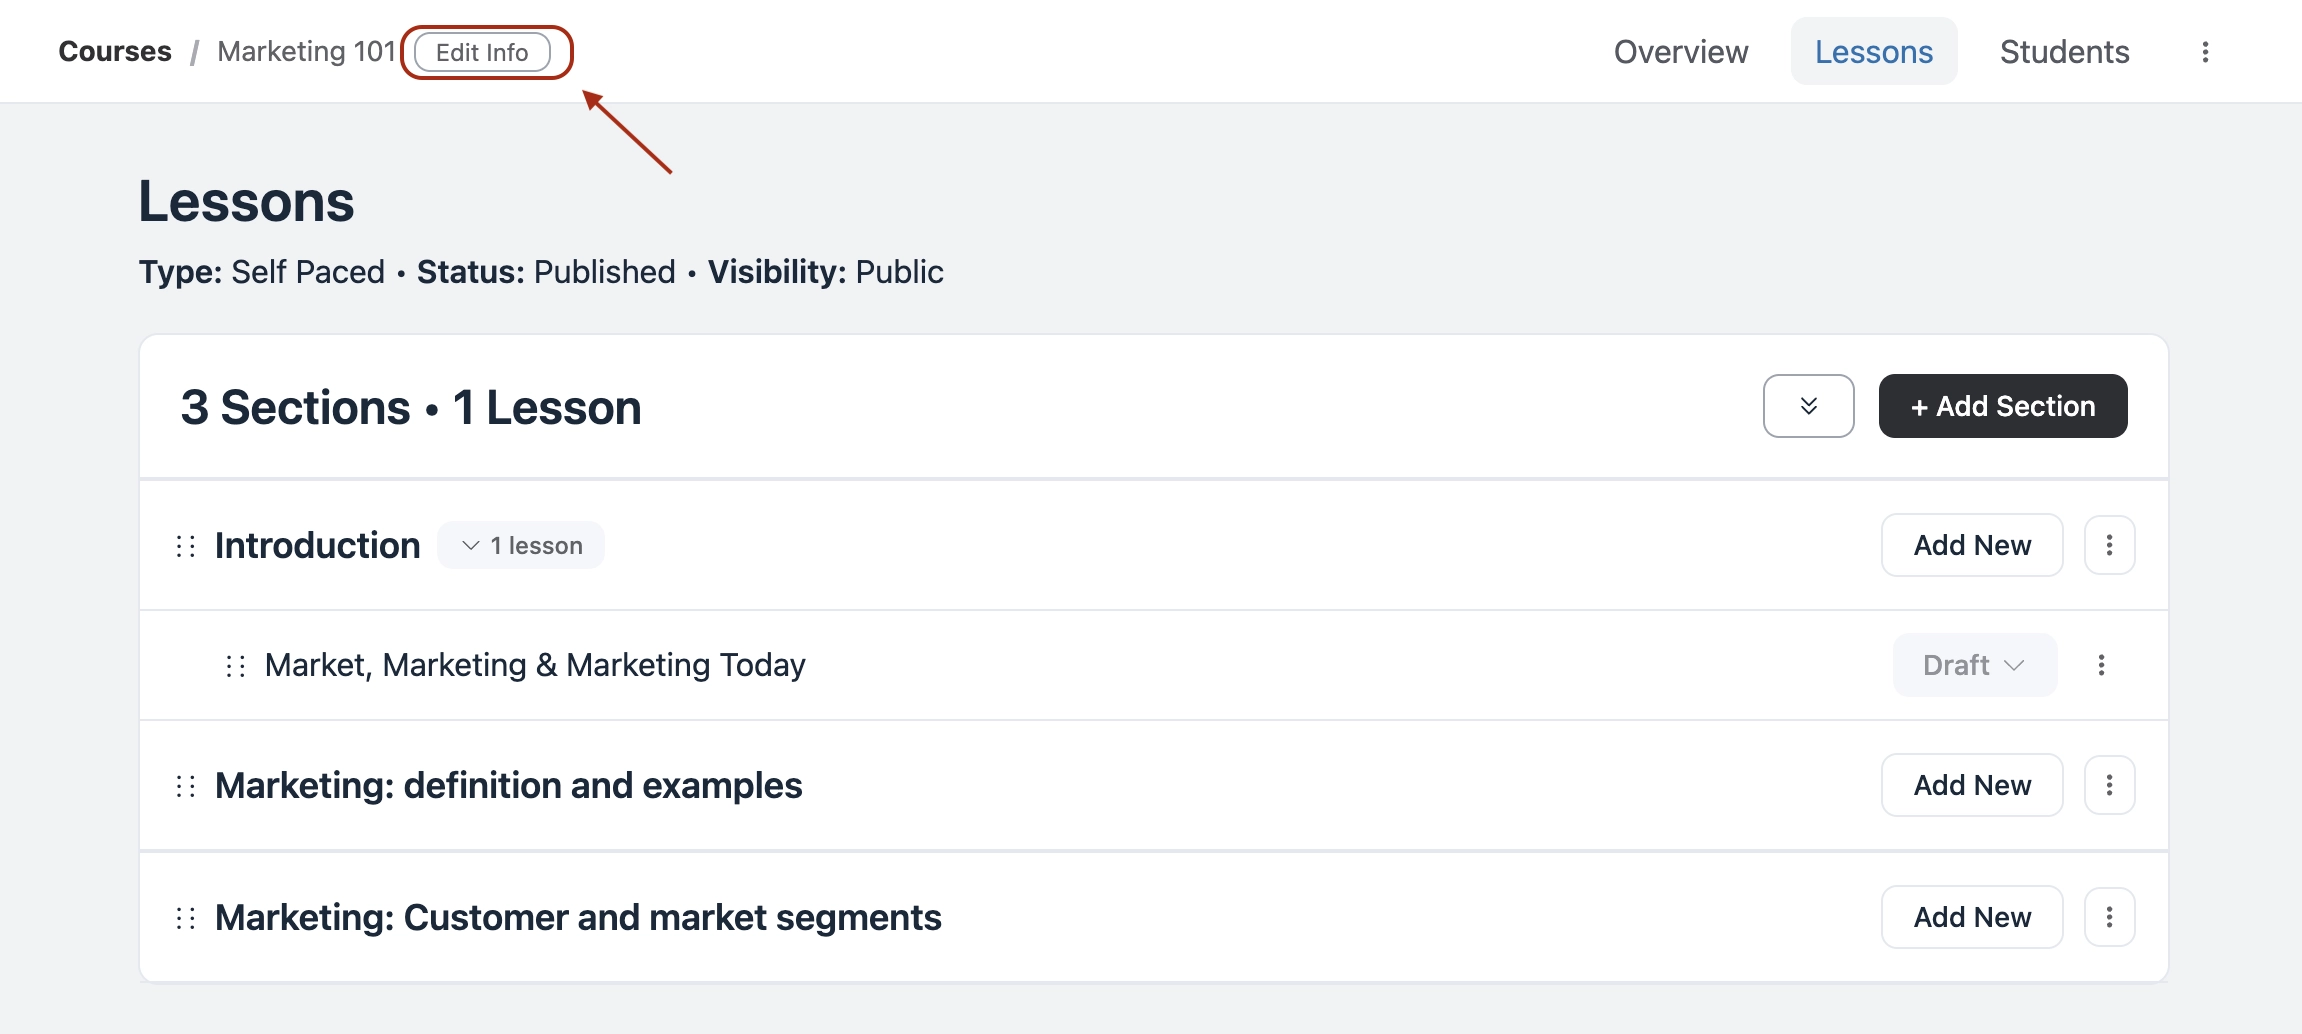
To change the privacy of an existing course, open the course, click Edit Info, then scroll down to Access Control and choose the privacy option that best fits your needs.
Enrollment type: Self-paced gives students immediate access to all lessons. Structured drips content based on when each student enrolled. Scheduled releases lessons on fixed calendar dates regardless of enrollment date.
Once the course is created, build out your modules and lessons in the course editor.
Step 2: Create the table in Ninja Tables
Here is how to go from zero to a published comparison table on your FluentCommunity course site.
Install Ninja Tables
Go to your WordPress dashboard, navigate to Plugins > Add New, and search for Ninja Tables. Install and activate it. The free version includes everything you need for this use case.
Create a new table
Click on Ninja Tables in the sidebar, then click Add Table. Choose the Drag and Drop option from the table type selector. Give your table a name like “Membership Plans” and set your initial column count to match the number of tiers you offer. Three columns work well for most course communities (Free, Pro, and Premium, for example).
Use a Comparison Template
Rather than building from scratch, click on the template library option inside the builder. Filter by “Pricing” or “Comparison” to find layouts that match your structure. Pick one, and the basic layout loads instantly. From here, you are editing content, not designing from scratch.
Get table templates for free
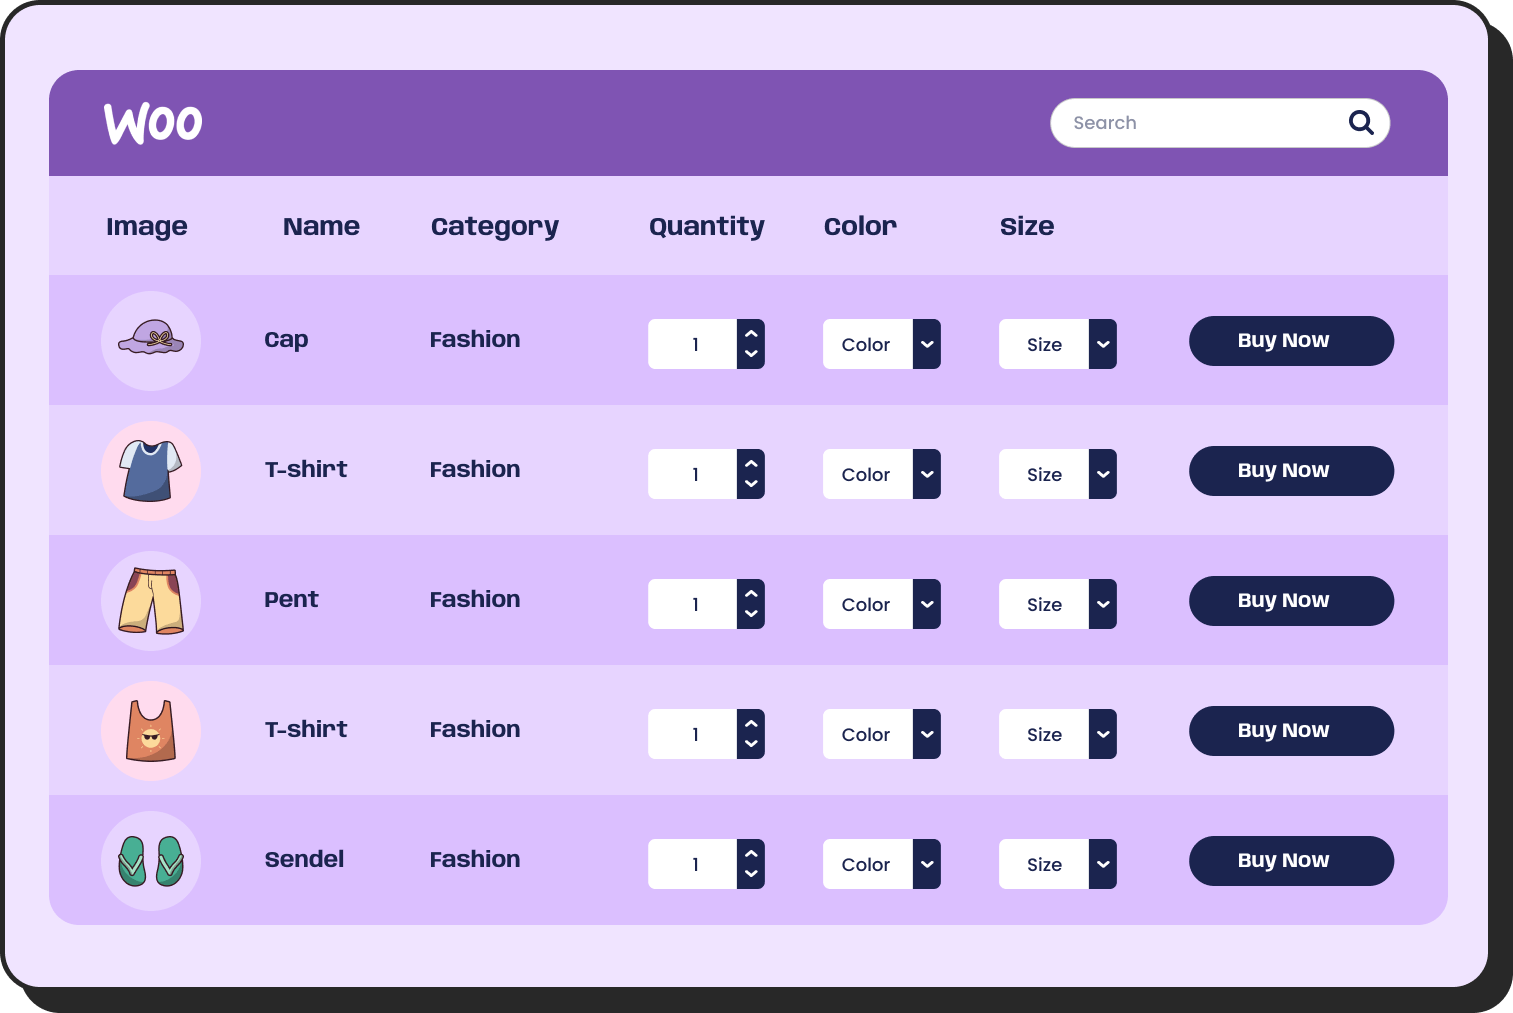
WooCommerce

Amazon Products
WP Posts
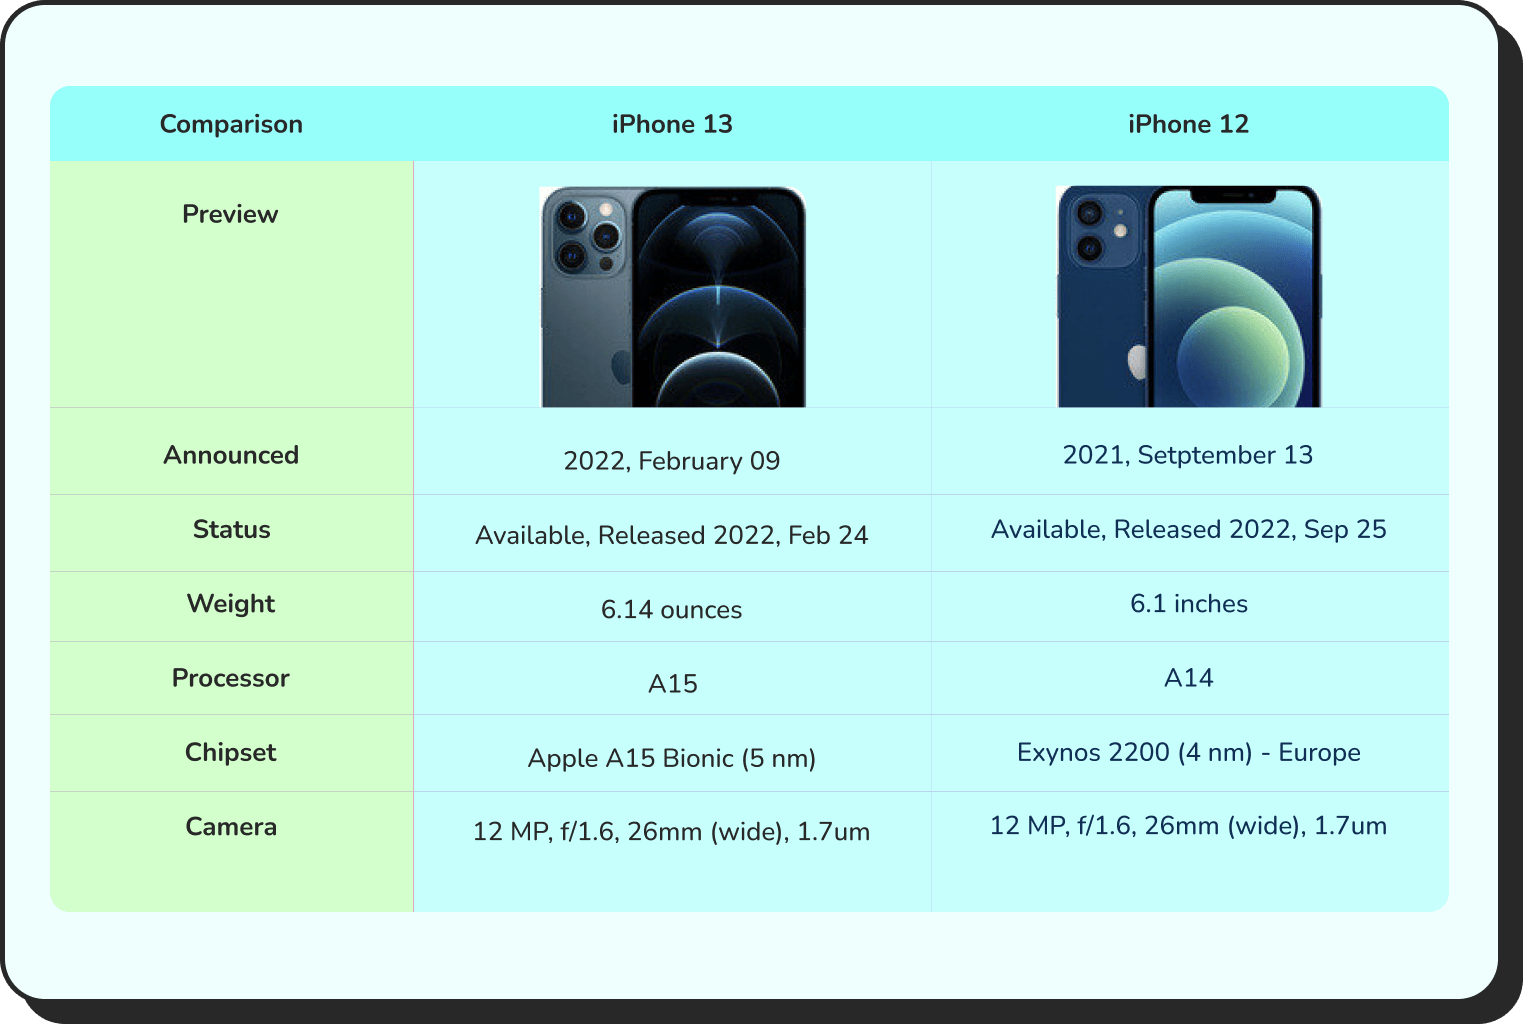
Products Comparison

Pricing Table
Features Comparison
Add your plan details
Replace the placeholder content with your actual plan names, pricing, and feature rows. For each feature row, decide whether to use checkmarks, text values, or custom icons. Ninja Tables supports all three in the Drag and Drop mode. Keep your rows focused on the differences that actually matter to your visitors.
Style the table
Open the Design tab. Three styling decisions matter most for curriculum tables:
Alternate row colors make it easier to read across columns without losing your place. Use a very subtle tint of your brand color as the alternate, not a heavy grey.
Header row weight should be visually heavier than the body rows. A bolder font weight and a slightly darker background color give the table an anchor visitors can immediately orient to.
Module row highlighting is available with Ninja Tables Pro through conditional formatting. Set a background color rule for rows where the Lesson field is empty to automatically highlight module header rows differently from lesson rows. This makes the course structure readable at a glance without any manual cell coloring.
For a FluentCommunity-based course site, your feature rows might look like this:
Popular Pro Photographer For Aspiring Professionals $29.99 per month Take your photography to the next level with advanced training and feedback All Features of Photo Enthusiast Advanced Photography Courses Live Workshops (Monthly) Expert Photo Reviews Lightroom Presets & Templates Exclusive Content Priority Support | Studio Pro For Professionals & Creators $79.99 per month Get full access to premium resources, one-on-one support, and grow your photography business Everything in Pro Photographer 1-on-1 Mentorship Calls Business & Branding Courses Portfolio Guidance and Reviews Early Access to New Courses VIP Community Access | |
All plans include a 7-day-money-back guarantee. Cancel Anytime! | ||
Add search and filtering
For courses with many lessons, a search bar helps students find specific topics. Enable it through the Features tab. Detailed setup for both is in the searchable and sortable table guide.
Highlight the ‘Recommended Plan‘
Select the column for your most popular or most profitable tier. In the cell settings, apply a background color using conditional formatting or add a Ribbon element (Pro feature) to mark it “Most Popular” or “Best Value.” This single visual cue moves the majority of undecided visitors toward your target plan without any additional copy on the page.
Add CTA buttons
In the bottom row of each column, drag in a Button element. Set the label, link it to the correct FluentCommunity enrollment URL, and apply your brand colors. Each plan gets its own button, its own label, and its own destination — no extra steps, no separate enrollment page hunting.
Embed the table on the landing page
The shortcode for each table appears at the top of the Ninja Tables editor. Copy it and paste it into the designated landing page in WordPress.
Pro tips: Where to Place a Membership Comparison Table for Maximum Conversions
Placement matters as much as the table itself. For example, you can place it after the course description and before the enrollment section. This is where prospective students expect to find the curriculum, and putting it there means they reach the enrollment call to action with full information rather than unanswered questions. Here are the three spots on a FluentCommunity course site where this table does the most work.
Dedicated Pricing or Plans Page: This is non-negotiable. Anyone seriously considering joining will look for a pricing page. This is where the table carries maximum weight because the visitor is already in evaluation mode. Put the table above the fold with no other competing elements.
Course Catalog or Homepage: Many visitors land on the main course listing or homepage and decide within the first minute whether to look further. A condensed comparison table near the top of that page, even a simplified two-row version with pricing and one key differentiator, accelerates that first decision.
Individual Course Landing Page: If you use FluentCommunity’s course privacy settings to gate specific courses behind a membership tier, the course page itself is a conversion moment. A small embedded table showing what each plan unlocks, placed directly below the course description, is far more persuasive than a link that sends the visitor away to a separate pricing page.
What to Include in a Membership Plan Comparison Table
Before building anything, you need to know what rows belong in the table. This is where most course site owners go wrong. They either list too much and create noise, or too little and fail to justify the price difference between tiers.
For a FluentCommunity-based course community, the rows that carry the most weight are:
Course and Content Access: Which courses are included at each tier? Are all courses accessible, or just a selection? Is the content self-paced or scheduled? These are the rows visitors scan first.
Community Space Access: On FluentCommunity, you can set individual spaces to be accessible by membership level. Does the Free plan allow view-only access? Does Pro unlock full participation? Does Premium include a private space for high-tier members? These differences are what your comparison table makes visible.
Downloads and Resources: If course materials, templates, or resource files are part of the experience, this row clarifies what each tier gets.
Live Sessions or Coaching: If you run live calls, office hours, or cohort sessions, this is often the single most powerful differentiator between mid and top tiers. Put it in the table where it cannot be missed.
Support Priority: Forum support vs. email vs. priority. This row matters more than most course creators realize, especially for professional learners.
Pricing and Terms: Monthly, annual, and lifetime options if you offer them. The price row belongs in the table itself, visible without any additional clicks.
Aim for six to ten rows of genuine difference. A twenty-row table where half the columns say “Yes” for every plan tells visitors nothing useful and exhausts them before they decide.
Why Ninja Tables is the right tool for this
WordPress has no shortage of table plugins, but most of them fall short in one of three ways. They require CSS knowledge to style properly. They look generic out of the box. Or they break on mobile, which is where a significant portion of your visitors are coming from.
Ninja Tables handles all three without friction. It is the most feature-complete table plugin in the WordPress ecosystem, actively developed, and designed to produce professional results without writing code.
Here is what makes it specifically right for a membership plan comparison table on a course site.
Drag and Drop Builder
The Drag and Drop table builder lets you build your entire comparison layout visually. You drag elements into cells — text, icons, buttons, ribbons, styled lists — and rearrange columns and rows with no HTML. For someone rebuilding a course site who needs results quickly, this is the difference between an afternoon project and a week of back-and-forth with a developer.
Pre-Built Comparison and Pricing Templates
Ninja Tables includes a free template library with ready-made pricing and comparison table designs. You pick a template that matches your tier structure, replace the placeholder plan names and feature rows with your actual content, and publish. The templates are conversion-oriented — they come with checkmark and cross icons, highlighted recommended-plan columns, and CTA button slots already in place.
Conditional Formatting
This is one of the most underused features in comparison tables, and one of the most effective. With Ninja Tables’ conditional formatting, you can apply background color changes, bold styling, or custom cell treatments based on a cell’s value. Highlighting your most popular tier with a distinct color costs you nothing in time and reliably directs visitors toward it. No CSS required — it is all handled in the table editor.
CTA Buttons Built Into the Table
A comparison table with no action step is a lost conversion. Ninja Tables lets you embed buttons directly inside table cells. You set the label (“Join Free,” “Get Pro,” “Upgrade to Premium”), link each one to its corresponding FluentCommunity enrollment or checkout URL, and style the buttons from the table editor. The buttons live inside the table itself, so visitors do not need to look elsewhere to act.
Mobile Responsive by Default
Every table built with Ninja Tables is responsive out of the box. On smaller screens, columns collapse intelligently so content stays readable without horizontal scrolling. For a membership comparison table — which visitors often view on their phone while deciding whether to pay — this is not optional. A comparison table that breaks on mobile is actively worse than having no table.
Using FluentCommunity Access Control to Power Membership Tiers
This is the part that separates a decorative table from a table that actually does something.
On a FluentCommunity site, your membership tiers are not just labels on a page. They map to real access rules inside the platform. FluentCommunity’s course privacy settings — Public, Private, and Secret — let you control exactly which courses and community spaces each membership level can access. When a student upgrades from Free to Pro, they unlock the spaces and courses you have already gated. No third-party automation. No webhook dependency. The access change happens at the platform level, immediately.
What this means for your comparison table: every row you put in that table is real. “Community access: view only” on Free and “Full participation” on Pro reflects actual behavior inside FluentCommunity, not just marketing language you typed on a pricing page.
That integrity is what makes visitors trust the table. When the experience after signup matches what the table said, you earn the kind of trust that drives upgrades, referrals, and retention.
For course creators who moved from LearnDash or other platforms, this is a genuine structural improvement. LearnDash handles content restriction well for single-course setups, but building the community layer on top requires separate plugins like BuddyPress, BuddyBoss, or similar; each adding cost and maintenance overhead. On FluentCommunity, the LMS and the community are the same product. The tiers in your comparison table are enforced by one system, not coordinated across three.
Membership Comparison Table Best Practices for Higher Conversions
Highlight one tier, not all of them. Emphasizing every plan equally removes the signal. Pick your primary target tier — usually the mid-level plan that balances value and margin — and make it visually distinct. Ninja Tables’ conditional formatting handles this without CSS.
Lead with outcomes in your row labels. “Access all 12 courses” lands better than “Full course library.” “Weekly live sessions included” is clearer than “Live event integration.” Rows that describe what the member gets convert better than rows that describe what the platform does.
Keep pricing visible and direct. A “Contact us” CTA in the price row kills momentum for individual course buyers. Put the number in the table. If you offer both monthly and annual pricing, a tab or toggle above the table keeps things clean without doubling your row count.
Limit visible rows to what actually differentiates. Research on SaaS pricing pages consistently shows that tables with six to ten meaningful differentiators outperform exhaustive feature lists. Your goal is clarity, not completeness.
Wrapping Up
A membership plan comparison table is not a cosmetic detail on a course community site. It is the moment where a visitor decides whether to act. When that decision is made easier- when they can see all their options at once, understand the differences, and click directly from the table, your conversion rate reflects it.
Ninja Tables gives you everything you need to build that table properly on WordPress without writing code. When your course community runs on FluentCommunity, the tiers in your table map directly to real access control in the platform, which means the table is not just clear, it is accurate.
If you are rebuilding your course site or launching on a new platform for the first time, this is one of the most direct things you can do to start converting visitors into members.
Ninja Tables– Easiest Table Plugin in WordPress


Add your first comment to this post