JetEngine is used for Custom post types and relations between these post types.
Let’s have a look at how JetEngine Integration works in Ninja Tables.
- To build a Custom Post type, you must have the JetEngine Plugin installed first.
- Then, you need to create a New Post type, or you can also work on the existing Post Type.
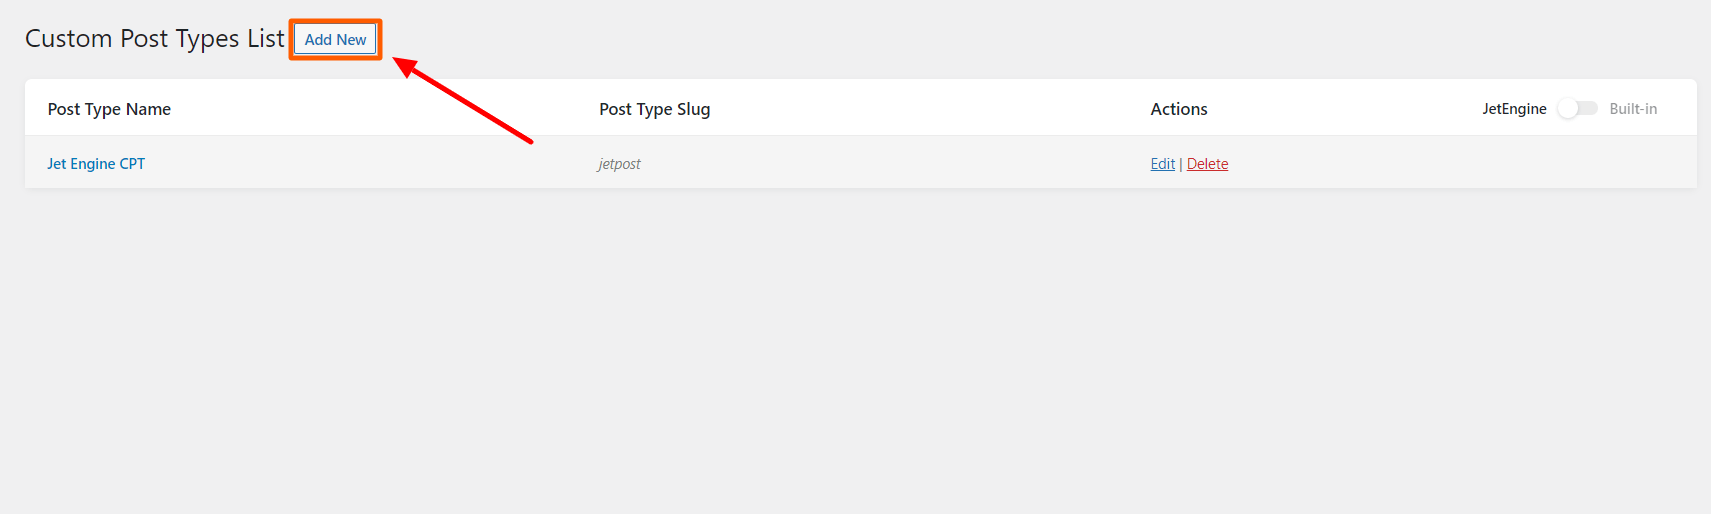
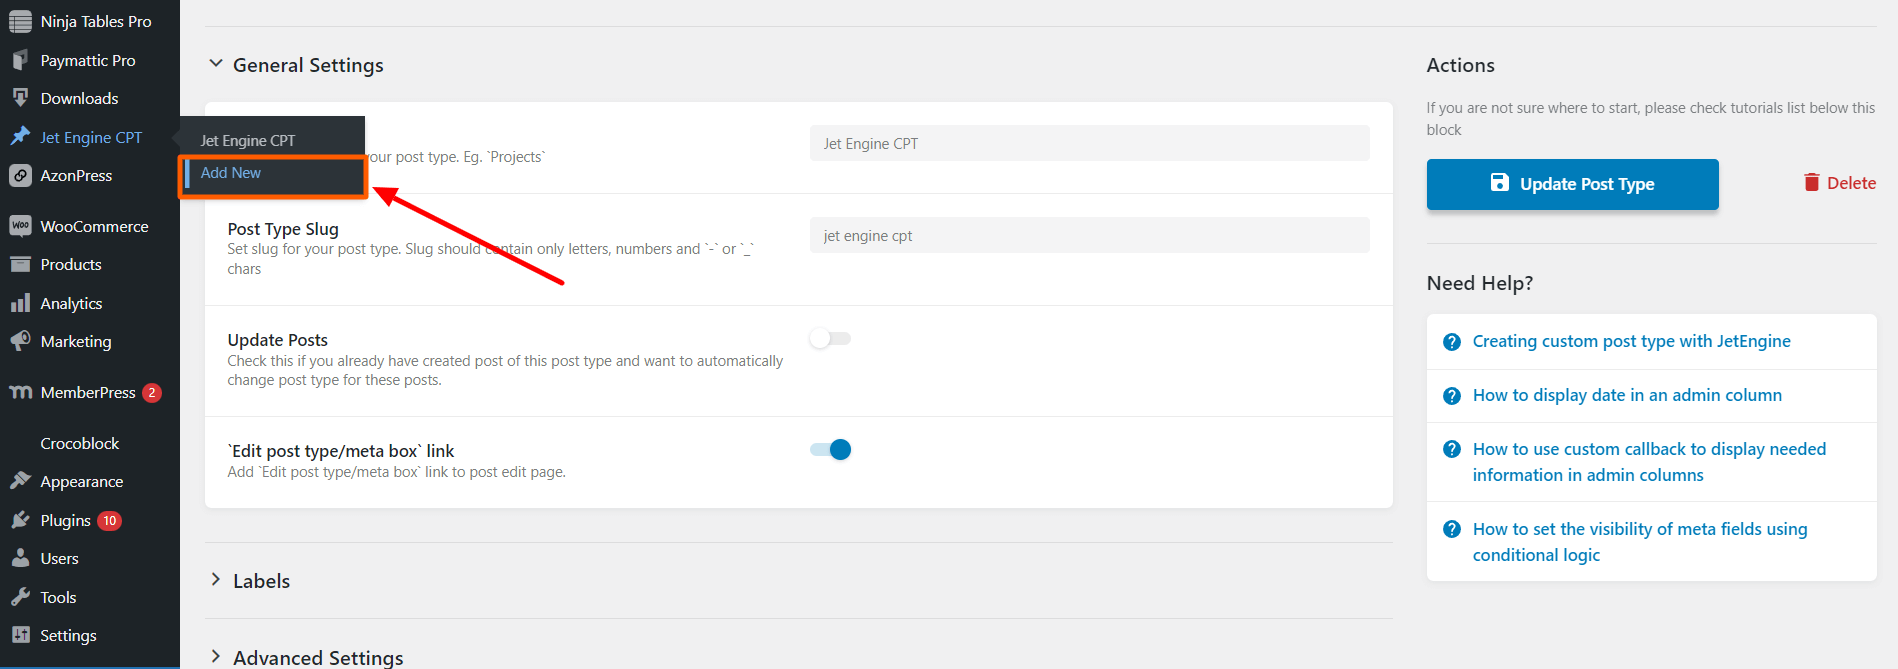
- Go to the JetEngine dashboard → click on Post Types, and General Settings will appear.
- You must add some Custom Fields to the Custom Post Type.
- Give your Post Type Name and Post Type Slug and enable the Edit Post type/meta box link.
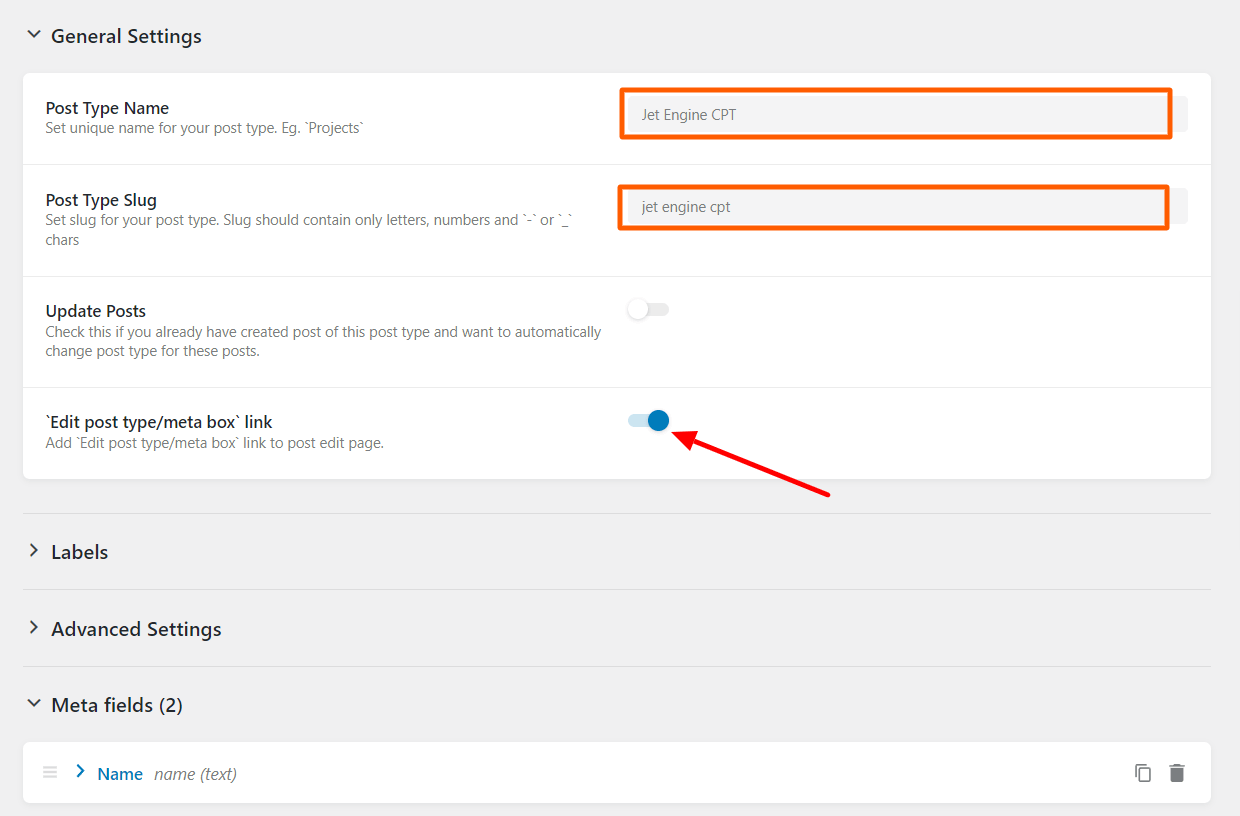
- Also, go to the Labels & Advanced Settings & give the fields name according to your needs.
- Click on the New Meta Field button to add Meta Fields
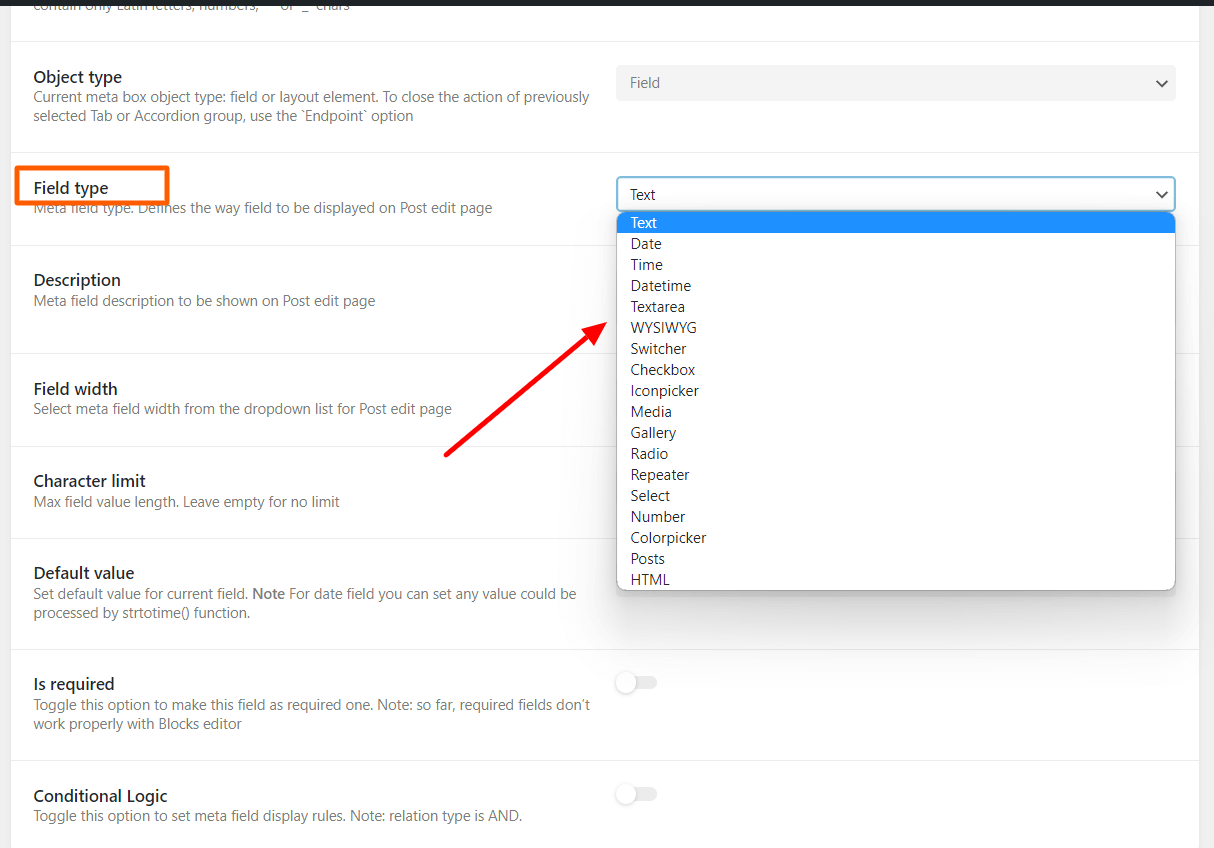
- There are available Field types where you can choose one according to your needs.
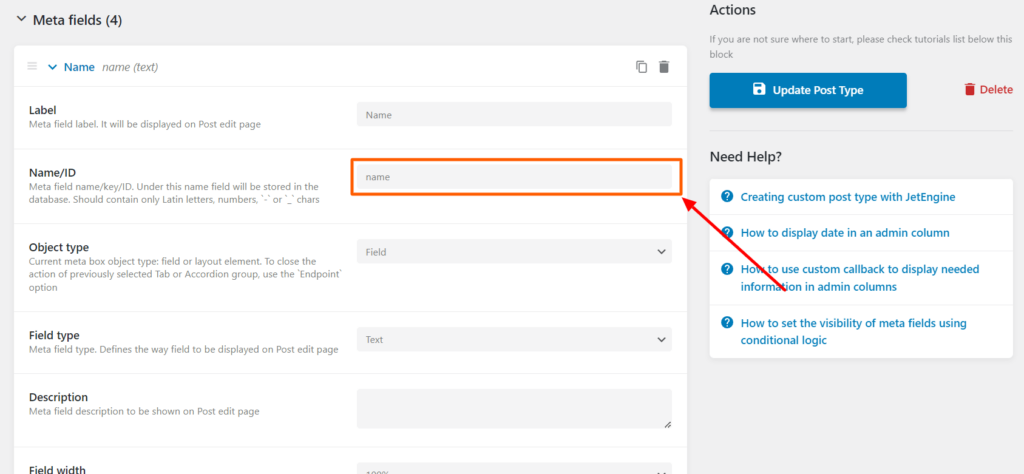
- To get your Post Meta Key Name, you need to go back to JetEngine → Post Type.
- Then, navigate to the Meta Fields & here, the Name/ID of every Meta Field is Meta Key. For instance, “name” is the meta key of the Name Field as follows; the date is the Meta Key of the Date field.
- Copy the Meta Key to use this in a further step.
- Lastly, click on the Add Post Type button after your configuration is done.
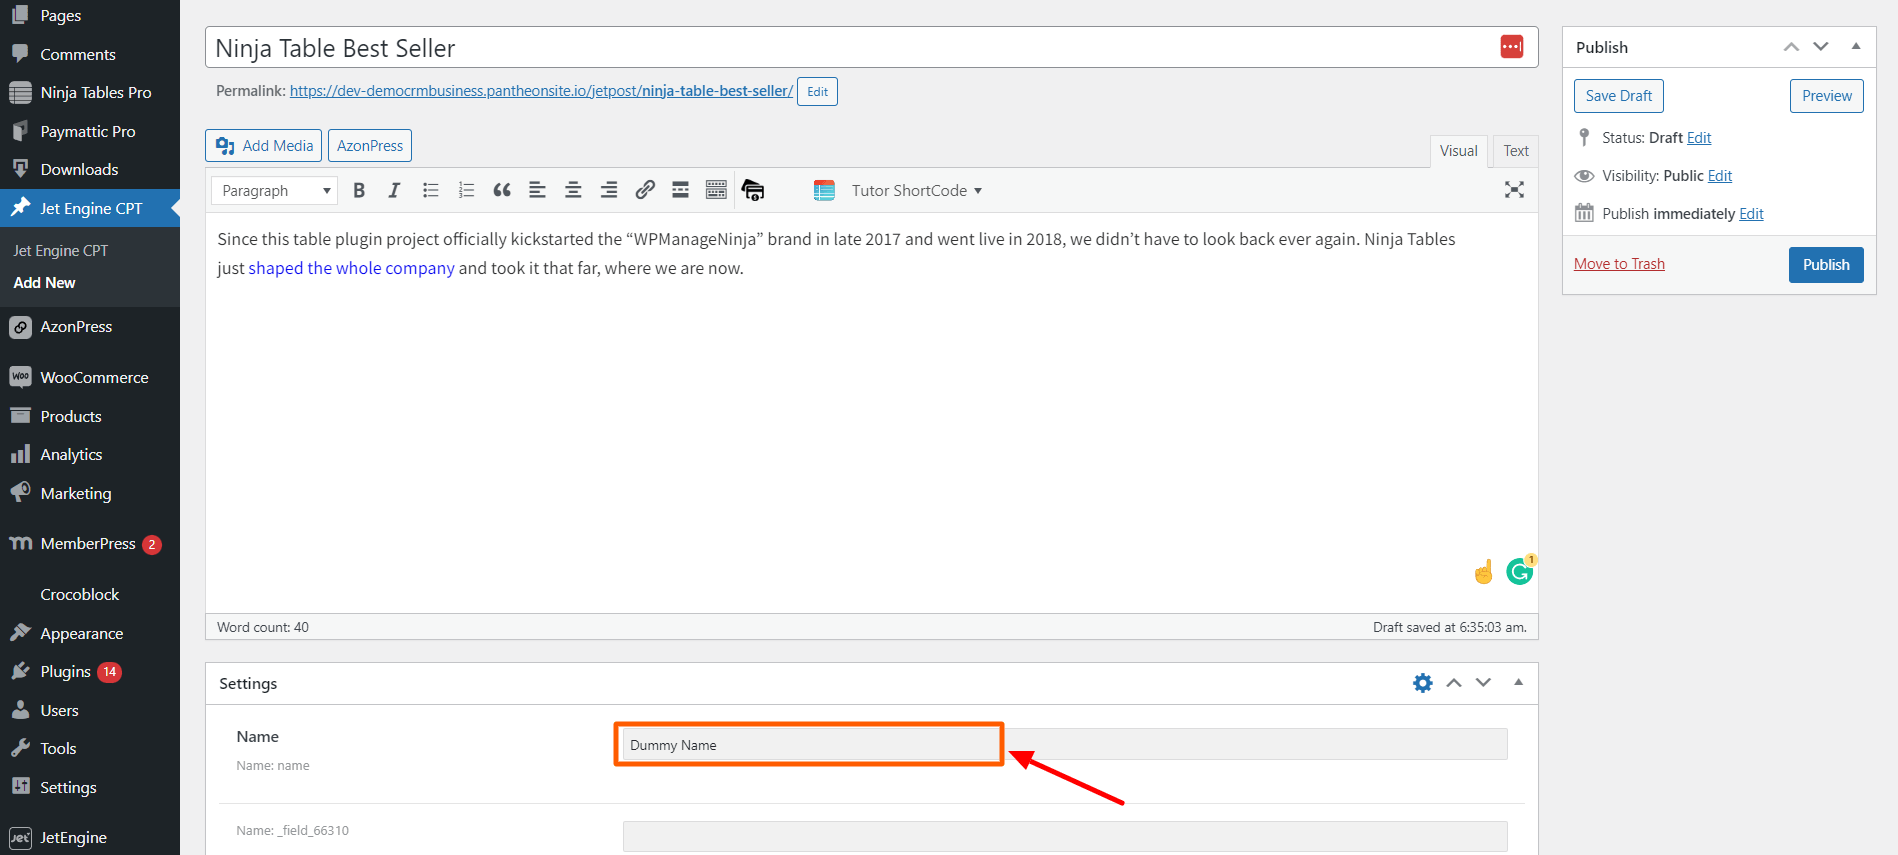
- Now, go to the Jet Engine CPT and go to the Add New button.
- Here, you will see the Meta Field has been added. Click on the Publish button when you are done.
Custom Post Type will work only with WP Posts & WooCommerce Table!
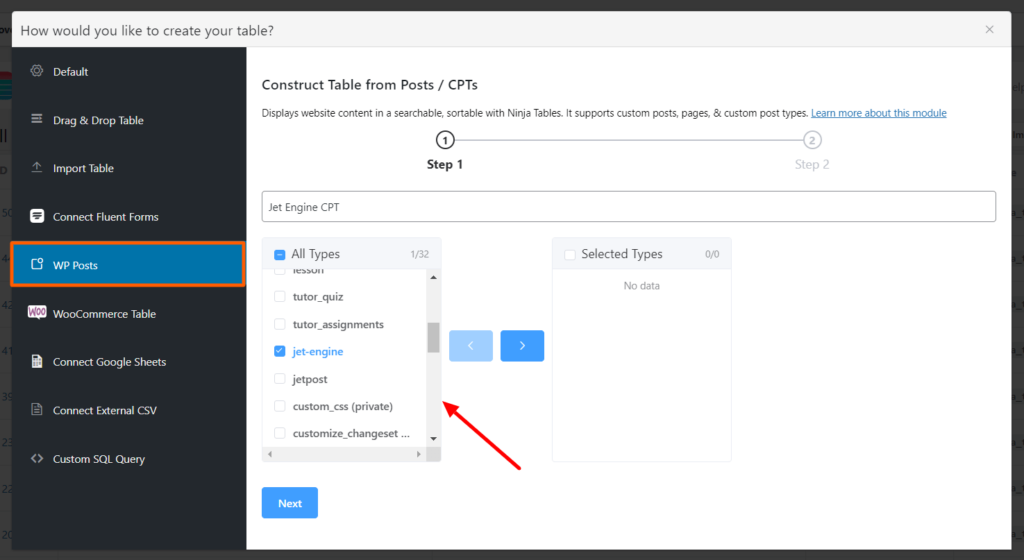
- Now, navigate to the Ninja Tables plugin and go to a Post Table.
- You must go to the Ninja Tables Add New Column button to add a new column when using a Custom Post field in a Custom Post Type.
- Give your Column Name and other field names.
- Choose Shortcode/Computed Value or HTML from the Field Type option in Dynamic Post Data Settings. After choosing the Shortcode/Computed value field type, some customized dynamic field values will be shown below.
- In the Field Value option, for Post Meta, put your post meta key shortcode in the field.
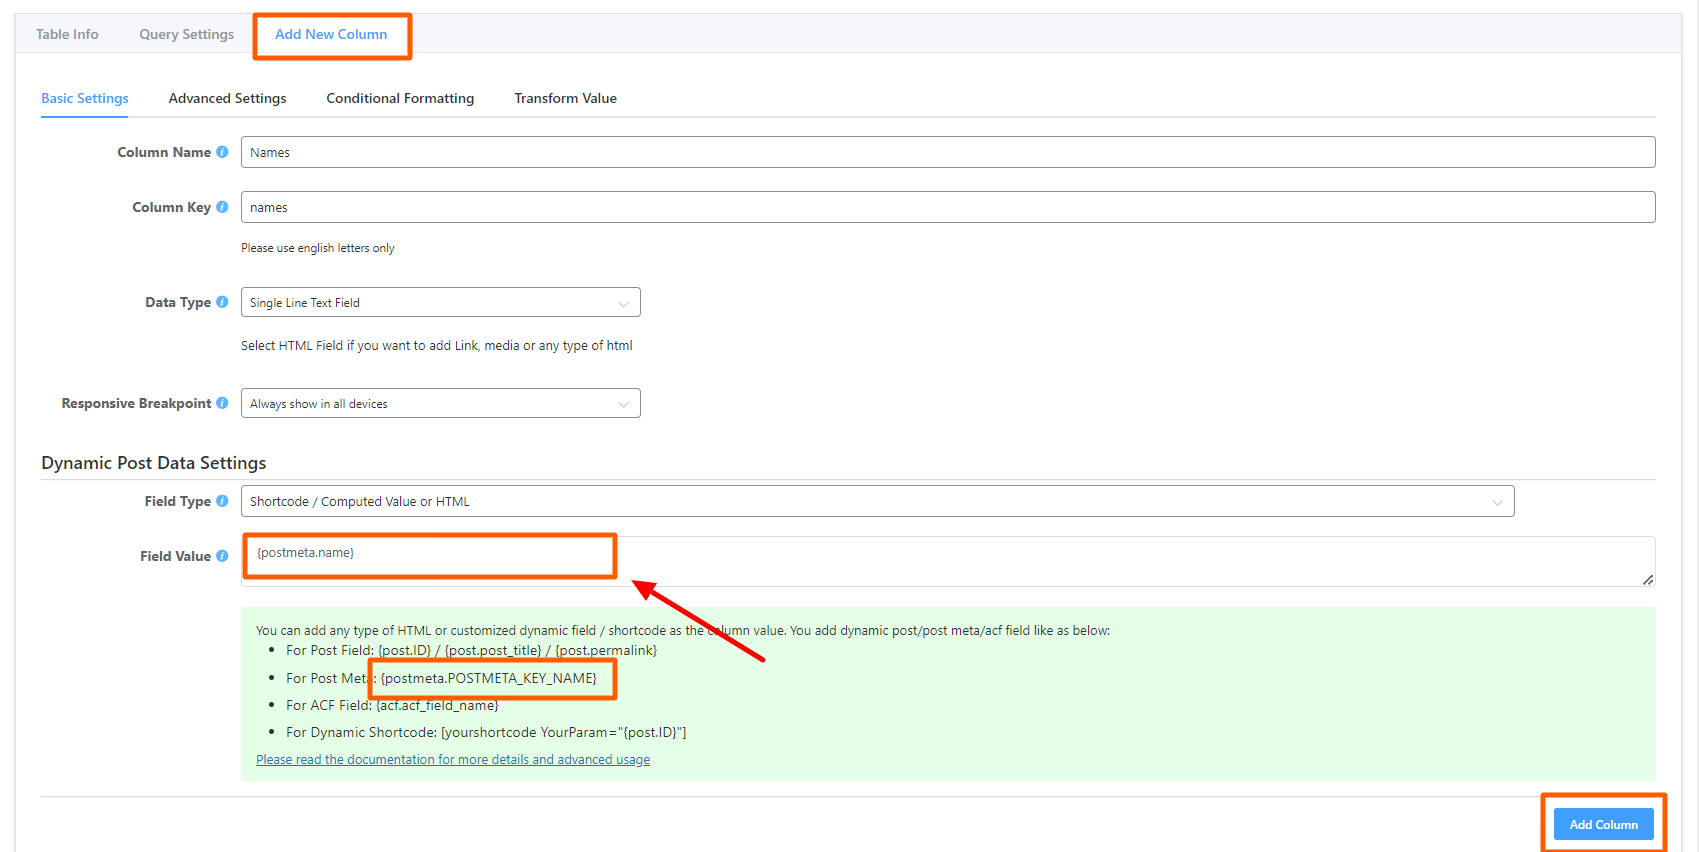
- Go back to the Dynamic Post Data Settings, put your Post Meta key, and click on the Add Column button.
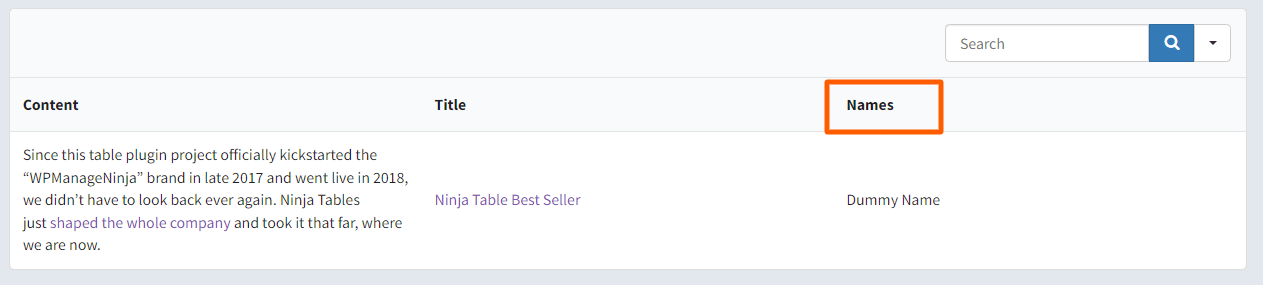
- Then, the custom columns will be added. It will be showing up on the table like this.
By following the same steps, anyone can integrate JetEngine/ACF/Metabox/Toolset/Pods with Ninja Tables!


