
A table is used to visualize data, and texts carry the primary data of any table.
After knowing how to create the first drag-and-drop table you should be clear about all the elements of this module. In this guide, we will explore the Text element, a free element available in the builder.
As you engage with the Editor Box, you’ll find seamless text editing access at your fingertips.
Let’s add a Text element to our Ninja Tables!
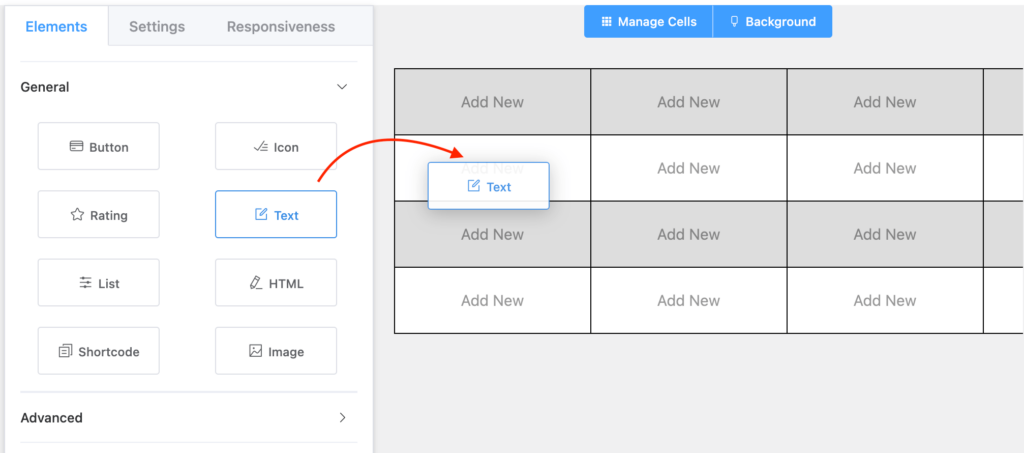
All you need to do is drag the element from the left menu and drop it on the table.
Properties of Text Elements #
| Scope | Option Name | Type |
|---|---|---|
| Text Options | Font Color | Graphical Color Selection |
| Font Size | Numeric Value | |
| Alignment | Left, Center, Right | |
| Font Weight | Bold, Italic, Underline |
Customize Text Elements in Tables #
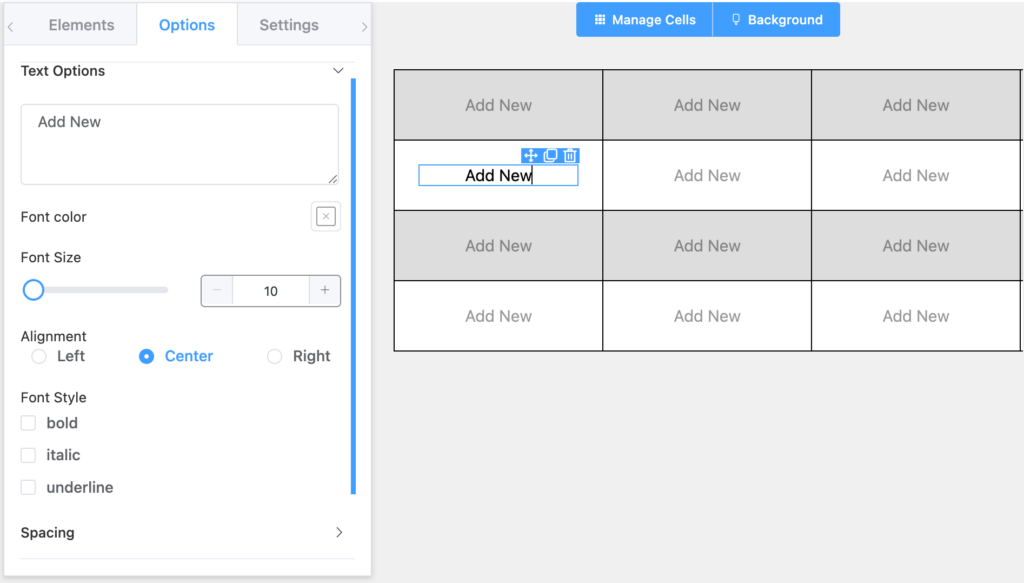
- Editor Box: You can edit the text of the Text Element. (Or, type in the cell)
- Font Color: You can change the color of the text. By default, it is set to Black.
- Font Size: Change the size of the text. By default, it is set to 15.
- Alignment: You can align texts to the left, right, or center. By default, it is set to Center.
- Font Style: You can change the Font Style orientations. Available options are Bold, Italic, and Underline.
Conclusion #
We hope this documentation on Text Element has helped you understand the functionality of this Ninja Tables Drag & Drop Table Builder element.
Please check our other documentation regarding the features of the Drag & Drop Tables and create WordPress tables effortlessly with Ninja Tables!
Let us know your thoughts and questions in the comment box below.


