
In Ninja Tables WP Posts table, you will find an option called Featured Image included in the ACF feature. To use this feature, create a table with the help of the WP Post option.
Let’s have a look at the table below, which is created using WP Post.
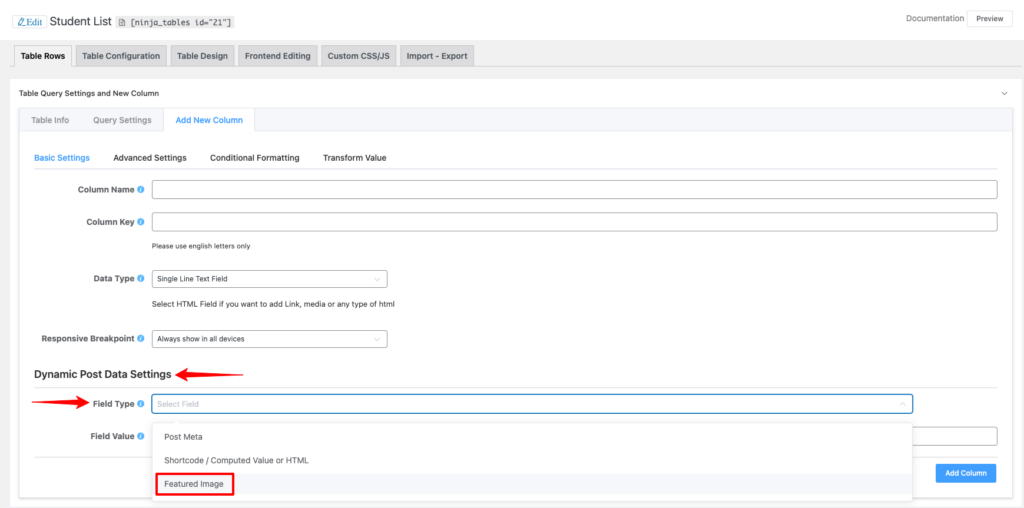
- To use the Featured Image option, click on the Add New Column tab located beside the Query Settings tab. After the Add New Column is clicked, an extended drop-down will appear with a set of options.
- Go to the extended popup to get this feature, here you can find a section called Dynamic Post Data Settings. There’ll be two options for the segment, one being Field Type & the other being Field Value.
- Select the option Field Type, then the drop-down will appear. If you want to edit any featured image of your post table, just click on the Featured Image option.
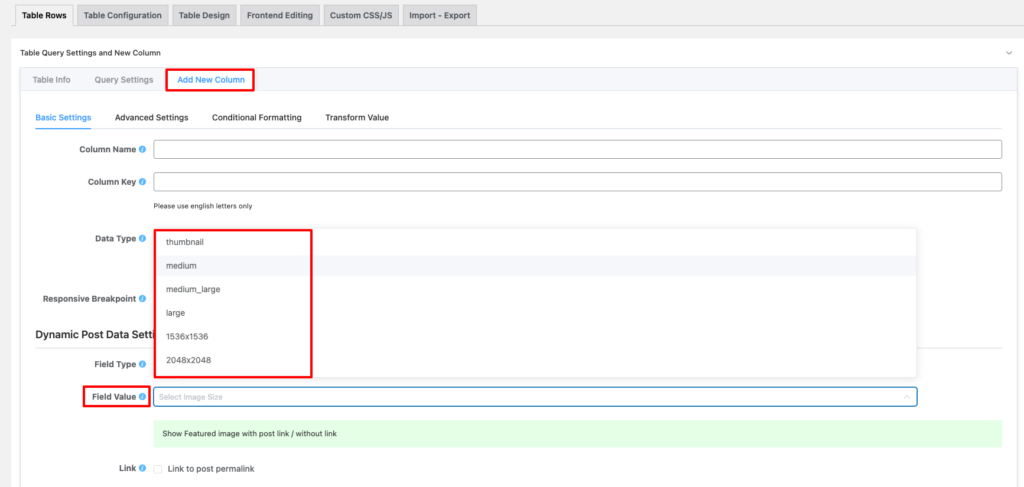
- Next, select the Field Value option from the dropdown. The image can be used as a thumbnail, medium, large, etc. You can select your preferred featured image size from here.
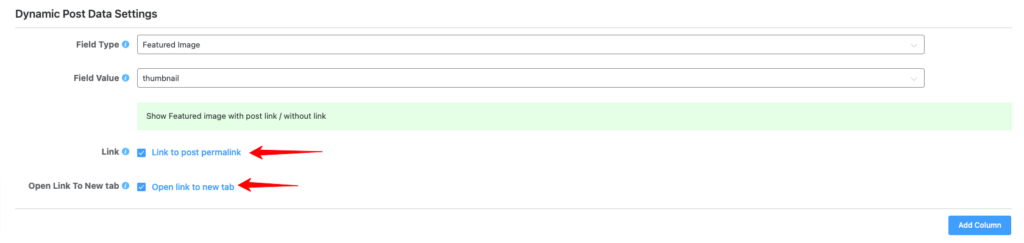
- By checking the box you can connect the image to the post permalink and also check the Open Link To New tab to open the link to a new window.
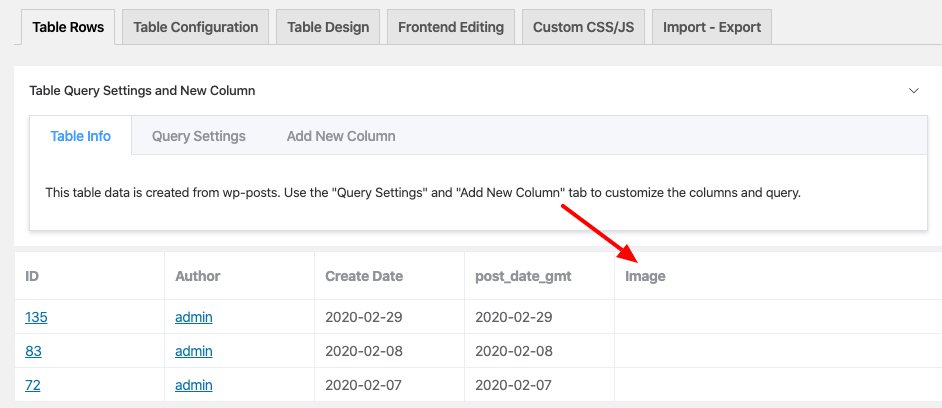
- A column of the featured images will then appear with the featured images on your table. Here’s an example – my post doesn’t hold any pictures so it doesn’t display anything in the image field.
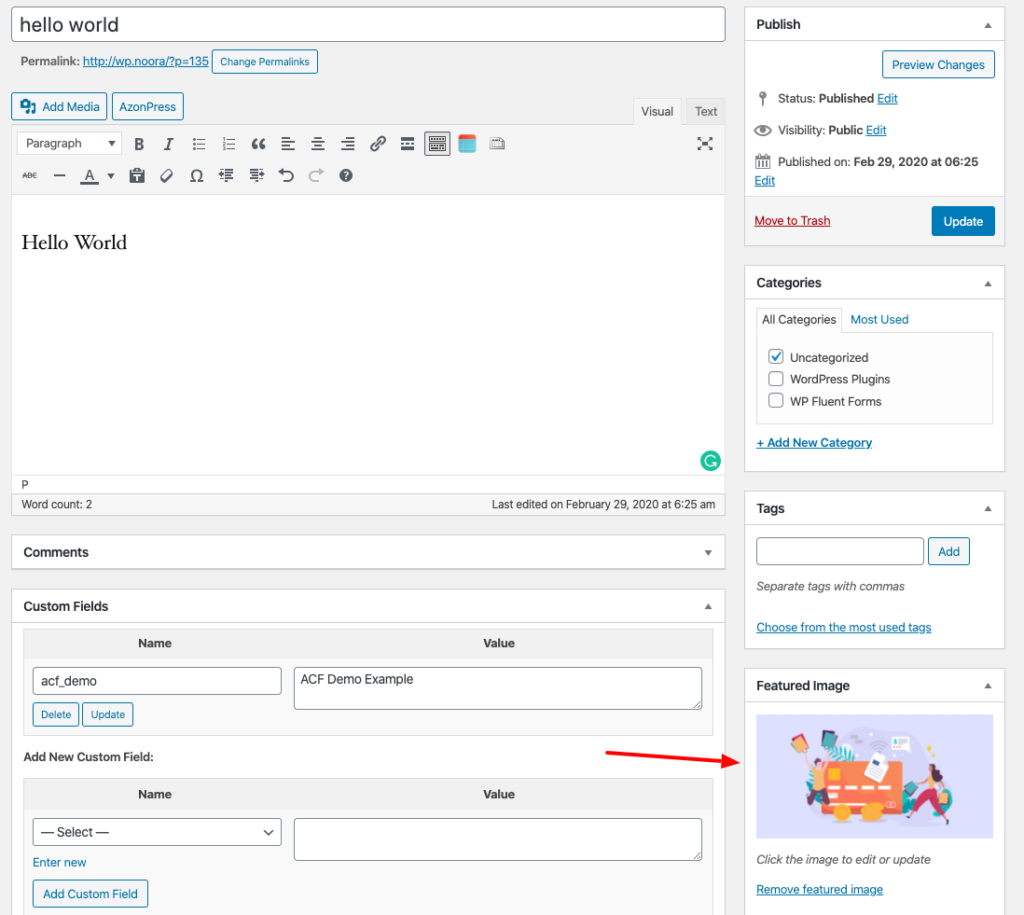
- Adding the feature image to a post will automatically be shown on your table’s image field. If a picture is attached to one of the posts, you can see this is included in the table you created.
- So, look at the table’s final output after the image is included in your relative post.
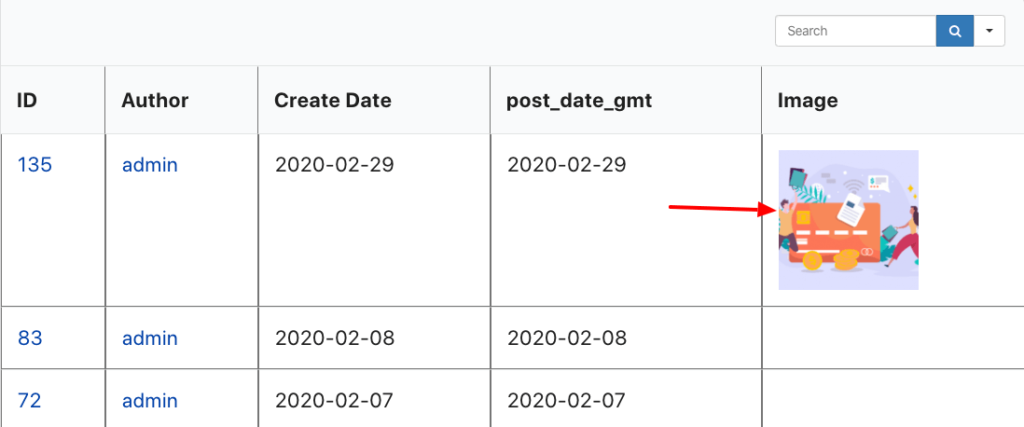
This is how you can use the Featured image in WP Post table.


Is it possible to have an image that is in a FluentForm display into a FluentForm → Ninja Table?
Hi Carla,
Yes, It is possible showcase your FluentForms image on your tables made with Ninja Tables.
By default it will not show the images directly but if you add a simple HTML on your column ‘transform value’, it will work fine.
Change your source value and width and height as your preferences.
Contact our support team from here https://wpmanageninja.com/support-tickets/ to get any kind of extended support.
Thank you.