
Ninja Tables offers you a variety of advanced options in the Advanced Settings tab, right after Basic Settings. You can add more specifics and dynamic elements to your table columns with these options. For example, text alignment, column colors, width, etc.
Let’s look at this simple article to learn how to add these Advanced Settings to a column.
Advanced Settings in Columns #
- Go to a table created by Ninja Tables first and then hover over any column to find the settings icon.
Or,
- You can move to the Table Configuration tab and click the edit icon. Select Advanced Settings.
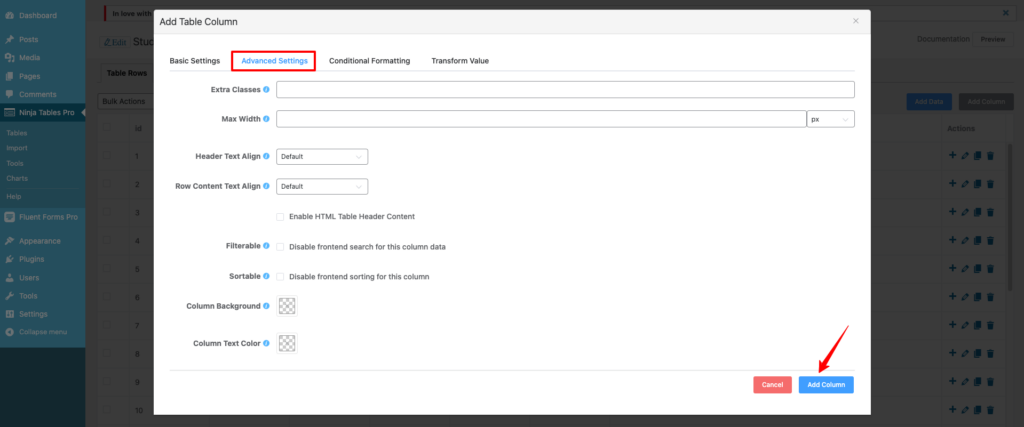
Here you’ll see several advanced options to customize the column- Extra Classes, Max Width, Header Text Align, Row Content Text Align, Filter, Sort, Column Background, and Column Text Color.
Extra Classes #
The Extra Classes help you customize your column more easily. Add Additional Custom CSS classes to the column and use space to separate each class.
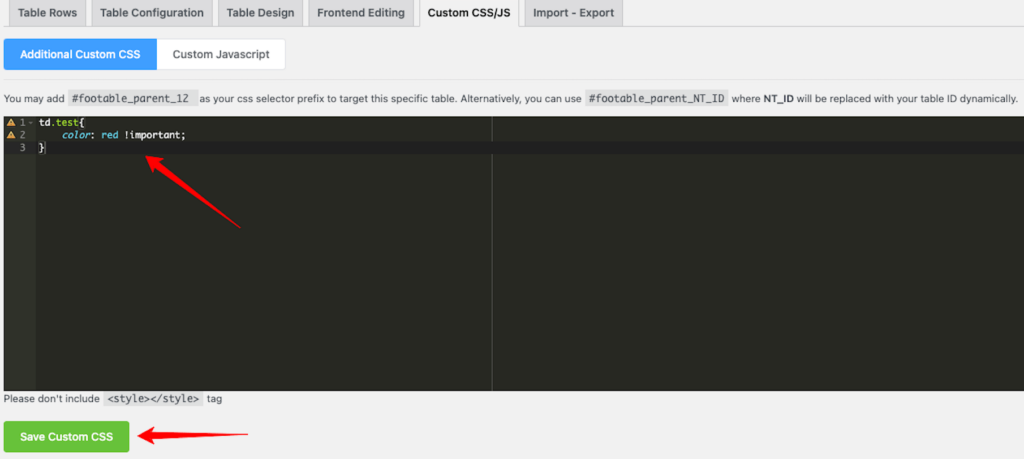
- Give the particular column’s Extra Classes field a name first. We added “test.”
- Then select the Custom CSS/JS tab and enter your own CSS style there.
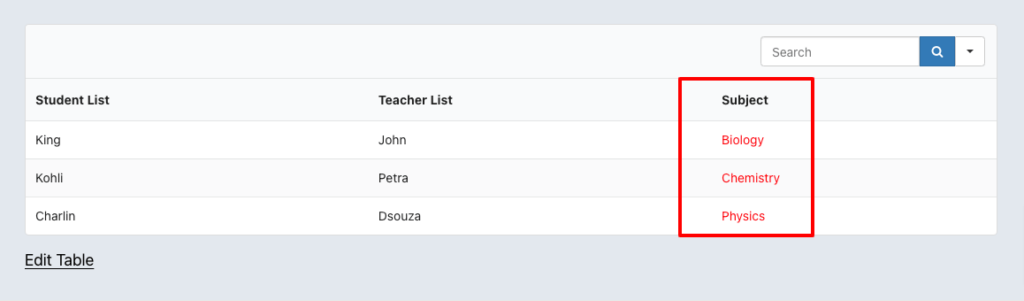
- This is how that particular column looks after Extra Classes were added.
Max Width #
To define the maximum width of a particular table column, use this option. The width can be customized with either px or percentage.
Header Text Align #
Use this option to align the column header text.
You will have six options to choose from for alignment. From there, pick the correct text alignment option for your table column.
Options include Center, Left, Right, Justify, Start, and End. This only applies to the header texts.
Row Content Text Align #
This option is nearly the same as the previous one, except this time, it’s for content in row text.
You’ll have 3 options to choose from in a dropdown style. They are Center, Left, and Right.
Header HTML Content #
Provide content for the table column header if you want to show HTML content. This option will let you add icons or media to a column header.
Filterable #
If you disable this, then the column data will not be filterable at the front end.
Sortable #
When this is disabled, the column data will not be sortable at the front end.
P.S. You can also disable the Sortable option by going to the Table Design tab.
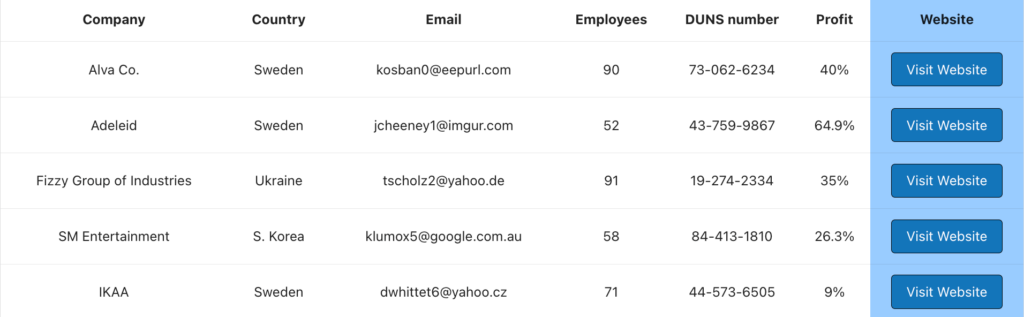
Column Background #
You can set a particular column’s background color to be displayed on the table’s front end.
Column Text Color #
With this, you can set a particular column’s text color.
Apply the Advanced Settings to your table columns and make the data stand out.


