
Table of Contents
This feature, known as Post Meta Field (also called Custom Fields), helps associate additional content to a post.
With Ninja Tables, you can show this content with your table data. This content is usually not directly linked to the main content itself. Depending on the type of site, the content you’re dealing with could vary a lot.
A new post can be added, or a current post can be edited. Here, an existing post is edited to build custom post meta fields in WordPress table using the Ninja Tables plugin Post Meta Field option.
Display Post Meta Field in WordPress Table #
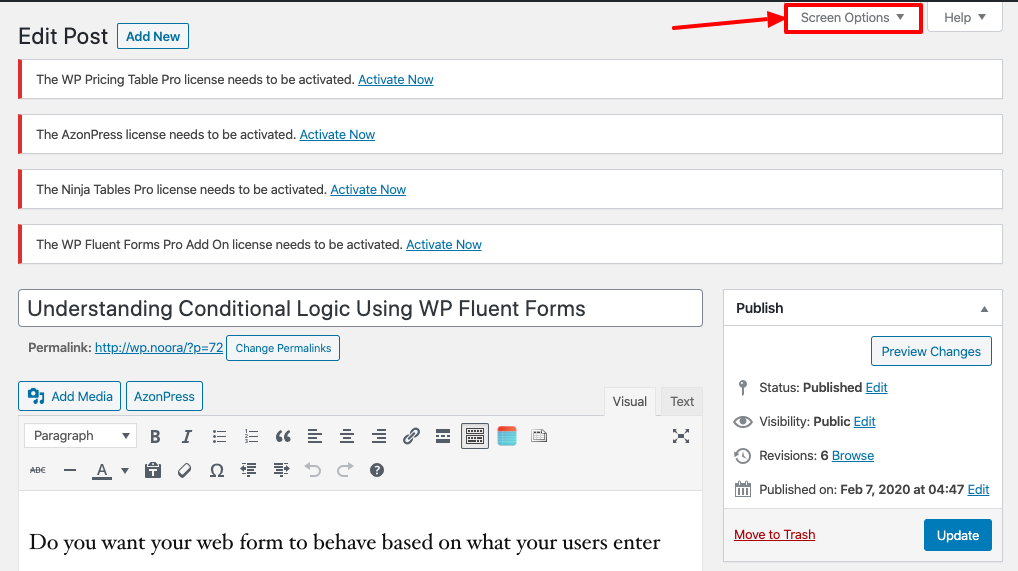
- Firstly, navigate to your WordPress admin panel’s Post Editor tab. Tap the Screen Options in the panel.
- And then, you will notice an expanded panel appearing. Here the Custom Fields checkbox will be visible.
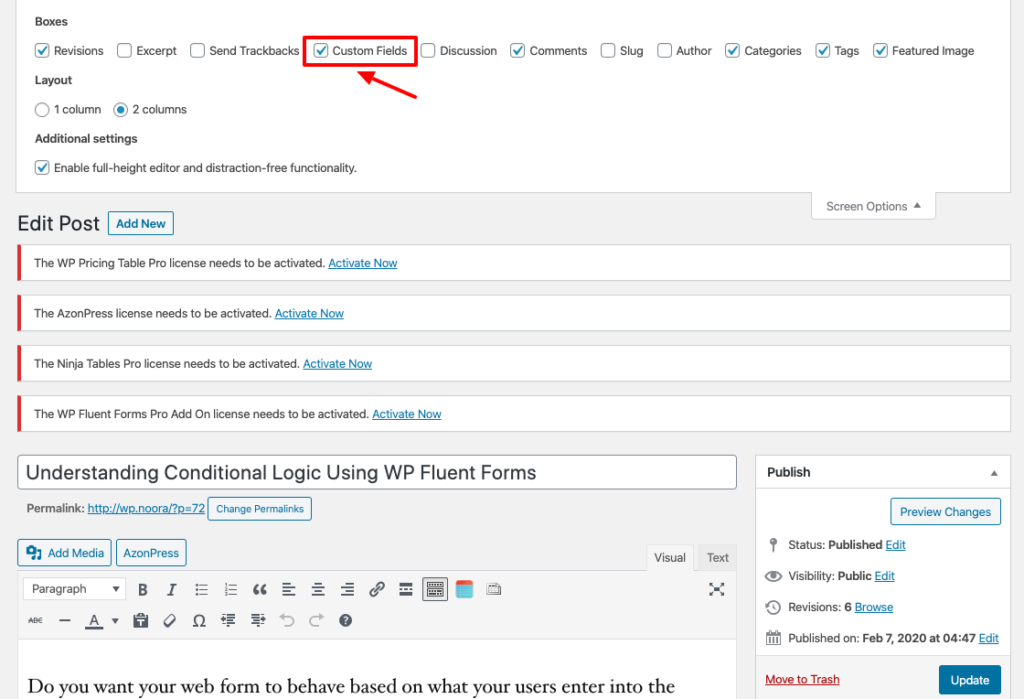
- A Custom Fields option will appear at the bottom of the post after checking the Custom Fields option.
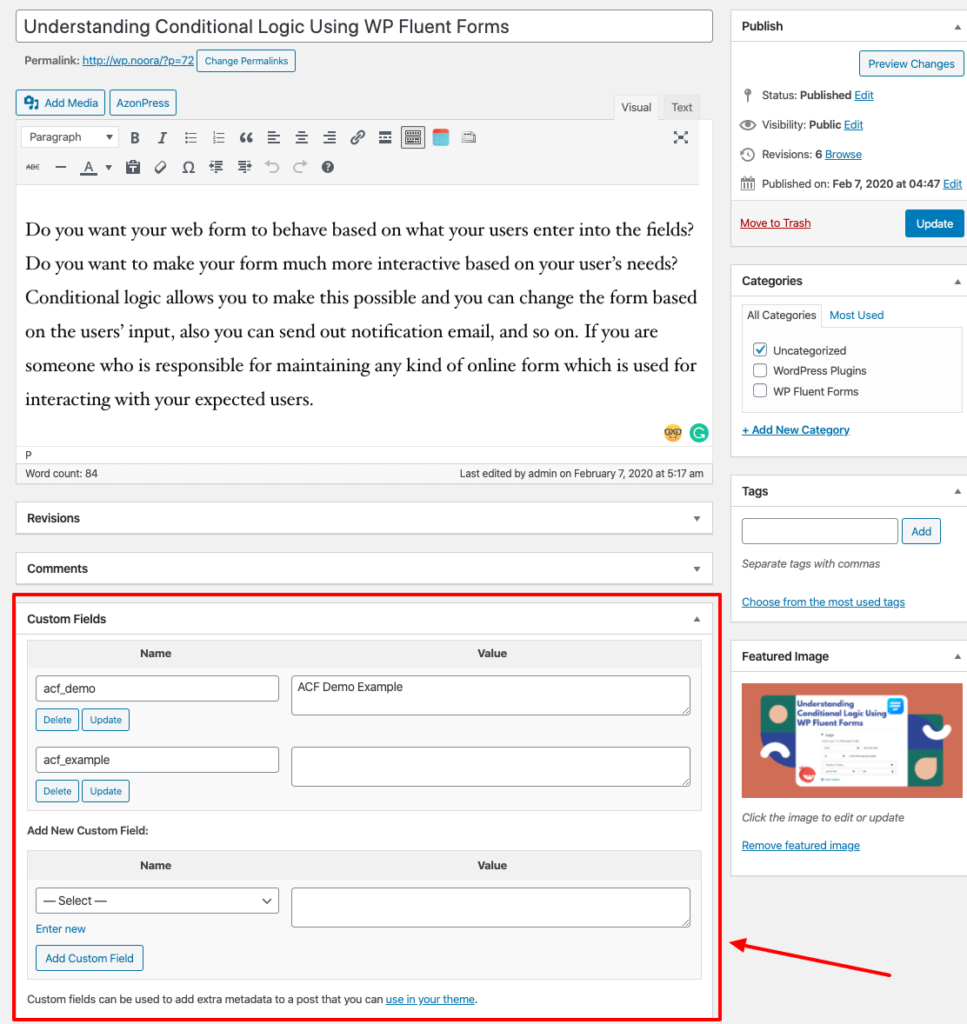
- The Post Meta follows a scheme called pairs of keys/values. In the above screenshot, you can see that 3 custom fields are generated with their value.
- To show one of the fields in my table, go to the dashboard for Ninja Tables and add a new table, or select any of the tables that were made.
- Then click on the Add New Column tab.
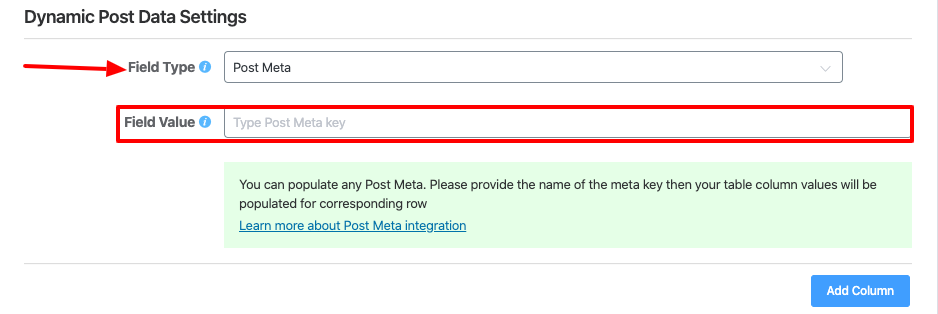
- You can find the Dynamic Post Data Settings section after filling in the basic information. From there, click on the option Field Type. A drop-down option will appear. From there, click on the Post Meta option.
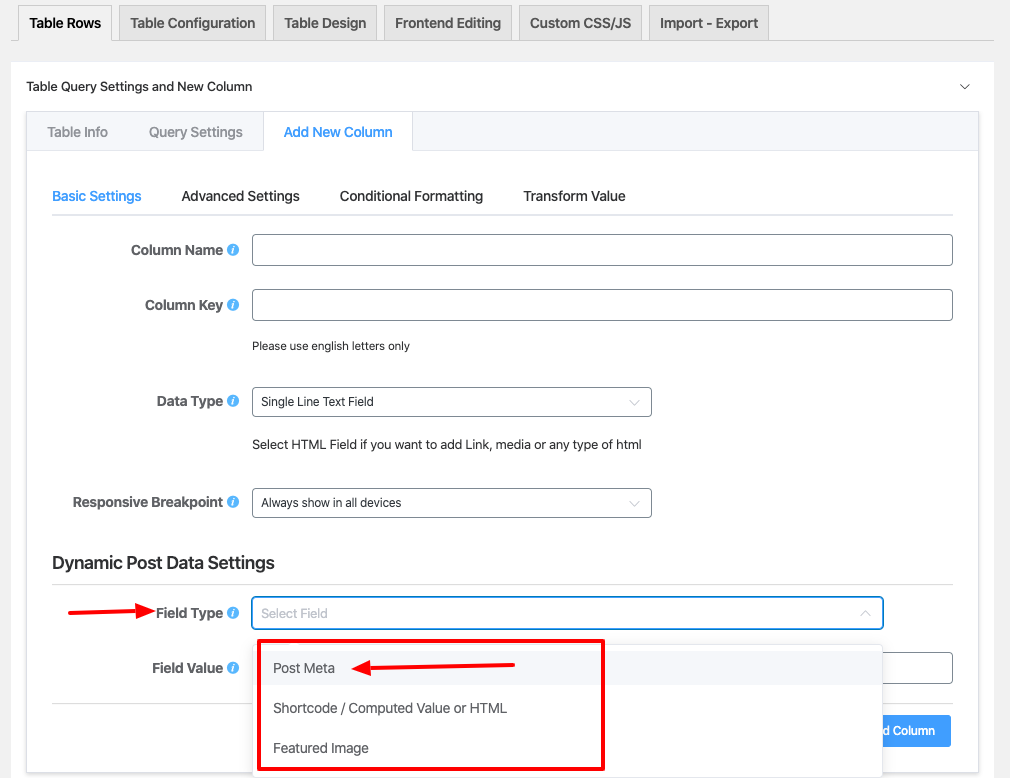
- You will then see an input field appear to include the field value to be shown on the table.
- Create a Custom Field and Place the value in the Custom Fields section of your post section. Copy the Custom Field Value for further Use.
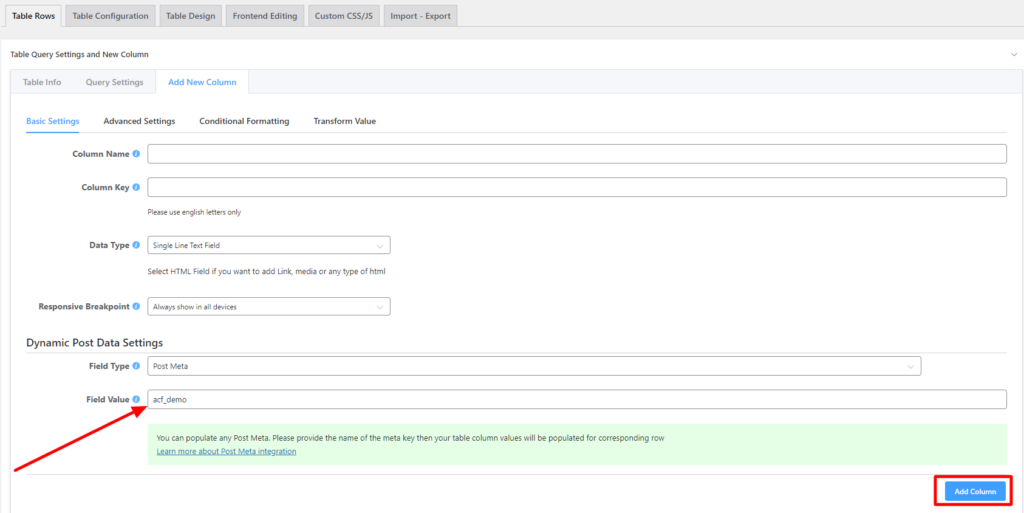
- If Ninja-Post is added as a Field Value from the post page custom fields section, then a custom field column post meta will be added to the table. Ninja-Post is placed in the Dynamic Post Data Settings section as Field Value.
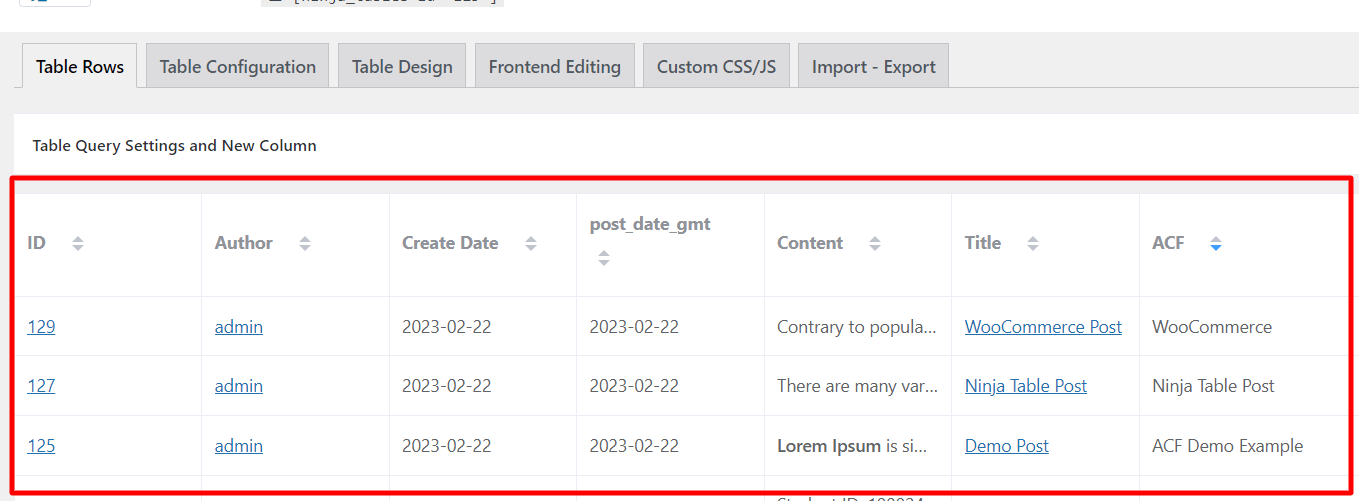
- The final outcome of the table can be seen by clicking on the preview button.
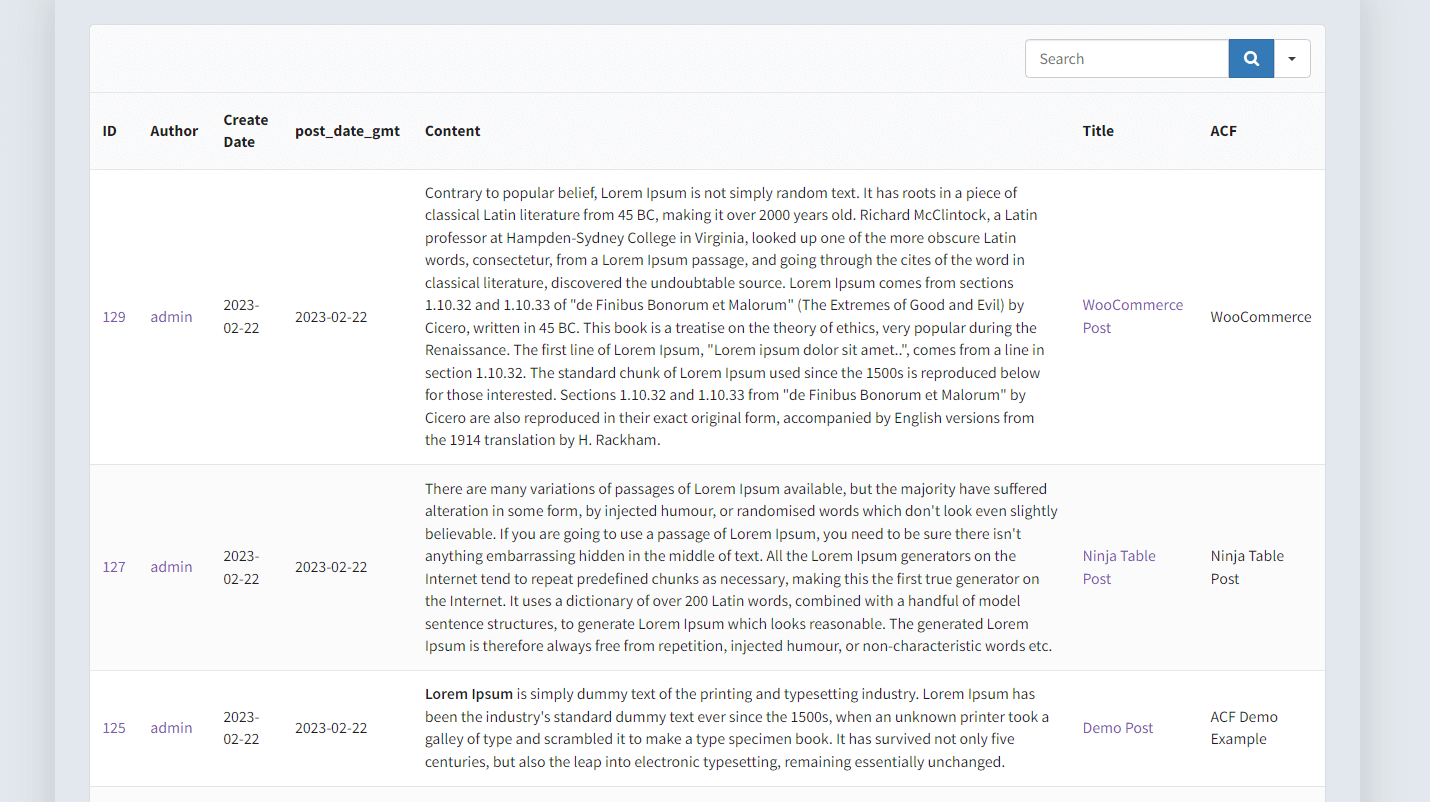
Now, you can see that a post meta has been added to your table as a Custom Fields type. This is how you can display Post Meta Field of Ninja Tables.


