
Table of Contents
Sometimes texts and numbers are not enough to express the information we want to present to users. We absorb information better with visual items like images.
Ninja Tables Drag and Drop has an image element for you to add media to the table.
Just drag the element to insert image in table.
Let’s add the image element in the drag and drop mode to show you how it works.
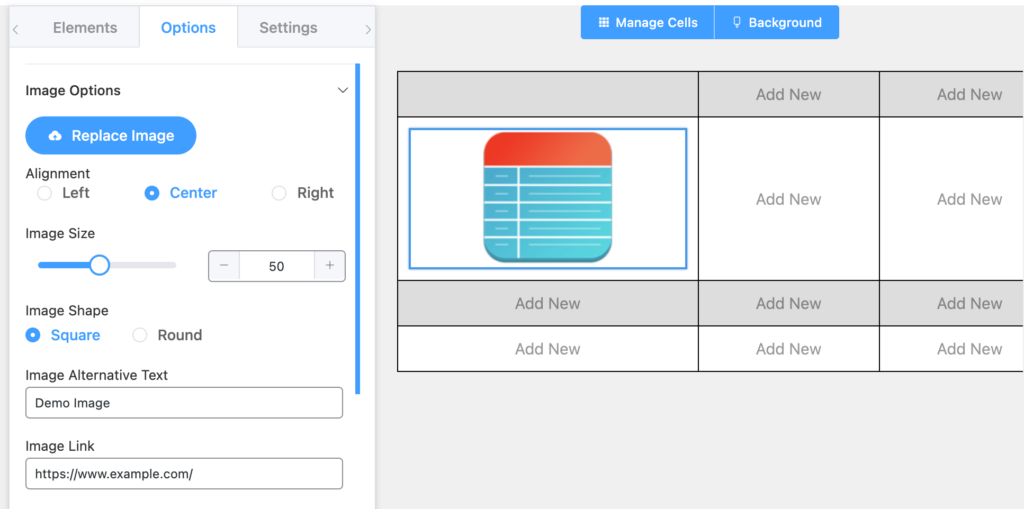
When you drag the element on the table, it will show a default image. Change it to whatever you want.
Properties of Image Element #
| Option Name | Type |
|---|---|
| Replace Image | Media Upload |
| Alignment | Left, Center, or Right |
| Image Size | Numeric Value |
| Image Shape | Square or Round |
| Image Alternative Text | Text Edit |
| Image Link | Text Edit for URL |
- Replace Image: Replace the default image with your own image with the Media Upload button from your computer.
- Alignment: Align the Image to either Left, Center, or Right. By default, it is set to Center.
- Image Size: Change the size of the Image. By default, it is set to 50.
- Image Shape: Change the shape of the Image to either square or round. By default, it is set to Square.
- Image Alternative Text: The alt text of the HTML <a> tag or simply the Alternative text of the link of the image.
- Image Link: The URL of the link of the image which you can edit within the provided field.
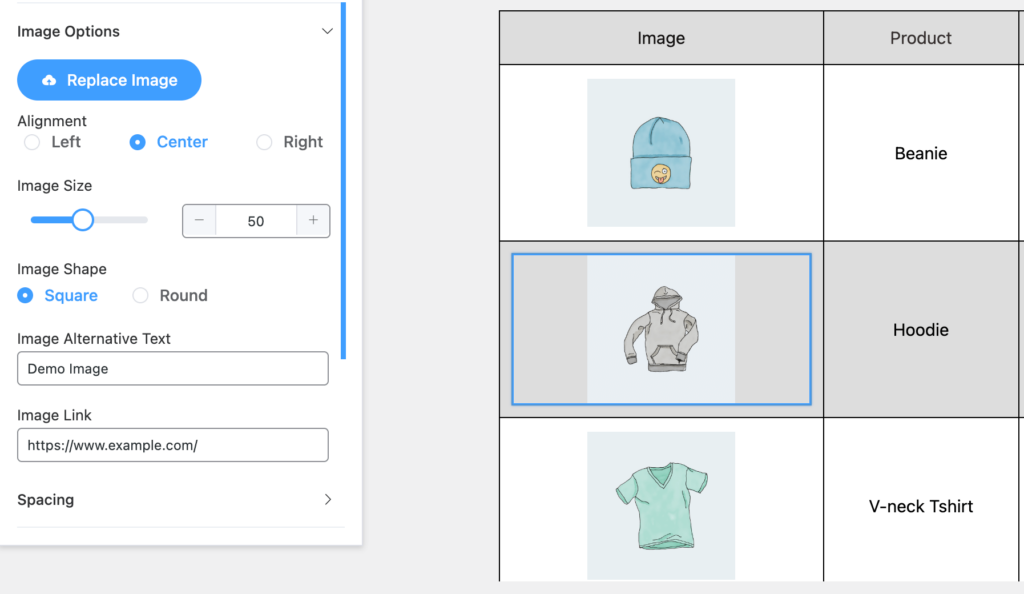
Here’s how a table looks with images:
Conclusion #
If you run an online product store, you need a table with product images. This is where Ninja Tables’ “Image Element” comes in handy for you.
Insert images in WordPress tables easily.
Let us know your thoughts and questions.


I don’t want the image to be linked to anything, how can I do that?
Hello Mabel,
Thank you for getting in touch with us. To ensure that your images are not linked, follow one of these methods:
1. Leave the URL field empty when adding images to your table.
2. Alternatively, you can use javascript:void(0) in the URL field.
For method 2, follow these additional steps to prevent the images from opening as a link or in a new tab:
Click the Settings section in your table. Under the JS Custom field, paste the following JavaScript code:
jQuery(document).ready(function() {
jQuery(‘tbody a’).each(function() {
var hrefValue = jQuery(this).attr(‘href’);
if (hrefValue === ‘javascript:void(0)’ || hrefValue === ”) {
jQuery(this).removeAttr(‘target’);
}
});
});
This JavaScript code ensures that links within the
elements with a URL of “javascript:void(0)” or empty will not open in a new tab. Let me know if it helps.Thank You.
Hello! This action did not work. When I trying to add javascript:void(0) to the image link the message is shown: “Something went wrong, please try again.”.
The code:
jQuery(document).ready(function() {
jQuery(‘tbody a’).each(function() {
var hrefValue = jQuery(this).attr(‘href’);
if (hrefValue === ‘javascript:void(0)’ || hrefValue === ”) {
jQuery(this).removeAttr(‘target’);
}
});
});
also presented an error when being added to JS Custom field. Would you help us?
Hello Erick,
This error shouldn’t be there. We recommend you to create a support ticket from https://wpmanageninja.com/support-tickets/.
I am using SQL to populate the tables, I want to provide the image URL as a column in the query. How do I get the table to display this image in the column?
Hi Ian. If I understand your question correctly, “Transform Value” can help you out with what you’re looking for. https://ninjatables.com/docs/transform-value/