
Ninja Tables always offers fantastic features for its users, and one of them is the Frontend Editing feature.
This functionality allows you to retrieve user data and edit the table data from the frontend. It also enables you to allow the user by role. This means that, in addition to some more possibilities, you can allow any specific user role to update or add data to your table.
Let’s dive into this guide which will demonstrate how to apply Frontend Editing on your Ninja Tables.
- With this feature, the user of this table will get some options, such as adding / editing or changing their own frontend data.
- It is quite simple to implement this feature. Two options need to be configured in the Frontend Editing.
- The first one is to set the user role, who can add/edit/delete data. And then set up the editable columns.
Enabling Frontend Editing #
- First, go to the Ninja Tables dashboard and click on the Frontend Editing tab. Look at the example below –

- After enabling the frontend editing, a bunch of options will appear on this page.
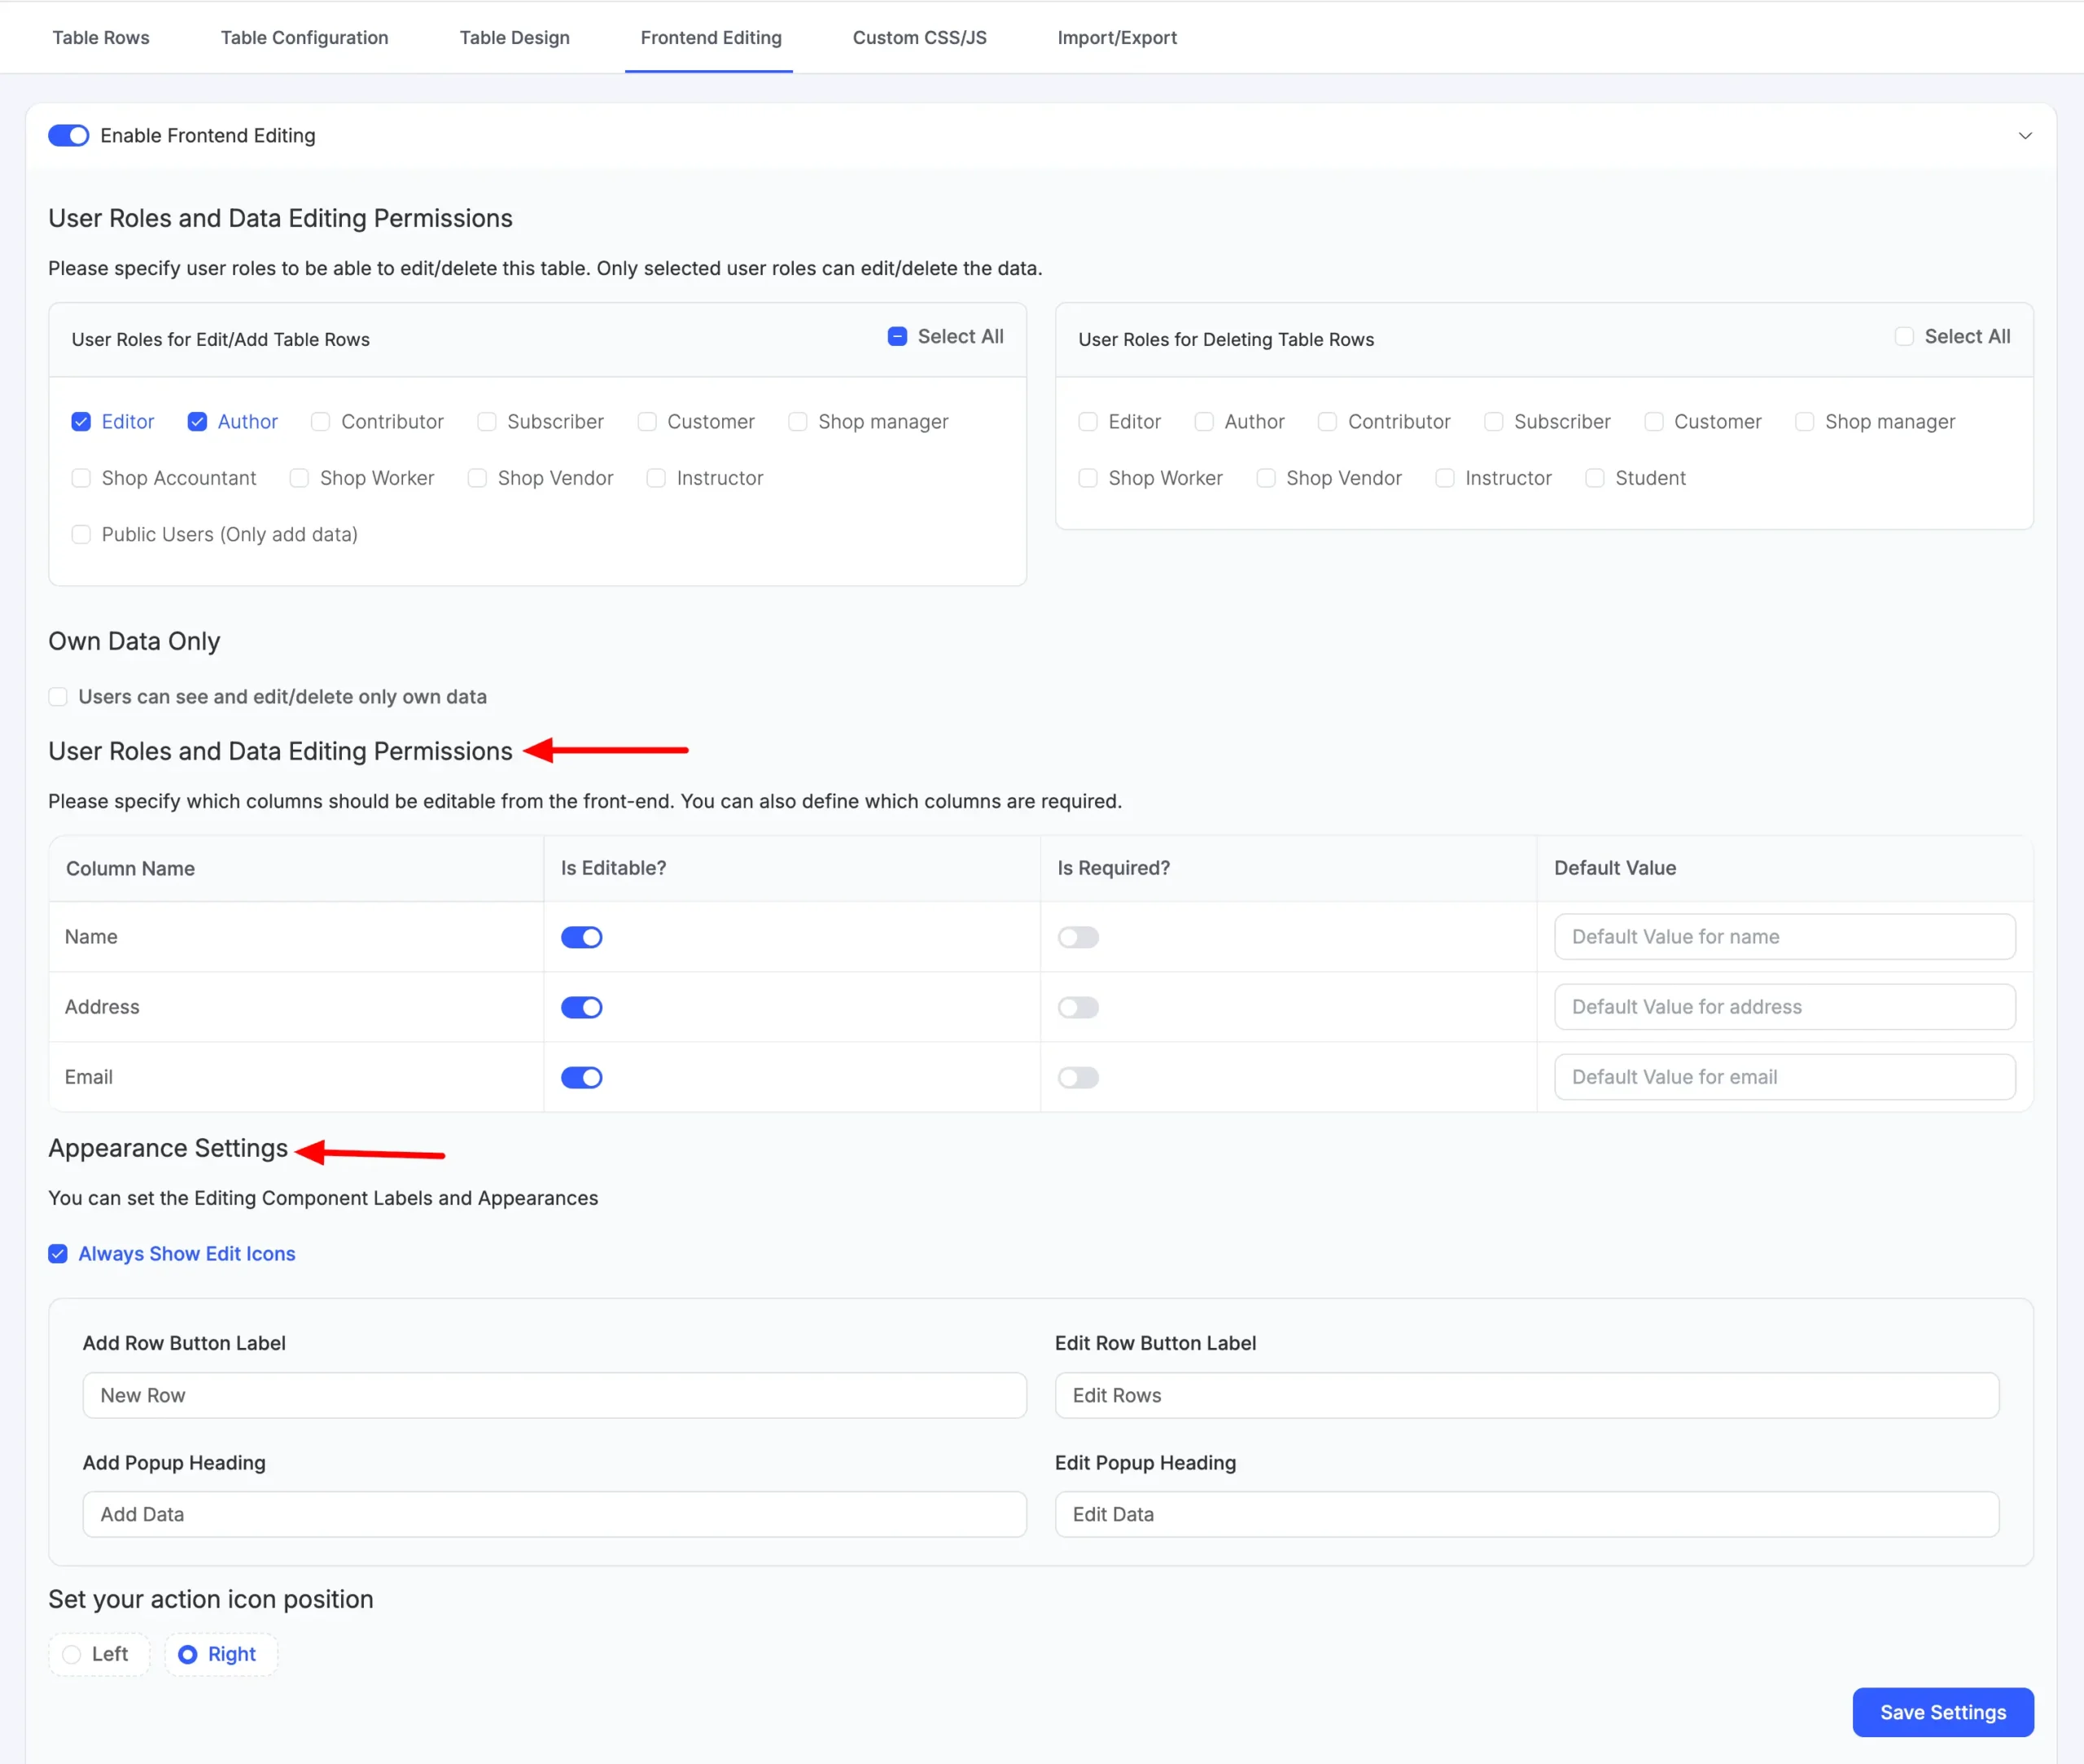
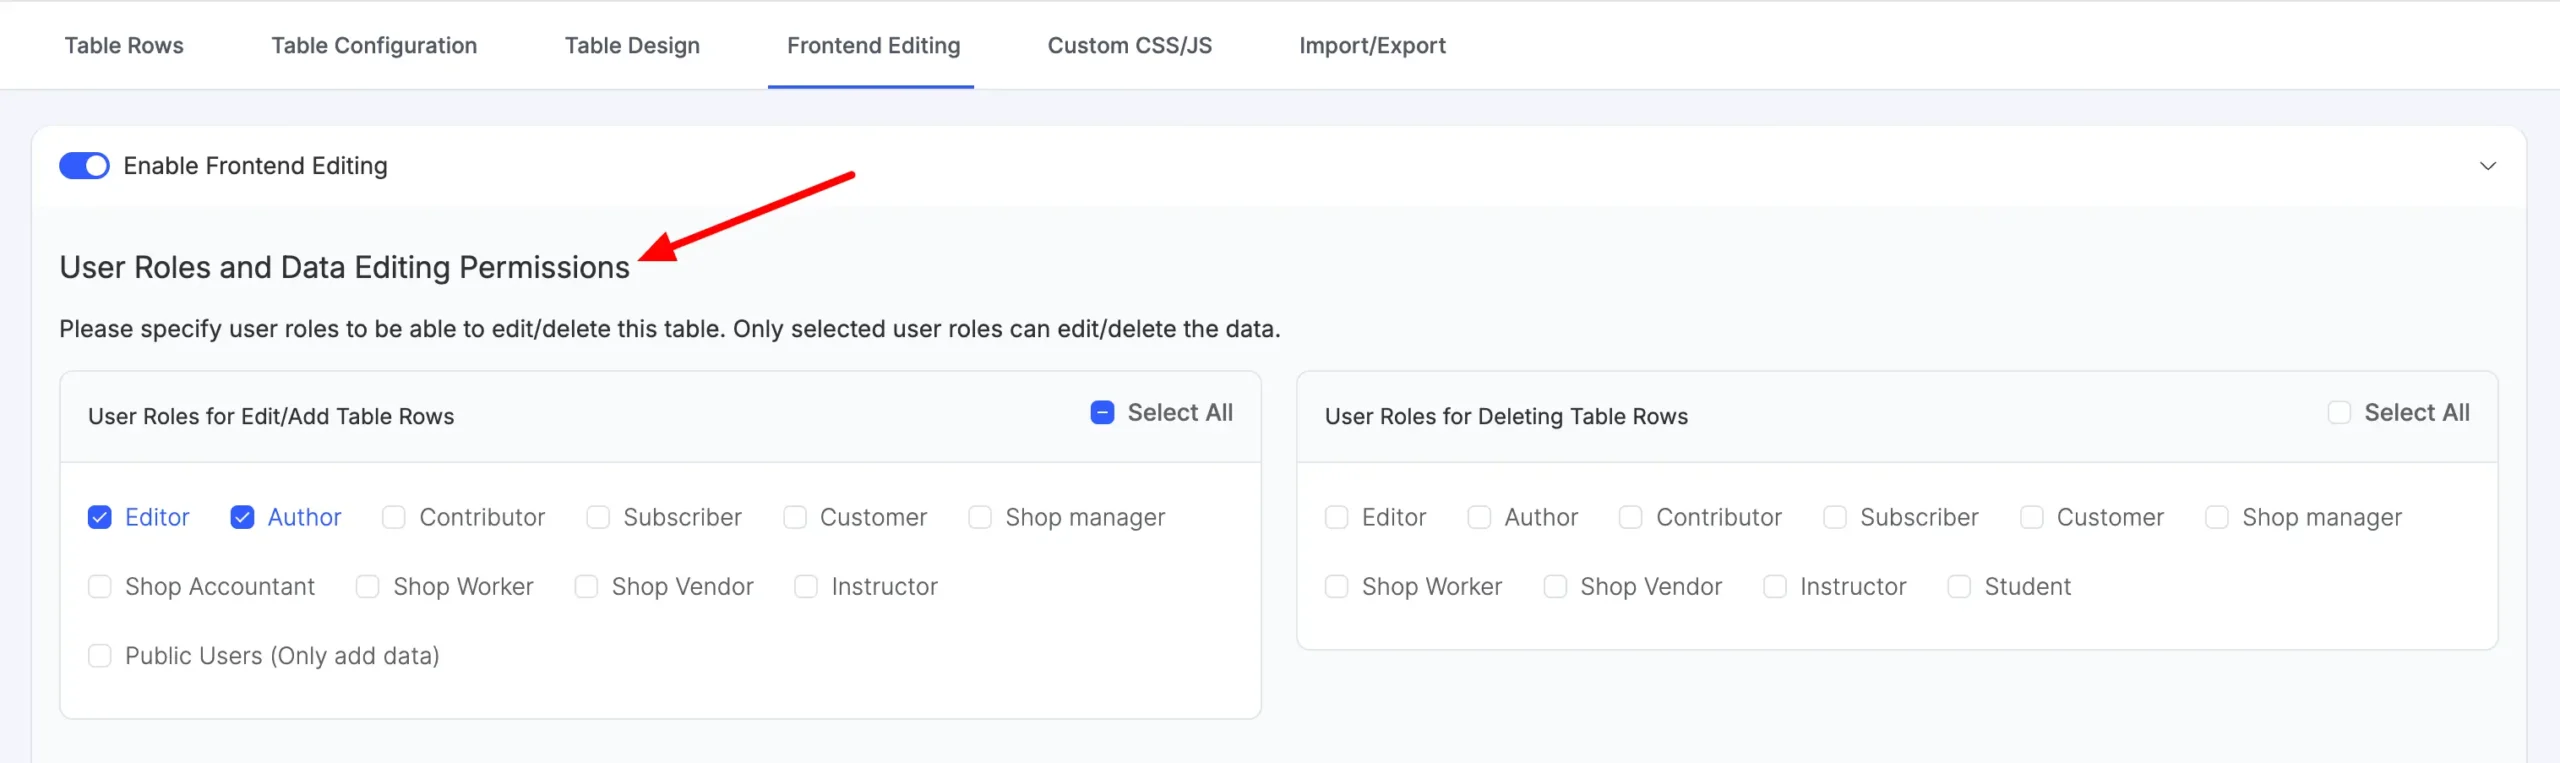
User Role Permissions #
- Data editing permission is the first option in the settings. Here you will find some user roles to edit/add on the left side.
- In the example given below, by checking both the left & right checkboxes, only the Author is allowed to edit and delete the table data. Multiple users can be allowed permission if you want.
Own Data Only #
- If this feature is selected, then users cannot edit/delete other users’ data. Only their own data can be edited.
- You’ll get a new shortcode for this table when you allow this ‘Users can see and edit/delete only their own data’ permission.

Instead of using the standard table shortcode, use the following shortcode to display all the data without displaying Editing tools to all users.
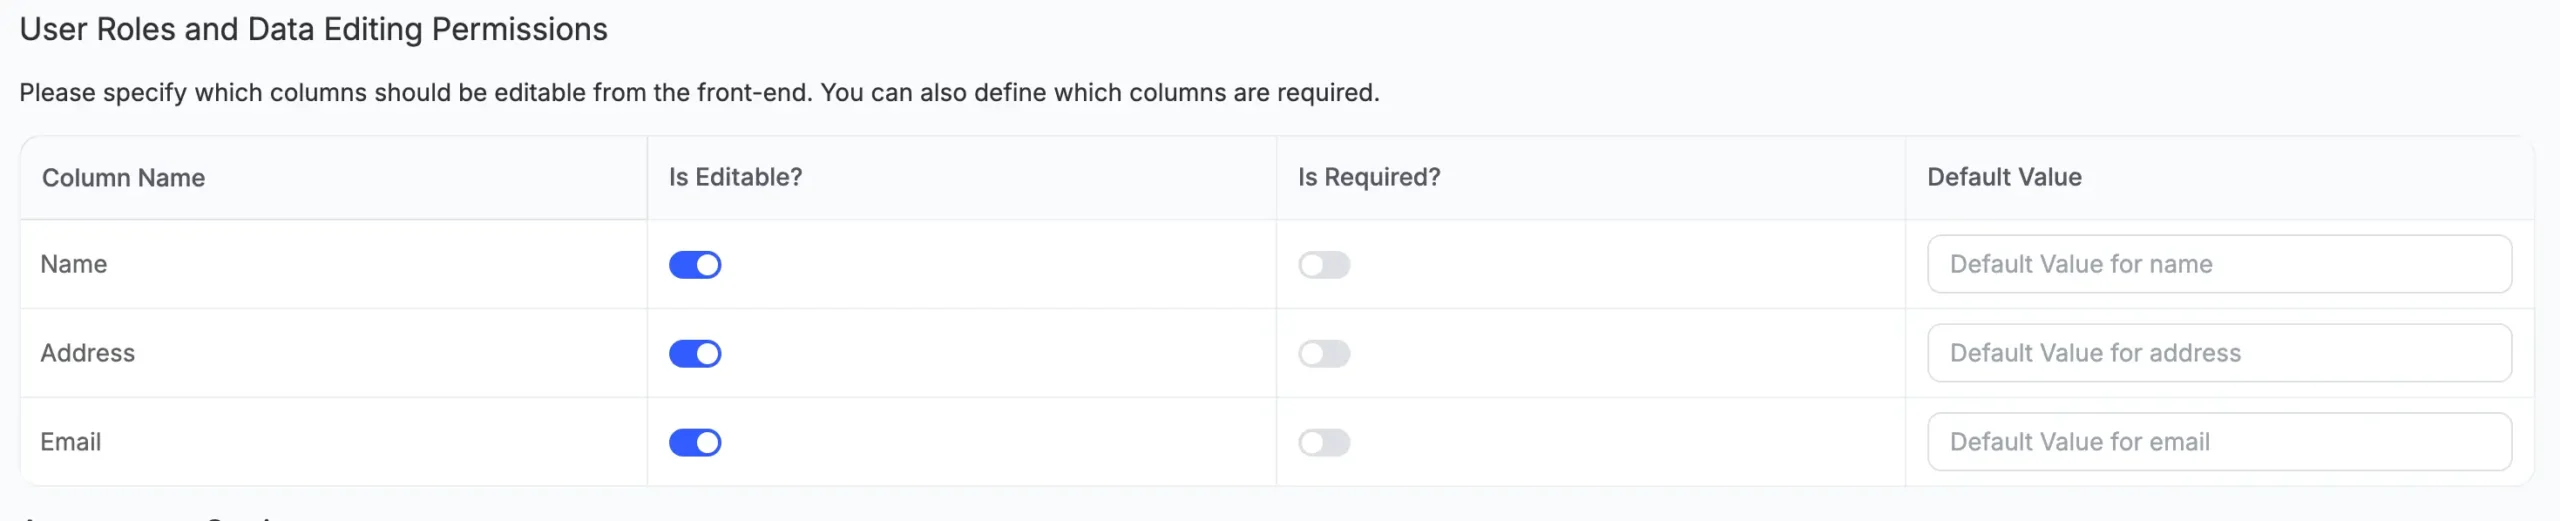
Editing Column Options #
The user roles have already been set up. Then the column that can be editable needs to be set.
- We can select which column data to edit from the editing column options. And select the required along with the default value too. All the settings are completed; now you just need to update the settings.
- So, now the table’s frontend is editable for the authors. In this case, just the authors can edit the table info from the frontend. But the other users cannot view the editable options.
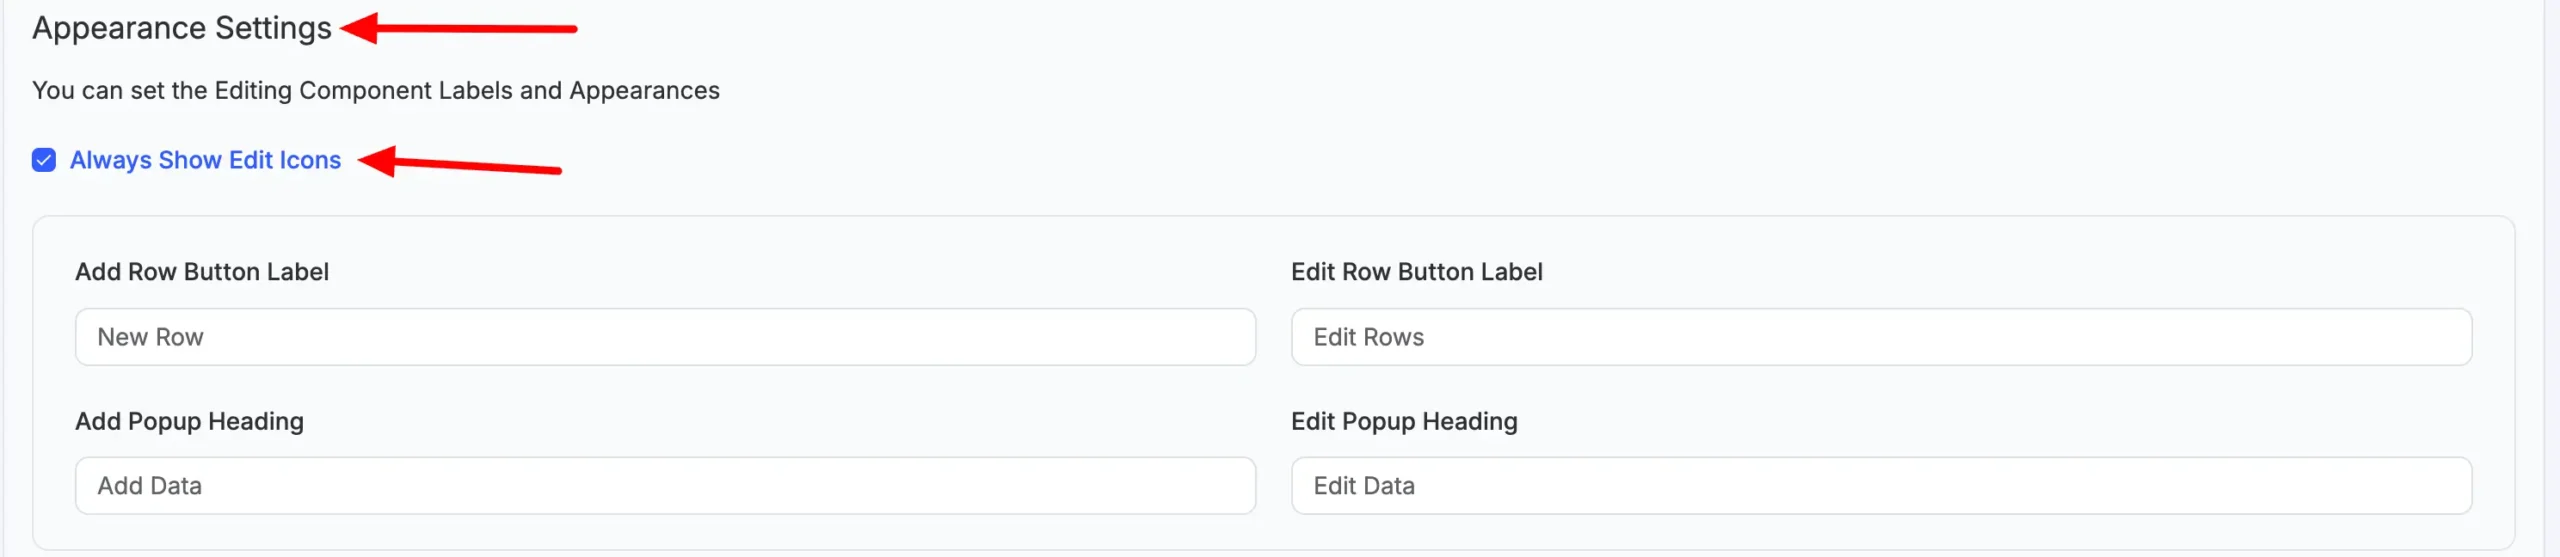
Few optional settings of the Frontend Editing table #
From the Appearance Settings, we can add some styling to our table.
Always show edit icons #
- Enabling this option, lets you display the edit button beside the row on the frontend all the time.
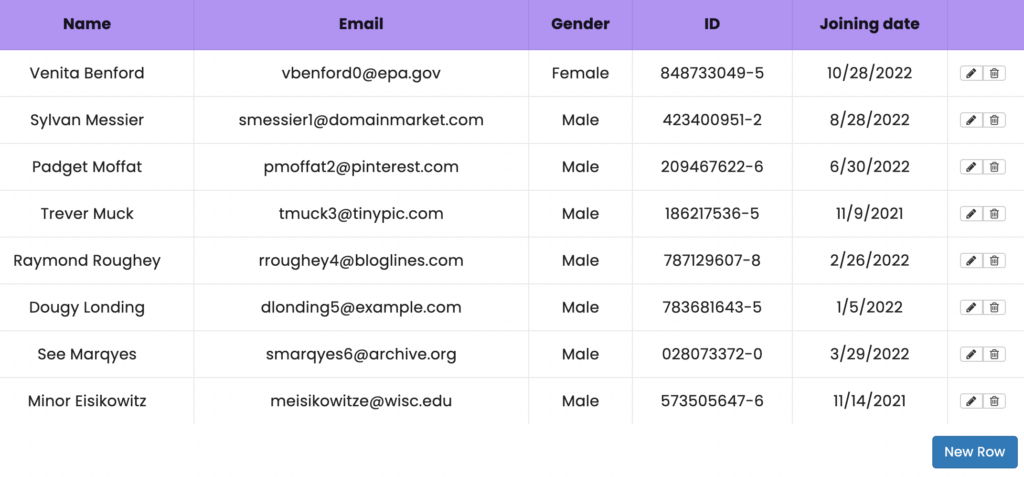
Frontend Editing Example #
Note that, Only the Default table (manually created tables or constructed tables by importing CSV file) can be editable. All the other tables where table data are coming from other sources are restricted for front-end editing.


I want the user to edit the width of the column by dragging at the front. Is this acailable? I went through it and I couldn’t find it.
Hi Cyanl, thanks for reaching out to us. About your query, the column width customization feature isn’t available yet. We’ll look into this and try to come up with a solution soon!
Hello! Can you setup the table so anyone/public can input/add data/rows, they can only edit/delete their own data/that they added (admin can too of course), but everyone sees everyone’s data?
Info above for “Own Data Only”, seems to imply if this is selected, users can only “See” their own data too.
Hi Peter,
Ninja Tables allows you to enable front-end editing for the public. However, public users without a specific user role cannot edit their own entries. To allow users to edit only their submitted data, they need to have a WordPress role such as Editor, Author, Contributor, or Subscriber.
If you’d like a setup where anyone can add data while ensuring they can only edit/delete their own submissions (with admin oversight), you may need a custom user role or an alternative approach. Still, for any further work around you can talk to our support team(https://wpmanageninja.com/support-tickets/#/)!