
Customize table colors with Ninja Tables efficiently with the Table Color Settings. Color customization is an awesome feature that lets you control the table designs and appearance.
You can make your data tables more engaging and captivating using colors.
How to Customize Table Color #
- First, you must set up a Table using the Ninja Tables plugin.
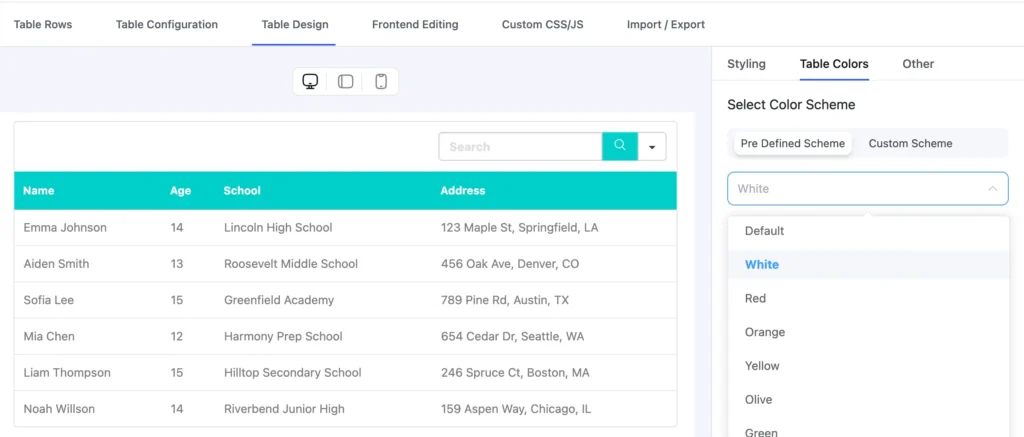
- Select a table to customize its colors and click on the “Table Design” tab.
- On the right side, a sidebar appears with 3 separate segments. Select Table Colors from the second segment.
- The Table Color tab appears with its functions. You will notice a dropdown list of various preset colors in the Pre-Defined Scheme option. And a Custom Scheme option.
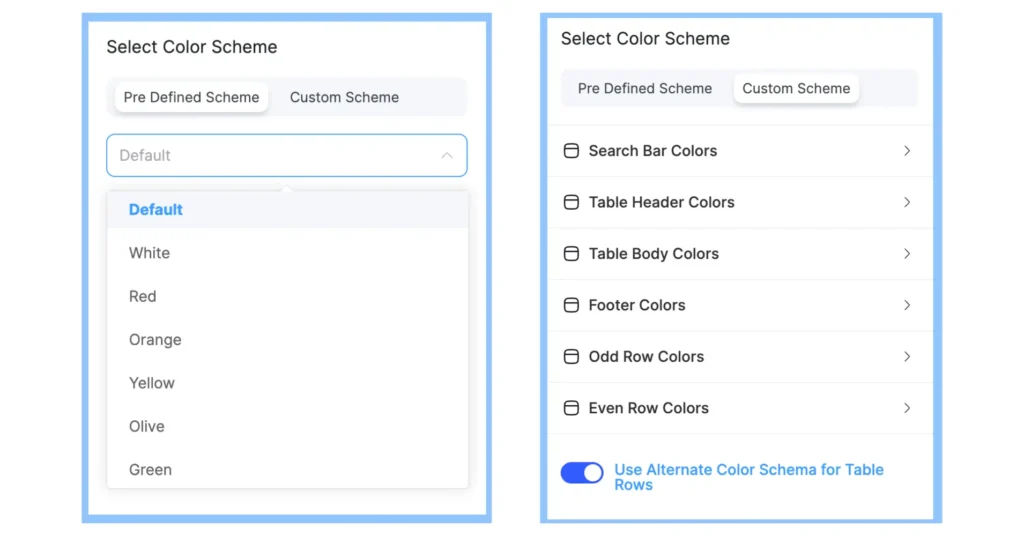
We’ll explain each option one by one.
Pre-defined Color Scheme #
The color of the tables changes according to the pre-set color combination you choose.
Ninja Tables offers 13 predefined color combinations.
Here’s an example of a table with a pre-defined color scheme of “White.” Once you select this color, the table will change its color combination to white and teal.
Custom Color Scheme #
Pre-defined color combinations can’t always look good for your tables. Color the table with any combination you want using the Custom Color Scheme.
- To do so, click the Custom Scheme option in the Select Color Scheme section. Then select the color of your choice.
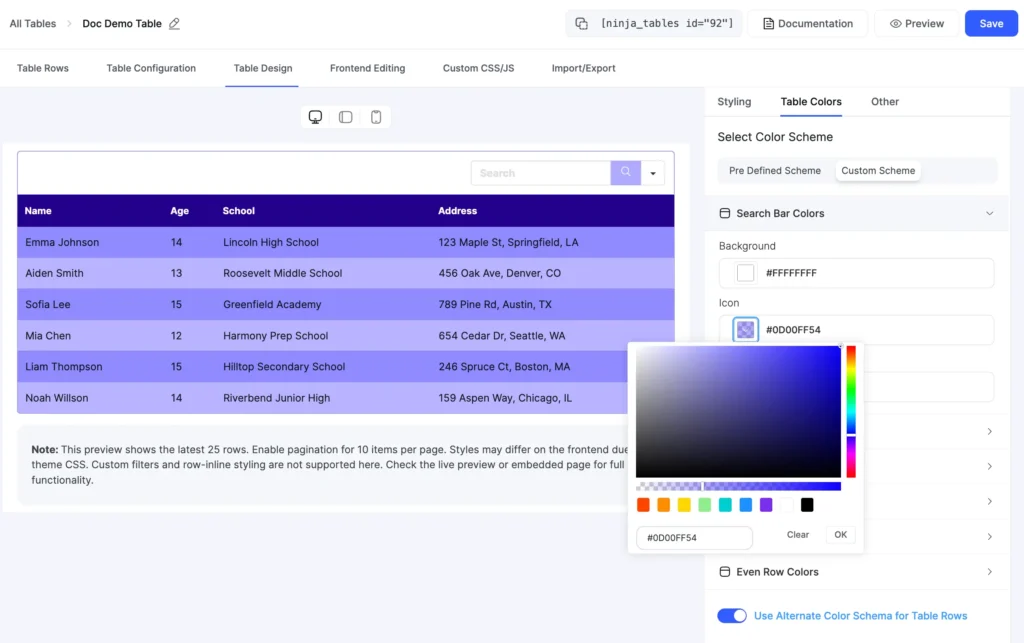
- Under the Table Body Colors part, you will find the Hover tab on the right side. Customize the hover color according to your needs. Hover over the table and see the row/text colors change. This will make the table more interactive.
- You can also toggle “Alternate Color Schema for Table Rows” on to make the table color have alternate colors for rows. Choose your preferred custom colors to display them on odd rows and even rows.
You can also change the color of your table with CSS. Check out this documentation.
Also, check out – Table Font Setting.


