
Table cells are the central part of data table management. In some cases, we may need to add new rows/columns, duplicate, or delete them as well.
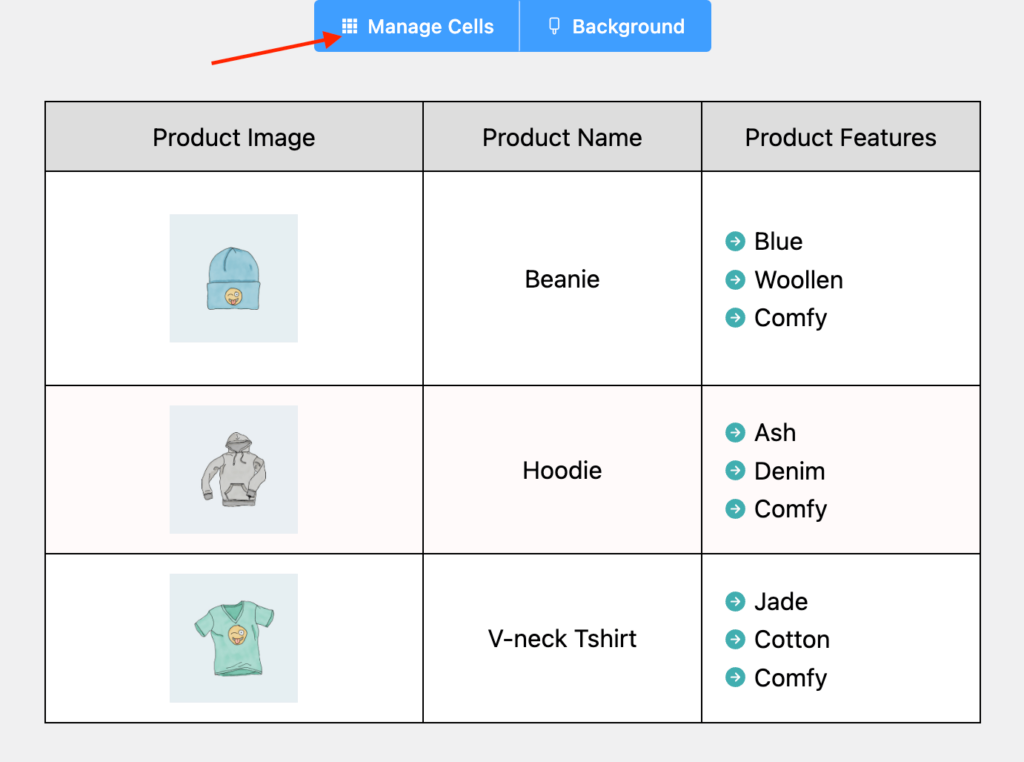
In Ninja Tables Drag and Drop mode, select the Manage Cells option from the top of the table. This will allow you to make necessary changes to your table cells.
In this document, you’ll learn how to
- Insert row/column (before and after)
- Duplicate row/column
- Remove row/column
- Merge neighboring cells
- Split merged cells
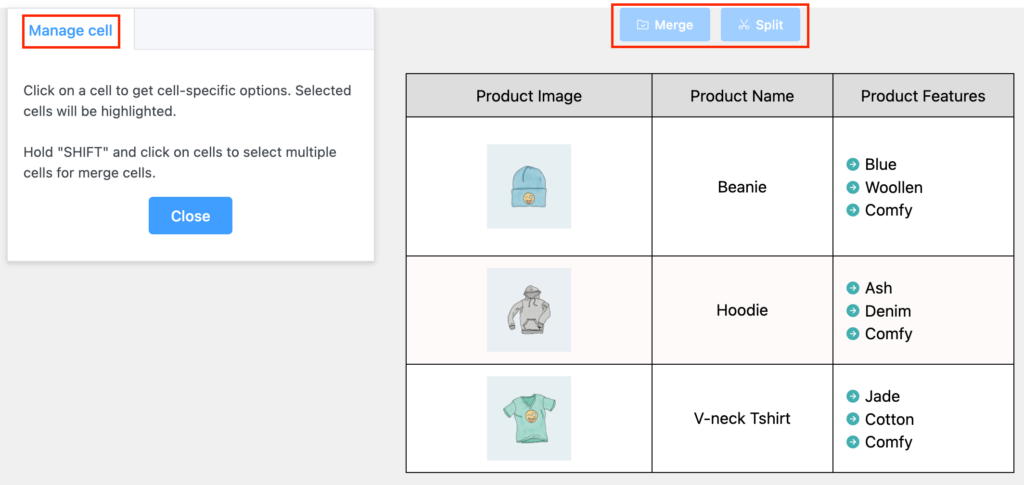
You can start making changes when you click any of the cells you prefer. To exit this mode simply click on the “Close” button, located below the left sidebar.
Let’s get started with managing our Ninja Tables Drag & Drop Table!
We’ll explain every option here.
Manage Cells: Properties #
Let’s find out what each property is designed to do.
Column Highlight, Size, & Merge/Split #
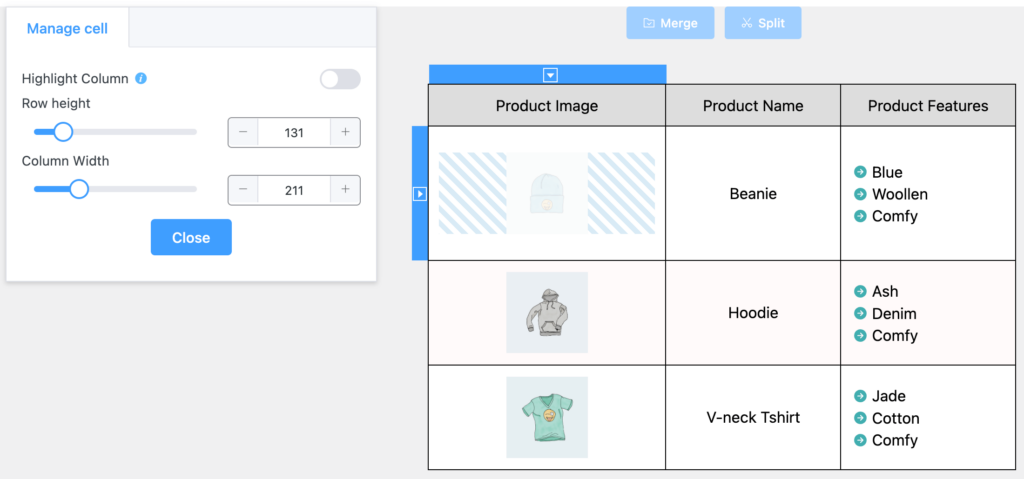
Highlight Column #
Highlighting a specific column to make it look different from other columns is a useful feature for pricing tables.
Click on the “Highlight Column” from the left.
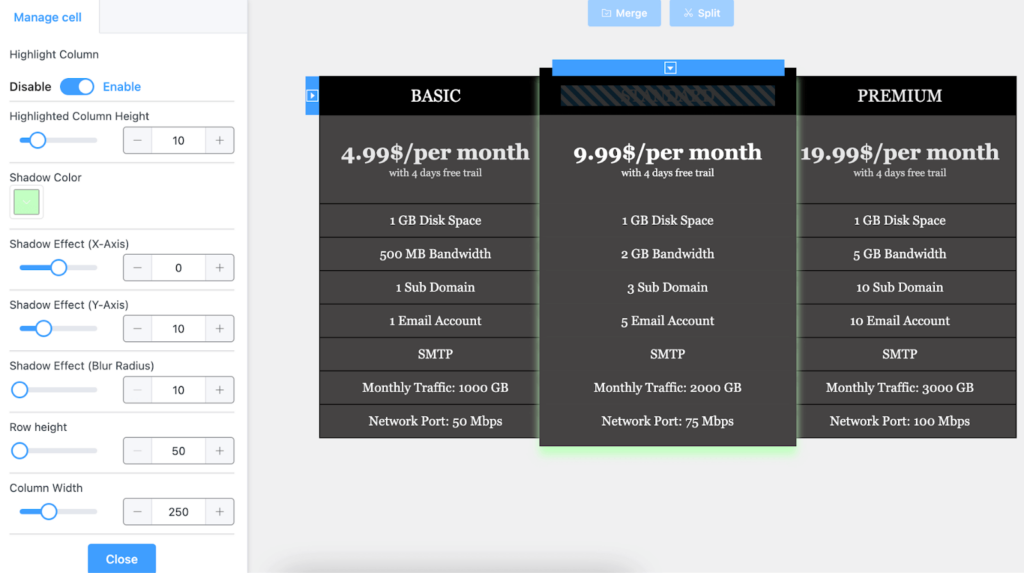
The available options to highlight a column are:
- Highlight Column Height: The total height (increased) for the highlighted column.
- Shadow Color: The color of the shadow for the highlighted column.
- Shadow Effect (X-Axis): Shift the Shadow along the X-axis.
- Shadow Effect (Y-Axis): Shift the Shadow along the Y-axis.
- Row Height: Change the height of the row.
- Column Width: Change column width.
- Shadow Effect (Blur Radius): The smoothness or amount of shadow.
Row Height #
With this option, you can either increase the values or manually input the exact value to control the height of the row you select.
Column Width #
With this option, you can control the width of a column by increasing or decreasing the values manually.
Merge and Split #
Another important feature of Ninja Tables is to merge neighboring cells in the table.
Select a cell and then press SHIFT, and select another neighboring cell. Now click on the “Merge” button.

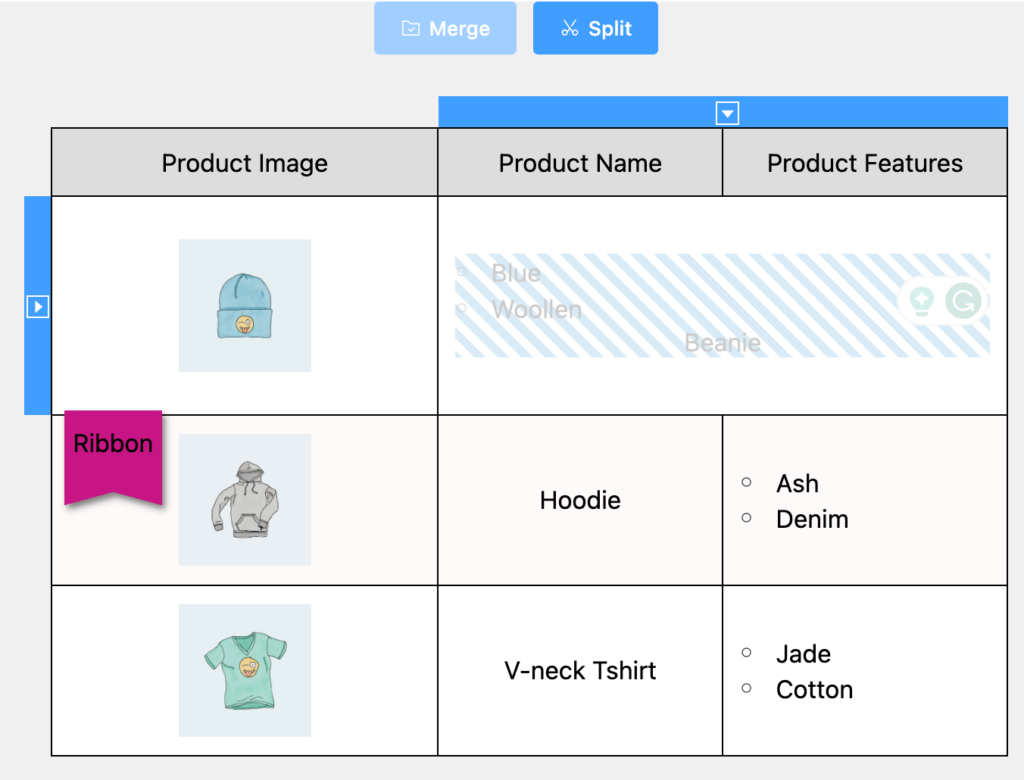
If you want the merged cells to get back to how they were as single separate cells, click the “Split” button.
Table Row Customization #
To customize or to make adjustments to your rows, select a cell and click the small expandable arrow on the left.
A dropdown will appear with multiple-row customizing options.

Insert Row Before: Choose this, when you want to add another row before your selected row. The newly added row will be empty until you fill it in.
Insert Row After: Choose this, when you want to add a new blank row after your selected row.
Insert Top Row: Choose this to add a row at the top of the table. This row can be used as a 2nd header.
Insert Bottom Row: Choose this to add a row at the bottom of the table.
Duplicate Row: You may need to duplicate any of your rows. Choose this option to duplicate an existing row.
Remove Row: To delete a selected row from the table, click on this option.
Column Customization #
Just like the row customization, if you want to make adjustments to your columns, select your preferred cell and click on the small expandable arrow at the top.
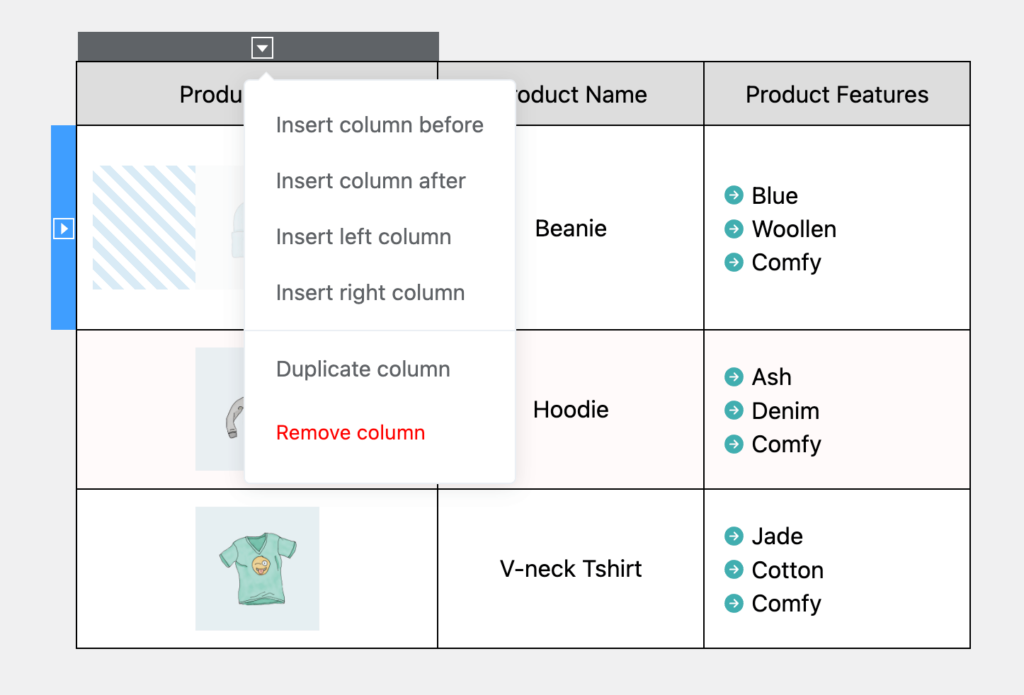
Insert Column Before: Choose this, when you want to add a column before your selected column. The new column will be blank until filled in.
Insert Column After: Choose this, when you want to add a column after your selected column.
Insert Left Column: To add a column on the left side of the selected column, use this option.
Insert Right Column: To add a column on the right side of the selected column, use this option.
Duplicate Column: Choose this option to duplicate an existing column.
Remove Column: To delete a selected column from the table, click on this option.
Conclusion #
That’s all for the Manage Cell options and possibilities you can do in the Ninja Tables Drag & Drop table builder.
Highlight a column, split/merge cells, or customize rows/columns however you need.
Let us know your thoughts and questions in the comment box.


