Following the Data Type settings for a table column, change the data type to “Text Area” to add text descriptions in the column.
Or, you can decide the data type right from the start when you add a column to the table. From your dashboard, go to the Ninja Tables plugin → Tables (the table where you want to add Column) → Add Column.
- A pop-up form will appear, and you will see the available Data Type options here. You can choose from the various data types listed in the below screenshot.
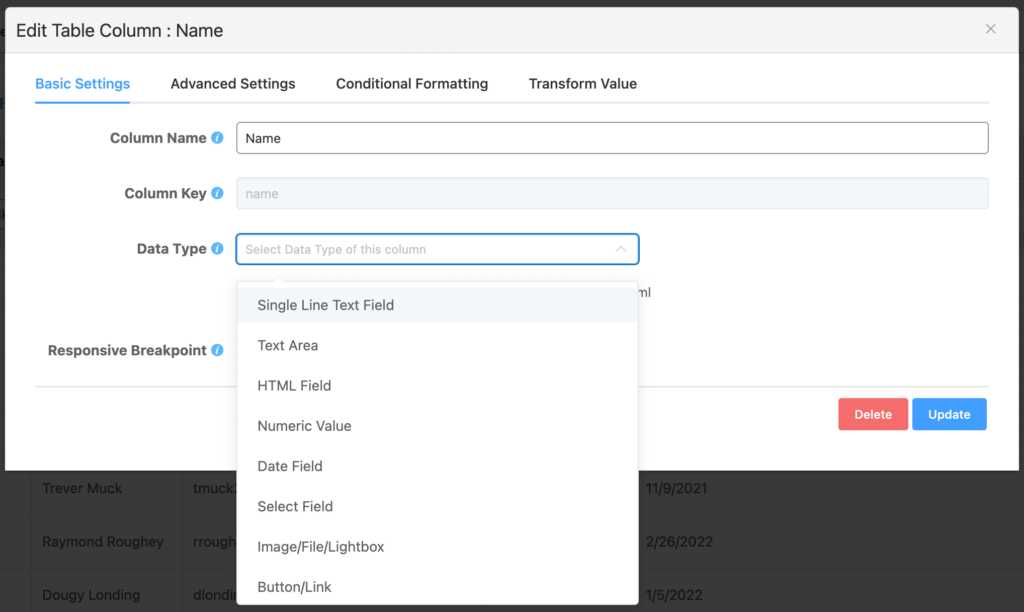
Text Area data type allows you to add multiple lines in a cell. There’s no limit to adding the number of lines in a Text Area.
- Go to the Data Type option and select the Text Area type of the column.
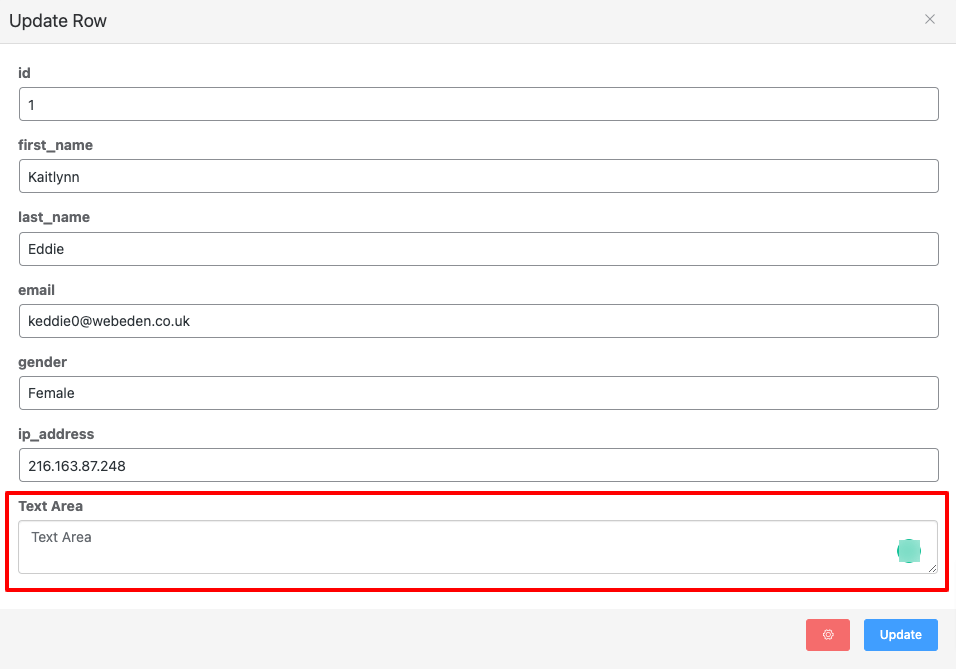
- Now a new column with data type has been added to the table.
- Text Area also supports HTML. You can follow the same path in “Single Line Text Field” to see how adding HTML in the Text Area works.
Text Area in Ninja Tables #
Update the column with a text area and go to the Preview of the table. You can add as much text as you want.
Here’s an example.
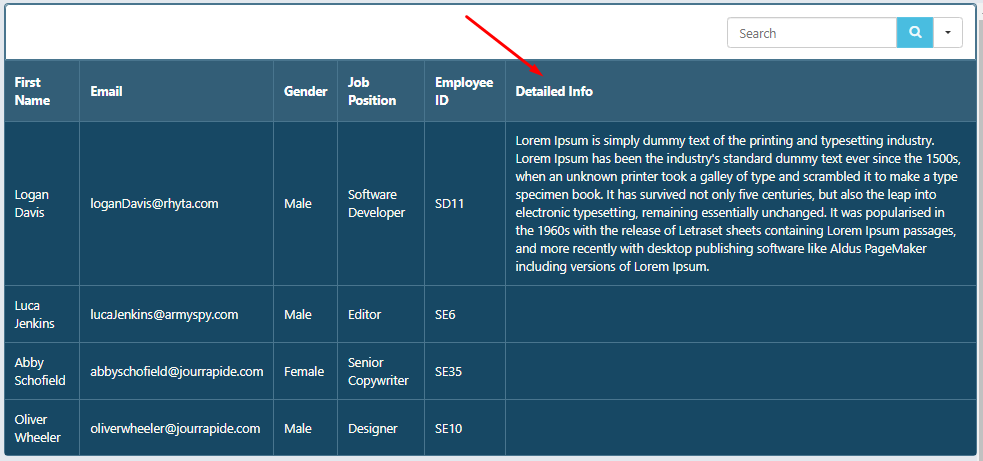
This function works best for product tables where the seller needs to add a detail of the product.
This is how you can add a Text Area data type in your column easily.


