
A data table is only engaging when it has multimedia and not just plain text. This is why the Image/File/Lightbox data type is used for columns with images, videos, GIFs, icons, etc. in Ninja Tables.
And a lightbox is for when the image or the media needs to appear much clearer and bigger. When you click an image that has a lightbox format, it will open with a dark background.
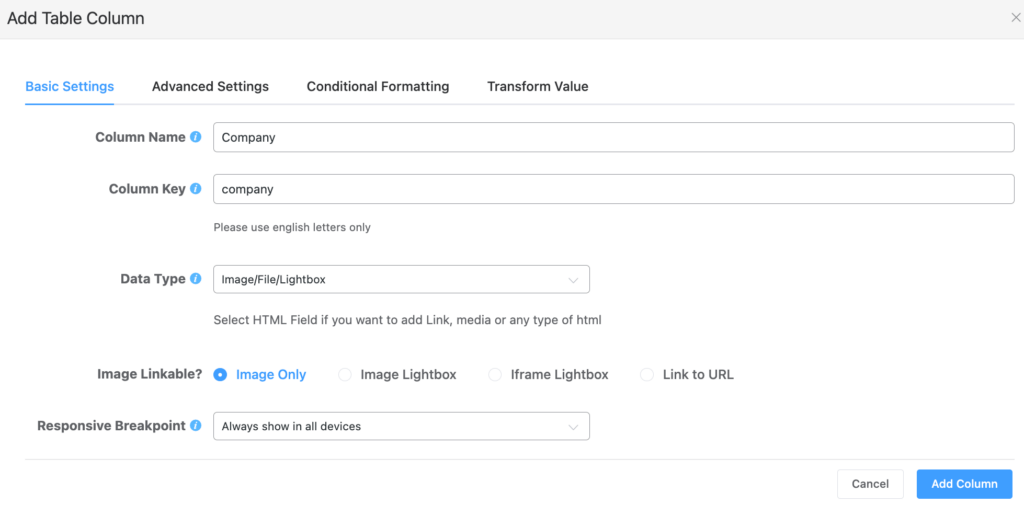
You can decide the data type right from the start when you add a column to the table. From your dashboard, go to the Ninja Tables plugin → Tables (the table where you want to add Column) → Add Column.
Lightbox Field in Ninja Tables #
This data type allows you to add images, GIFs, videos, or YouTube links in a table column.
- Go to the Data Type option and select the Image/File/Lightbox type of the column and add a column.
- Now a new column with data type as lightbox has been added to the table.
Image Linkable #
An Image Linkable option automatically appears after selecting the Image/File/Lightbox field.
This option includes Image Only, Image Lightbox, Iframe Lightbox & Link to URL.
Lightbox is a Pro feature
Image Only #
Only image files can be added to the column’s field in this option. Both JPG & PNG file formats are supported.
This format won’t open the image in a lightbox.
Image Lightbox #
When an image is uploaded using this option, the image is displayed in a pop-up form when it is clicked. The background will appear darker to make the image look clear.
If you choose Image Lightbox, the output of this field will look like this after clicking the image from the table –

Iframe Lightbox #
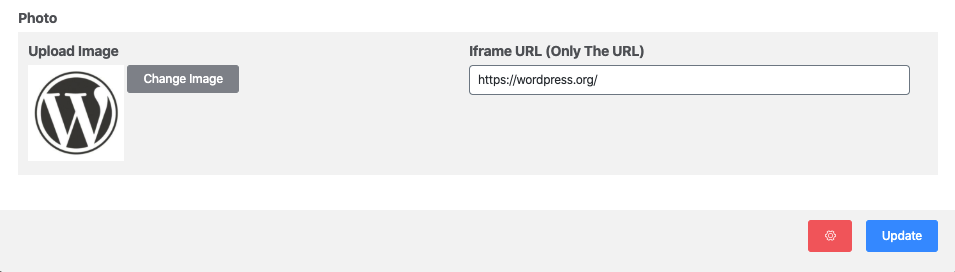
Here the image can be added along with the iframe URL.
To select the image as an Iframe Lightbox, upload an image with an Iframe URL like the example below –
When an image is clicked on the front end, the targeted URL will be shown as a pop-up.
Let’s see the output of how it works –
Link to URL #
To add a link to a URL in an image, click the Link to URL radio button and upload the image along with the target link.
When an image is clicked on the front end, it is redirected to the targeted URL.
The link can be opened in a new window.
Here’s how a table with Image Only and Iframe Lightbox looks like.
| Poster | Movie Title | Rating | Trailer | IMDB Link |
|---|---|---|---|---|
 | Minions: The Rise of Gru | 6.6 |  | Learn more |
 | 12 Angry Men | 8.9 |  | Learn more |
 | Pulp Fiction | 8.9 |  | Learn more |
 | The Dark Knight | 9.3 |  | Learn more |
Add an image with lightbox feature, use Iframe lightbox, or link a media in Ninja Tables easily.


hello ,
I can not see this lightbox video !!!
I used in my site and have this problem
please help me, tnx
Hello Jozef,
To embed video on your tables, you can select the HTML field and add your media from the media page. It should work fine after that.
If you need any more assistance you can talk to our support team from: https://wpmanageninja.com/support-tickets/
Thanks