
Ninja Charts offers multiple chart creation options and chart renderers as well. Once you’re done selecting the chart type and data source, you need to select the Data Range.
This is where you can edit the data.
Data Range Picker in Ninja Charts #
In this step, you can select the data you want on the chart from here.
- Select All columns if you want. You can Deselect too.
- The Number of Items is set to 10 by default.
- Use Data Order to choose the Ascending or Descending order of data.
- Use Pick Items if you don’t want all the items in the chart.
- Turn on the Date Range Picker if you want to generate the chart by date range.
This is how the customization looks.
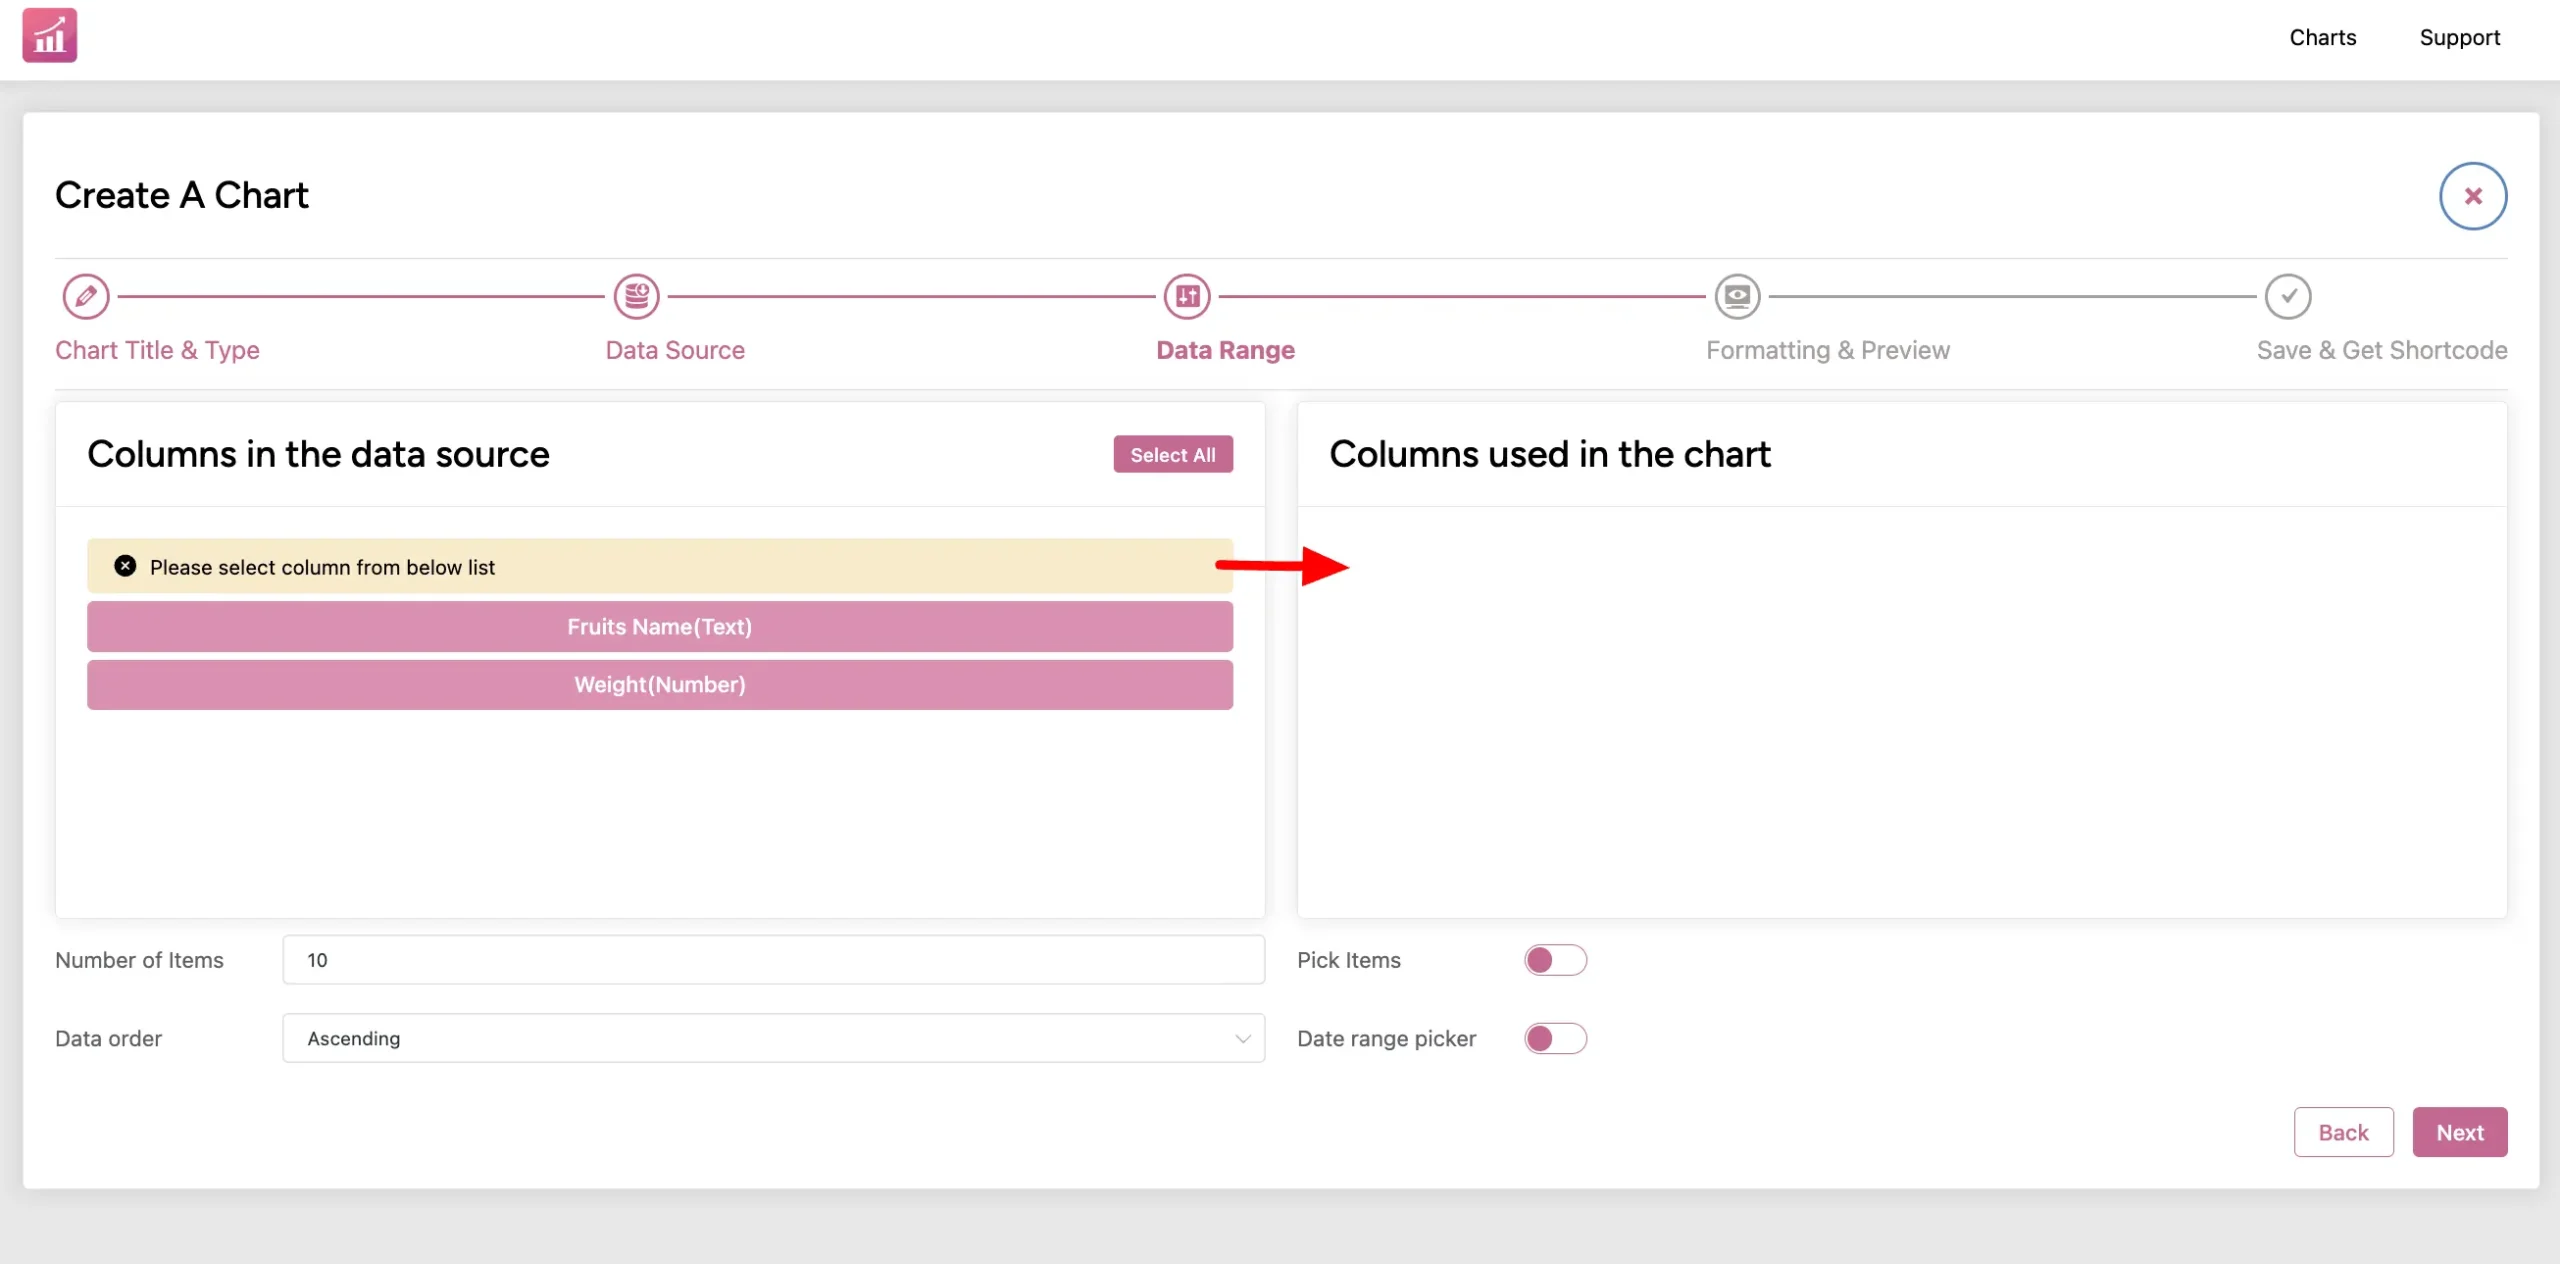
Select columns from the left box and move to the right. Or customize from the options from the number of items, date range picker, data order, etc.
However, the layout is different for charts created with manual data input.
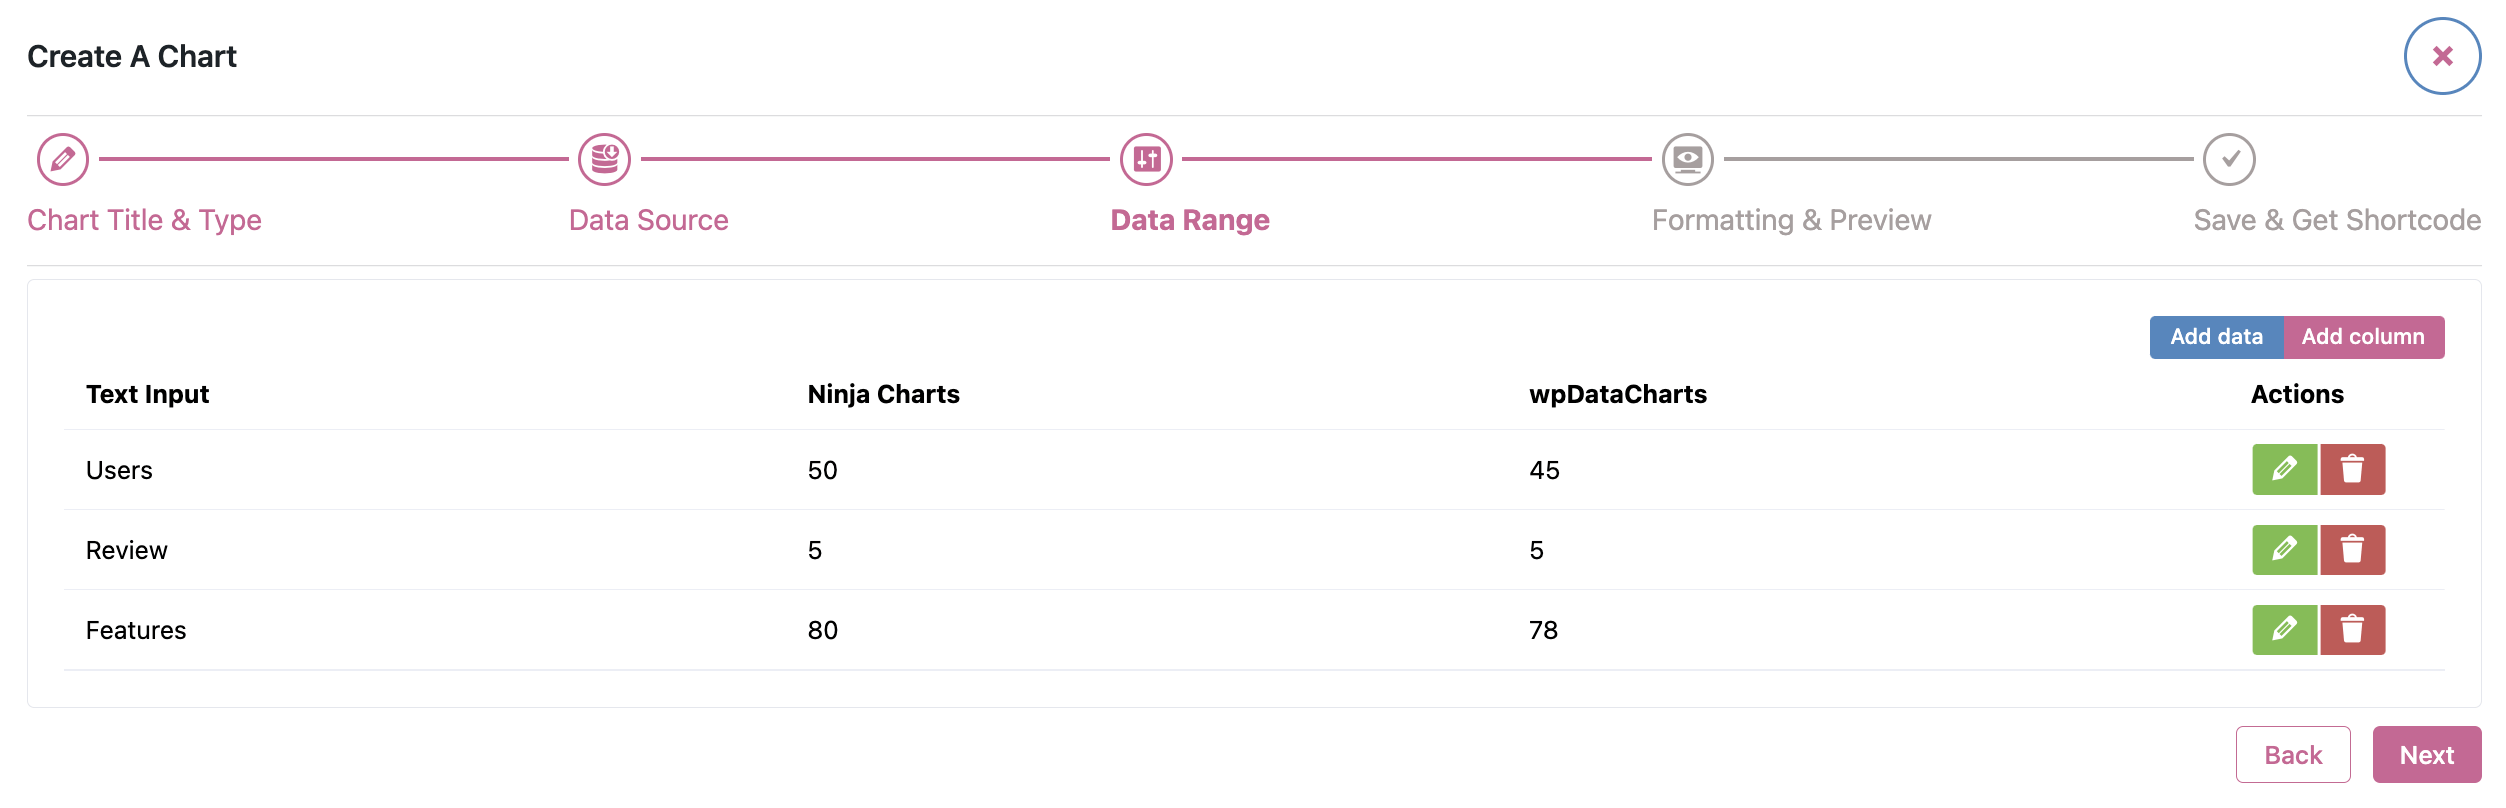
You can add a new column, add data, or delete/edit data from here.
Don’t forget to hit the Next button when you’re done here. You’ll be taken to the Formatting & Preview tab where you can customize the chart further.


