
Welcome to Ninja Tables!
This tutorial will explain the most extraordinary feature, Drag and Drop Table. We will explore the possibilities of Ninja Tables and how to use them to create WordPress tables.
So let’s get started and create our first Drag & Drop table visually with Ninja Tables.
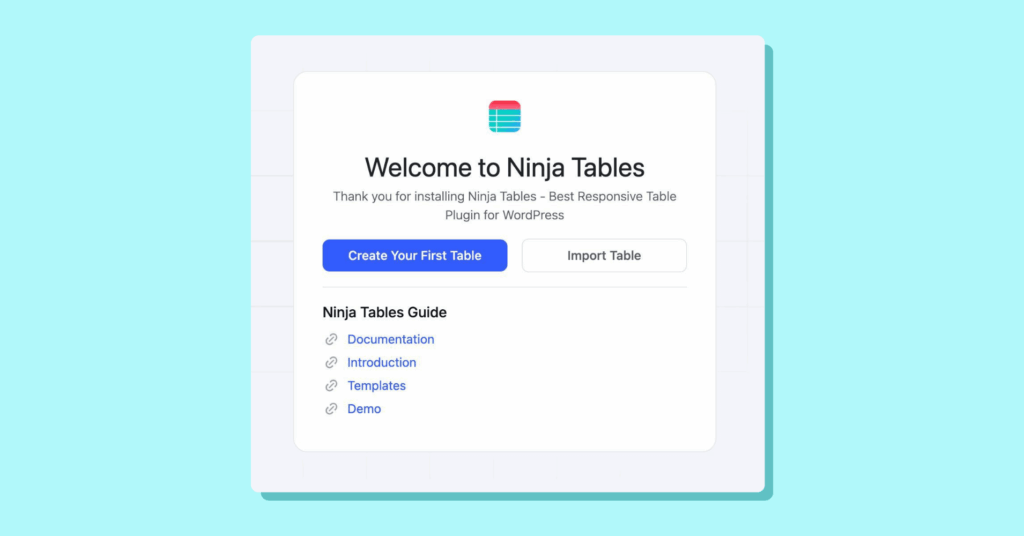
When we go to the Ninja Tables dashboard, we will be asked to either Create Your First Table or Import Table.
We will select the Create Your First Table button.
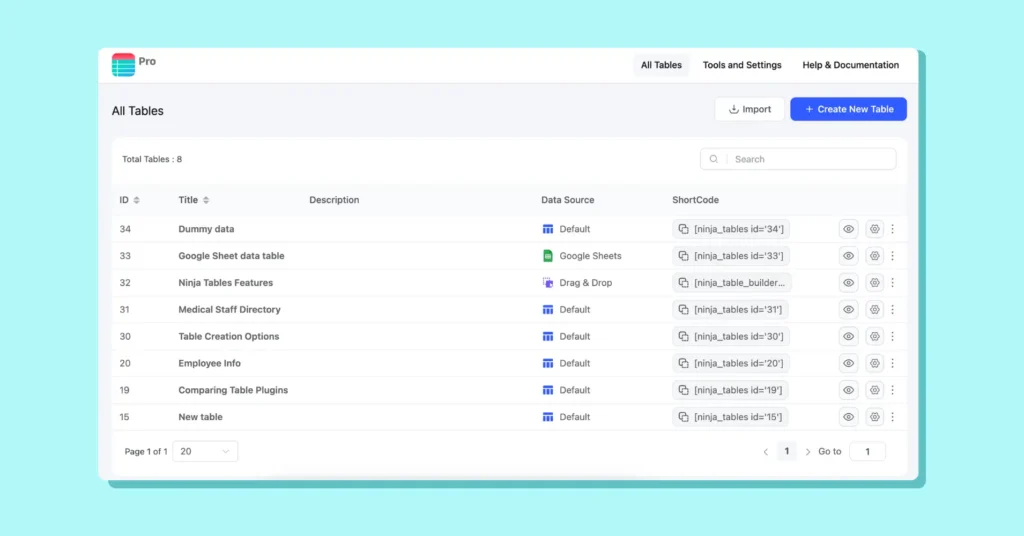
If you already have created tables earlier, then you will see a similar screen below and click on the + Create New Table button.
Once you click the “Add Table” button, you will see a popup dialogue with multiple table creation options.
Create Drag and Drop table #
From the menu on the side, we’ll pick Drag & Drop Table.
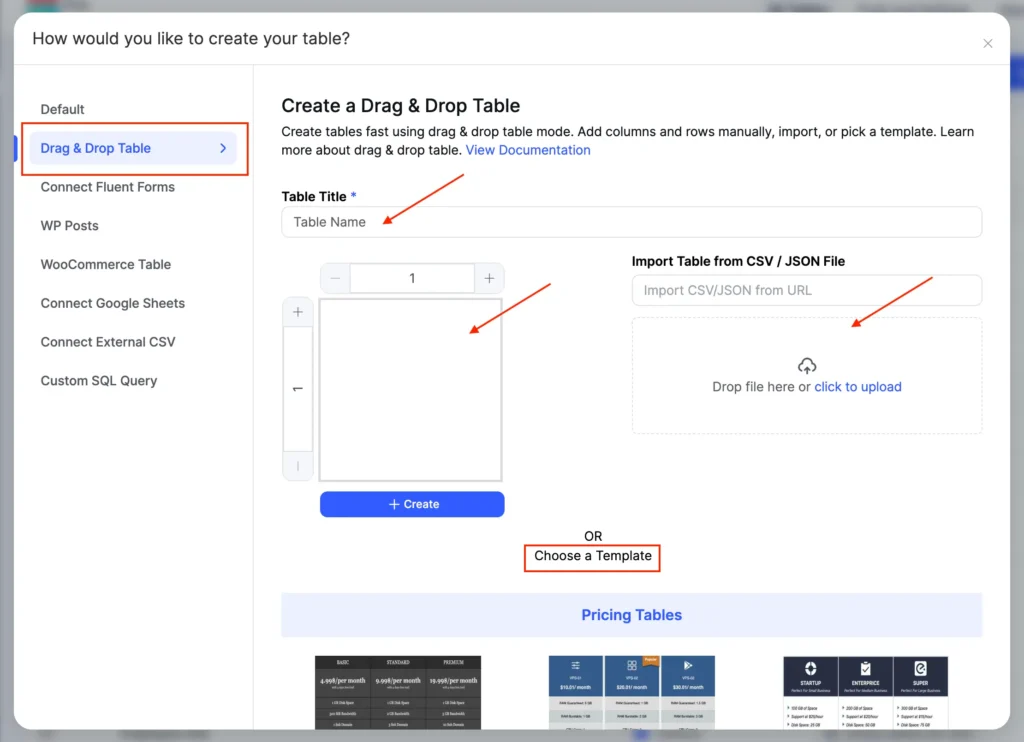
You can name the table and select the number of rows and columns from here.
Hit Create when you’re done selecting. Or you can choose to import a table (using a URL or a CSV/JSON file).
We’ve created a table with 3 rows and 3 columns. After that, the live table interface looks like this:
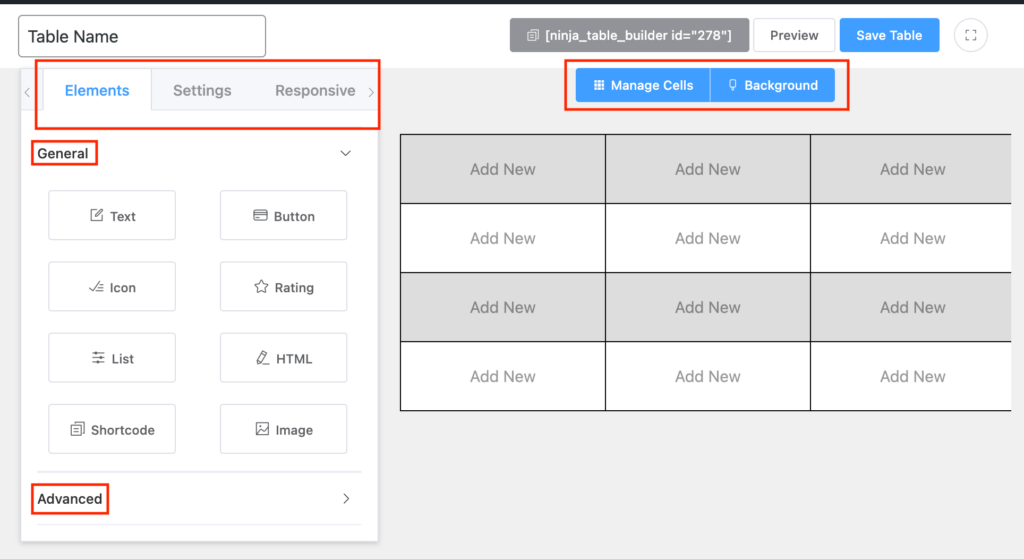
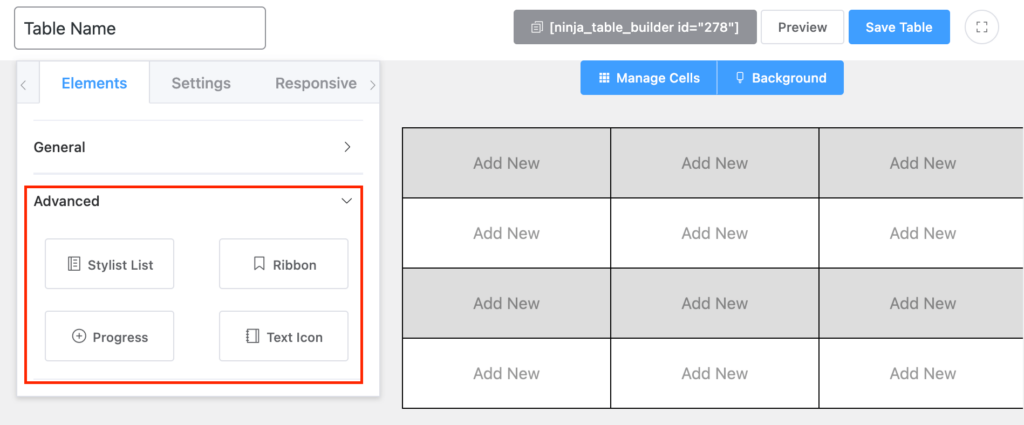
The left section on the menu, grouped by General & Advanced, contains table cell elements that you can drag and drop on the table.
Four cell elements in the Advanced section are available in the Pro version only.
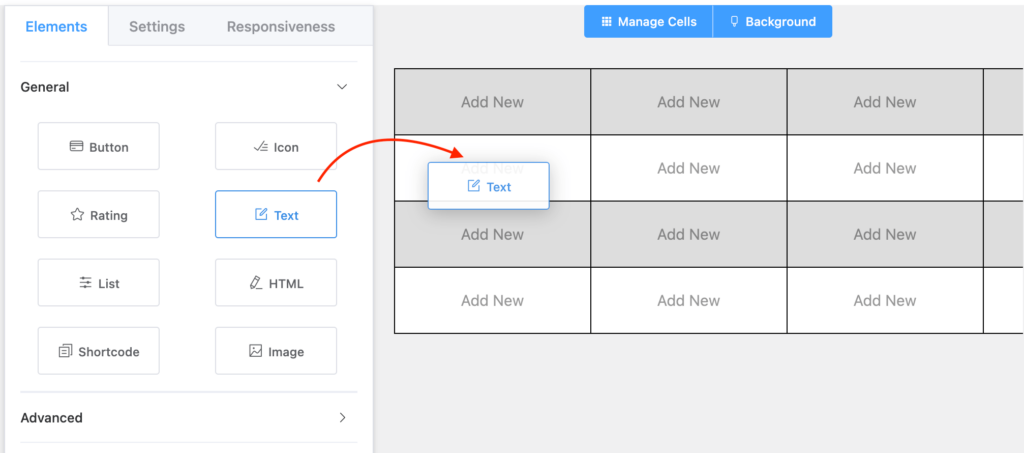
The General elements include Text, Button, Icon, Rating, List, HTML, Shortcode, and Image.
The Advanced or Pro version includes Styled List, Ribbon, Progress, and Text Icon as below screenshot.
The buttons at the top of the table are Manage Cells and Background features to operate on the cells, row/column add/delete/duplicate, and background colors.
Above these buttons, you’ll notice an auto-generated shortcode, a Preview button, and a blue Save Table button.
When a table is done, hit the Save Table button and paste the shortcode anywhere on your website.
Customizable premade templates #
If you want to customize a table from a premade design, scroll down after the first window to “Drag and Drop Table” opens.
There are 4 different table templates-
- Pricing tables
- Comparison tables
- Employee tables
- Schedule tables
Ninja Tables free templates #
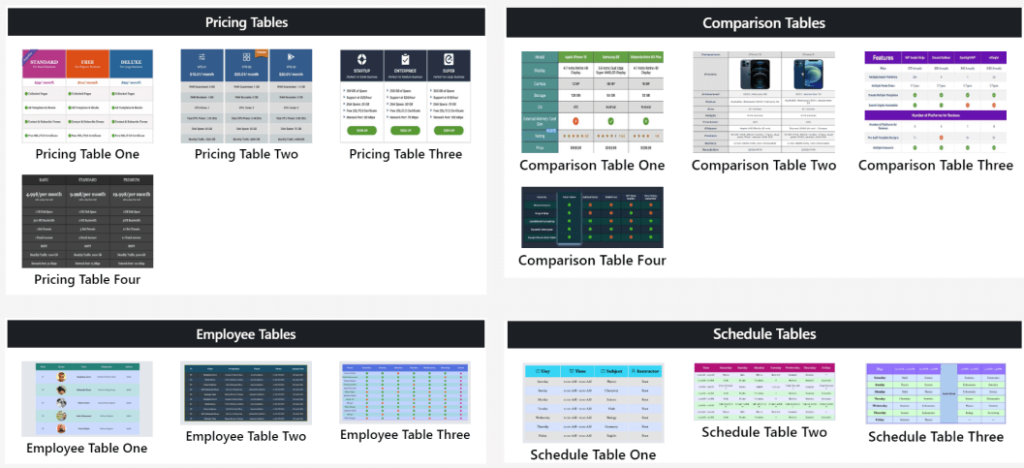
Pick any table template and edit them to fit your purpose.
Now we will be adding a Text element to the table by dragging on the Text Element and dropping it onto the table.
Now once an element is added to the table, clicking on it will reveal the customization options for the element.
More on the customization per element is described separately in documentation later on.
When you click on the dropped cell element, you can customize it however you need.
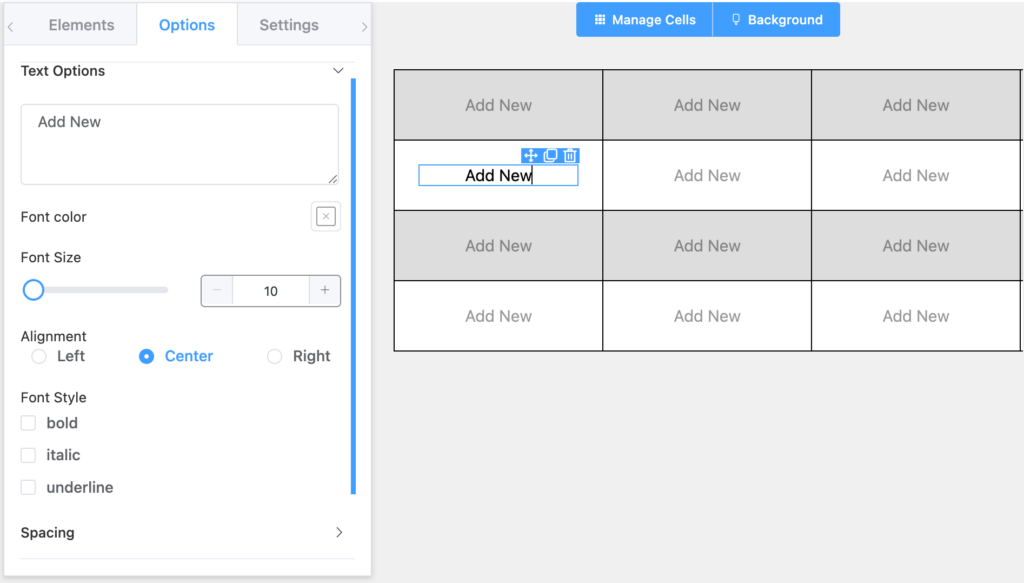
- Add text
- Font color
- Font size
- Text alignment
- Font style
- Cell spacing
- Move cell
- Duplicate
- Delete
Please check our documentation for more on settings, responsiveness, and elements.
Once all the customizations are done, click on the save button and check the preview.
Now all there’s left to do is paste this table on a page. Simply copy the auto-generated shortcode from above the table and paste it where you need it.
More Drag and Drop Table Templates #
We have created a dedicated page with 50+ table designs just for you! These tables are ready to use as soon as you download the file.
Many tables are created using the Drag and Drop builder function. Check out a few we handpicked for you and customize tables your way.
- Staff directory
- Product rating box
- Semester/class schedule
- Simple pricing table
- Cricket league points
- Product comparison
- Nursing care plan and more.
So that’s it!
Please check out our other documentation regarding the features of the Drag & Drop Tables and enjoy creating tables visually with Ninja Tables!


Is there a way to add more cells after I create the table?
Hi Sharron, you can add more cells after creating the table. Go to the table builder by clicking on ‘edit table’. Now click on the ‘Manage Cell’ button on the top. Click on any cell and click on the arrow. You will get all the options of adding column and rows.
Thanks.
How can Where can I add new columns and rows once the table is already created?
Hello dear,
You can easily add new columns and rows to an existing table.
Thanks.
Thanks, I’ve found already, but now I have another question – how can sort rows or columns once there placed? The regular table-manager has an option that says: “sort manually” but I couldn’t find anything like that here…
I also miss a date-element…
I’ve figured out, how sort them… now I’m only missing the date-element. Maybe it’s available in a further update 🙏
Hi Constance. Glad you figured it all out by yourself. And the Drag and Drop module can accept manually added date field in the Text Element. Also, Date Field is available in the Advanced Table mode if you want to give it a try.