
To add a new table, you need to add the Table Title and Table Description first.
Let’s dive into this simple guide to learn about Table Titles and Descriptions.
In Ninja Tables, the table title is mandatory but the description is optional.
- First, go to the Ninja Tables dashboard → click on the Add Table button (top right corner of the screen).
- Then, a pop-up will appear with information on how to Manually Create a Table, as well as the Table Title and Table Description boxes.
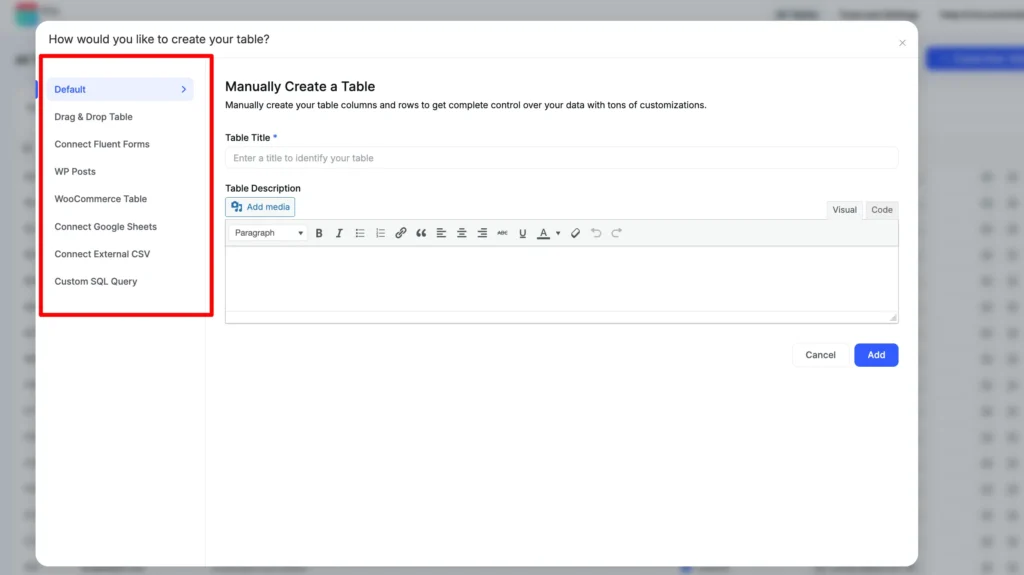
You can see on the right-hand side there are 2 empty boxes- Table Title and Table Description.
Fill these boxes up with a title and a description. The table description is optional, but you must name the table.
Table Title #
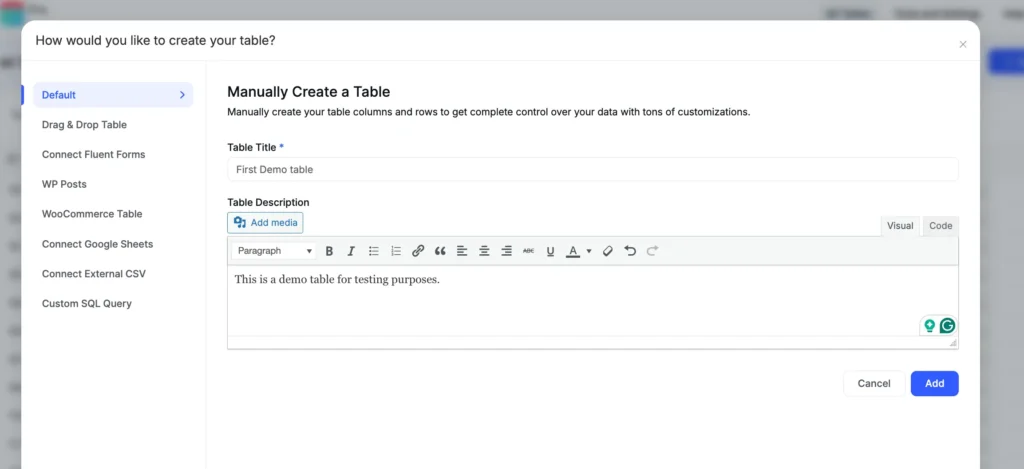
Table Title is a required field that must be filled out. The table Title identifies your table.
Table Description #
A table description is information about the data the table is about. The HTML Field allows you to make text bold/italic, change the font color, add media files, create lists, and add anchor links.
- Lastly, click on the Add button to add a new table.
The Ninja Tables dashboard will show all the tables you created and for this Demo Table, it will show the description as well.
The title and description would only be visible if you allow them. Customize this setting from the “Table Styling” tab.
This is all about the Table Title and Table Description!


