
The Date Field in a table column is to show dates with customized date formats. In Ninja Tables, the column with the Date Field will display a calendar.
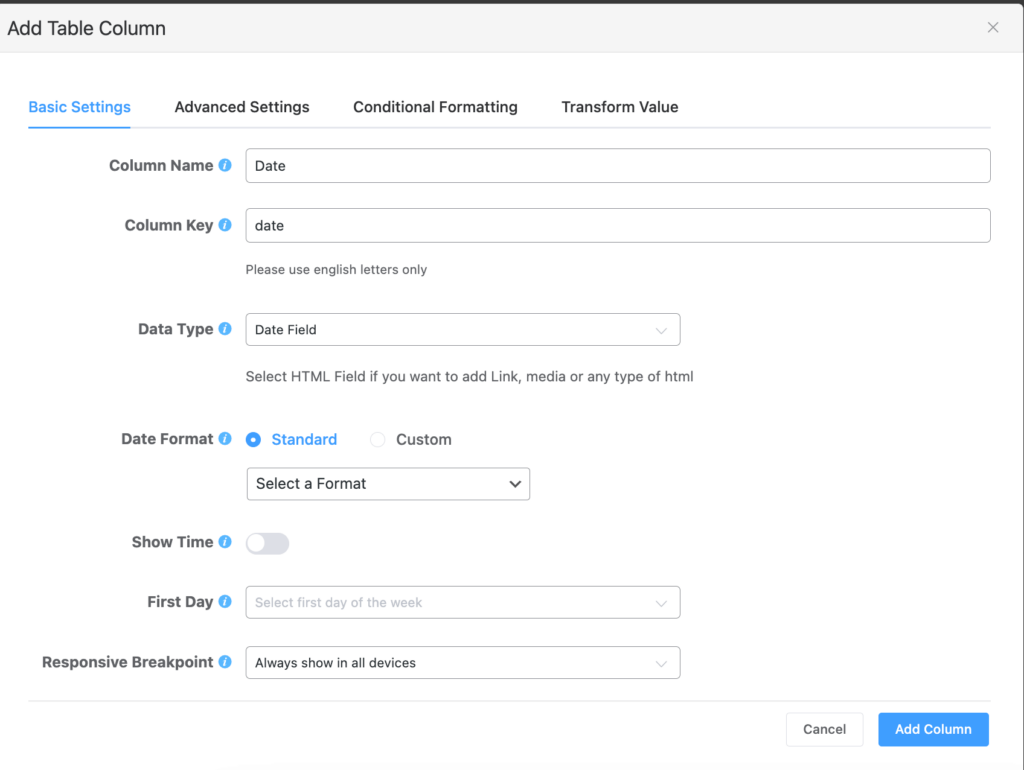
You can decide the data type as Date Field right from the start when you add a column to the table. From your dashboard, go to the Ninja Tables plugin → Tables (the table where you want to add Column) → Add Column.
Date Field In Ninja Tables Column #
This data type is used to add a date in the input field. You can customize the date format and change the format anytime. Ninja Tables gives you multiple customization options here as well.
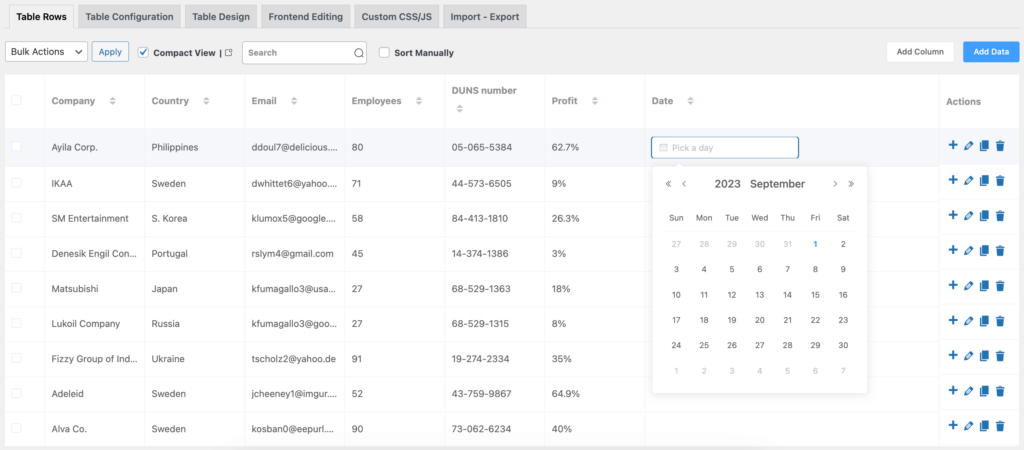
- Now a new column with Date Field as the data type has been added to the table. To see how it works, view the table backend.
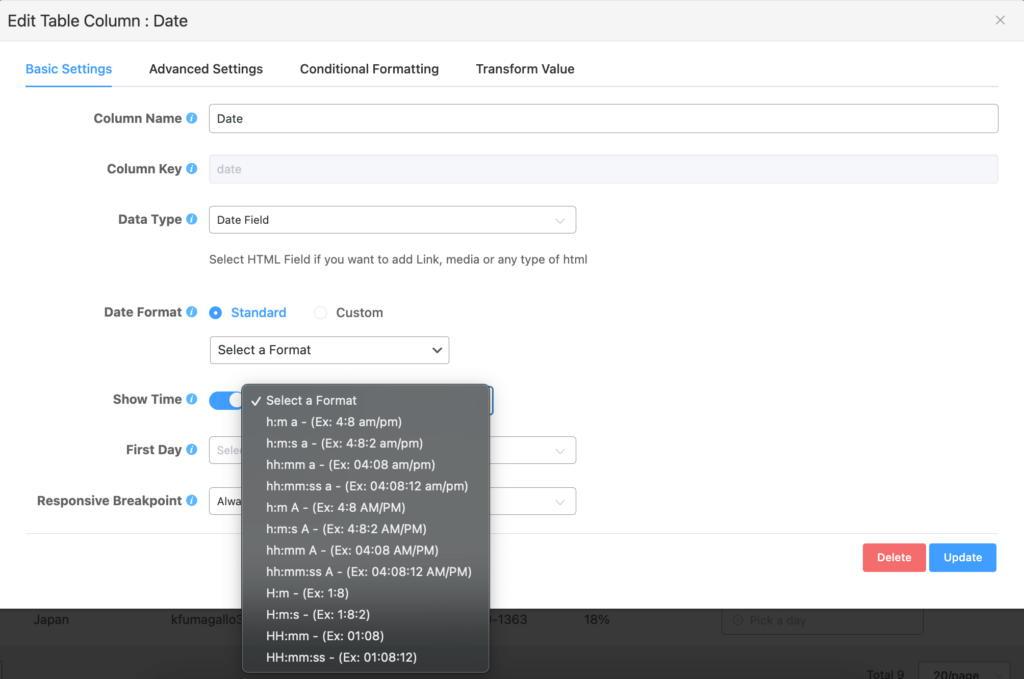
Date Format (Standard) #
It indicates the pattern of the date value. The date field mainly includes 8 formats.
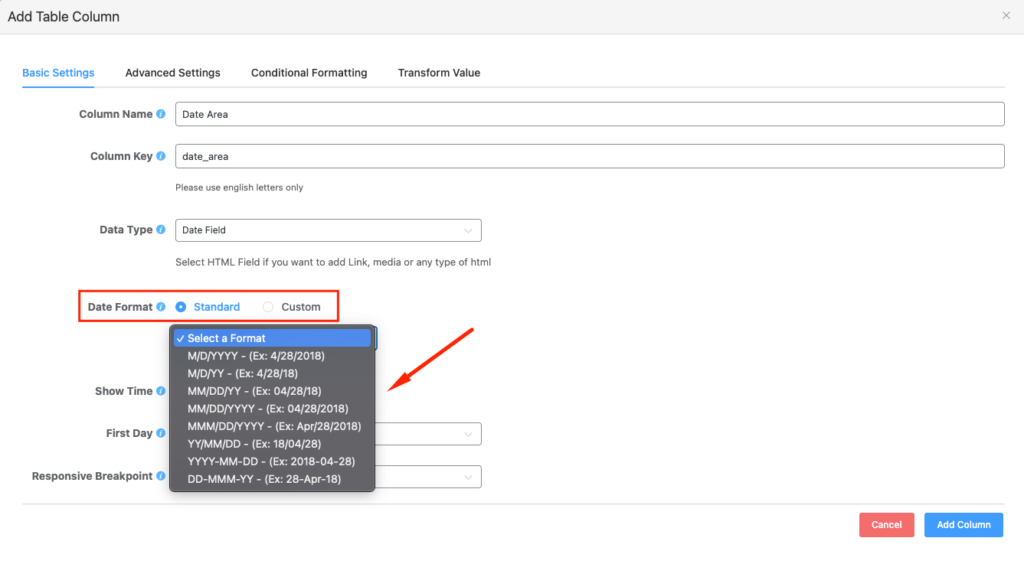
- The Date Format you select in your Column settings will automatically determine how the column values appear.
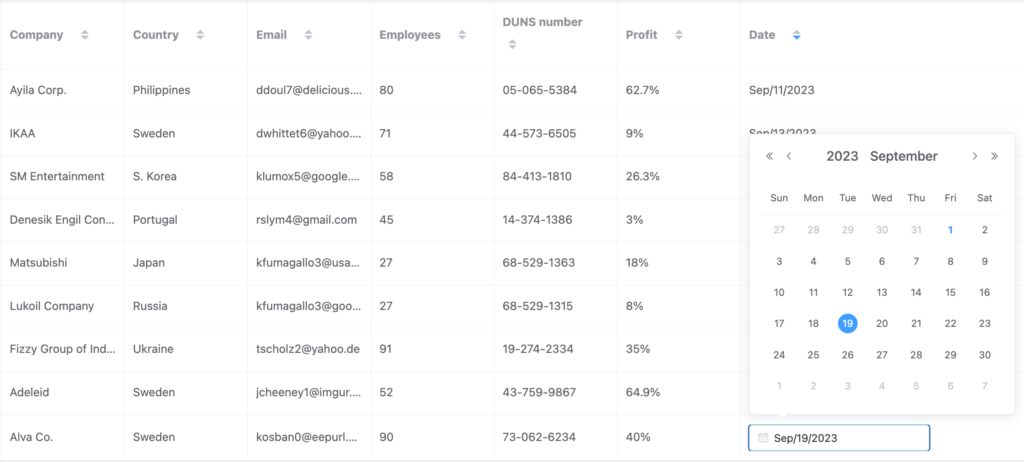
- For example, see the below screenshot. We’ve selected the date format to be MMM/DD/YYYY.
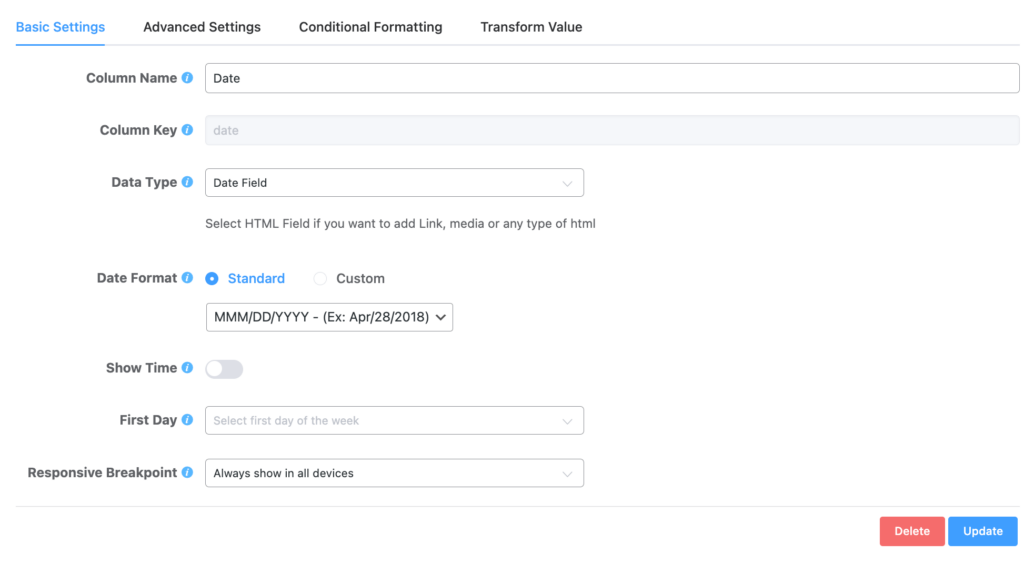
- When you select the date from the table backend, the date will appear exactly in this format- MMM/DD/YYYY.
Date Format (Custom) #
There is also a Date format option where a custom date can also be added if the default options do not meet your needs. You can put your custom date as per your requirements. Custom dates need to be in moment.js supported format.
Custom Date Format is a Pro feature!
Show Time #
If you enable this option, then the time picker will be available. It includes mainly 12-time formats.
First Day #
It shows the first day of the week. For instance, Sunday, Monday, etc.
Note that the Date Field data type is HTML supported.
Add Date Field to your table columns easily with Ninja Tables!
Let us know you thoughts.


I need to calculate the number of days eleasped between two date fields.
Field #1 – Date Filed: Date product received
Field #2 – Date Field: Date product updated
Field #3 – Numeric Field: Fiffernce ins number of days between field #1 & #2.
How to sort data in descending order of a ACF date field?
Hi Vivek. You can enable sorting by the date column in the Table Sorting settings. Just be sure to set the date column’s data type to “Date Field” and choose the exact format that your dates are in. Thank you!