
You can now connect Ninja Tables directly with FluentCart to create beautiful, responsive, and sortable product tables. This feature is perfect for showcasing your products, as it allows customers to add items to their cart, select variations, and even buy in bulk, all from within your table.
If you have both Ninja Tables and FluentCart installed and activated on your site, the integration is automatically ready to use.
Create FluentCart Table in Ninja Tables #
This guide will walk you through the simple process of creating your first FluentCart product table.
Step 1: Create a New FluentCart Table #
First, let’s create the table and pull in your products.
- From your WordPress dashboard, navigate to Ninja Tables → Tables.
- Click the Create Your First Table button (or Create New Table if you already have other tables).
- From the list in table creation menu, select FluentCart Table.

Step 2: Configure Your Product Query #
Once you select “FluentCart Table,” you will see the configuration panel. This is where you decide exactly which products to display in your table.
Here are the options you can set:
- Table Title: Give your table a clear name (e.g., “Men’s Shoes”).
- Select Products By Category: Choose one or more categories. Your table will only show products from the categories you select here. Leave it empty to show products from all categories.
- Select Products By Product Brands: Similar to categories, you can filter your table to only show products from specific brands.
- Hide out of stocks items: Check this box if you don’t want to show products that are currently out of stock.
- Initial Order By: Decide how the table should be sorted by default. You can sort by Product Title, Price, Date, etc., in either Ascending or Descending order.
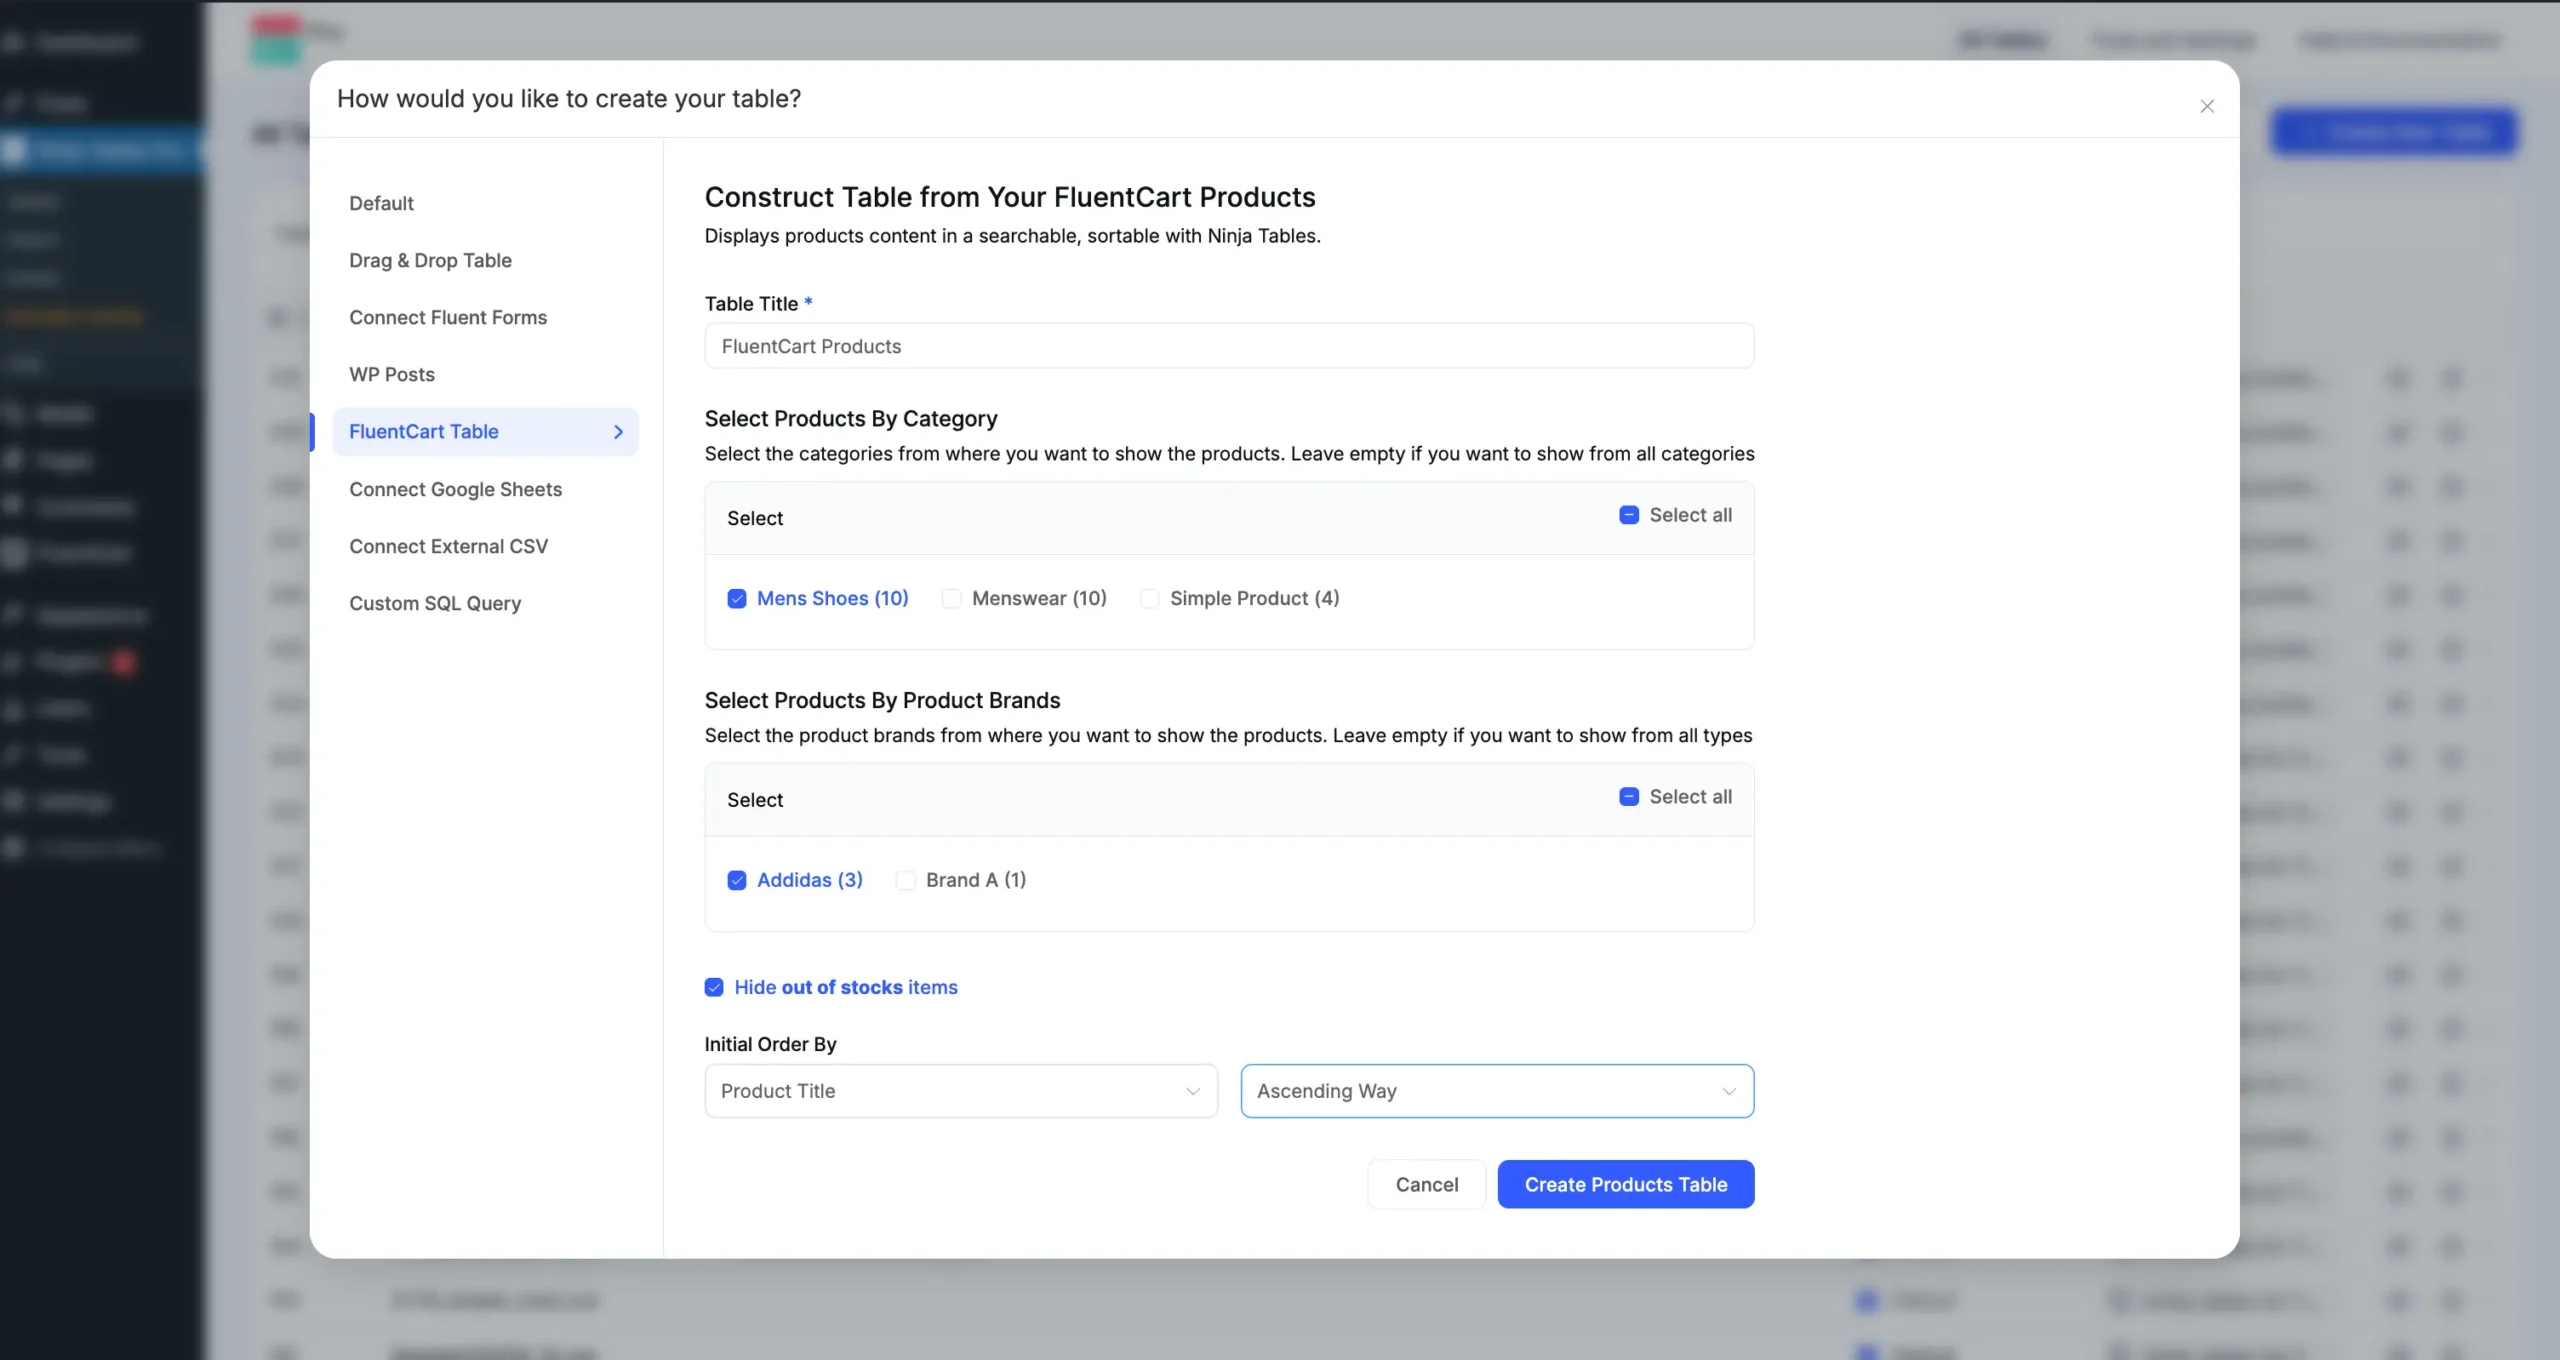
When you are finished, click the Create Products Table button. Ninja Tables will automatically generate your table, complete with product images, prices, “Add To Cart” buttons, and more.
Step 3: Customize Your Table’s Settings #
After your table is created, you will be taken to the table editor. At the top, you will see a banner that says, “You may update the FluentCart query settings here“.
Clicking this banner reveals a powerful set of options in three tabs: Appearance, Query Settings, and Add New Column.
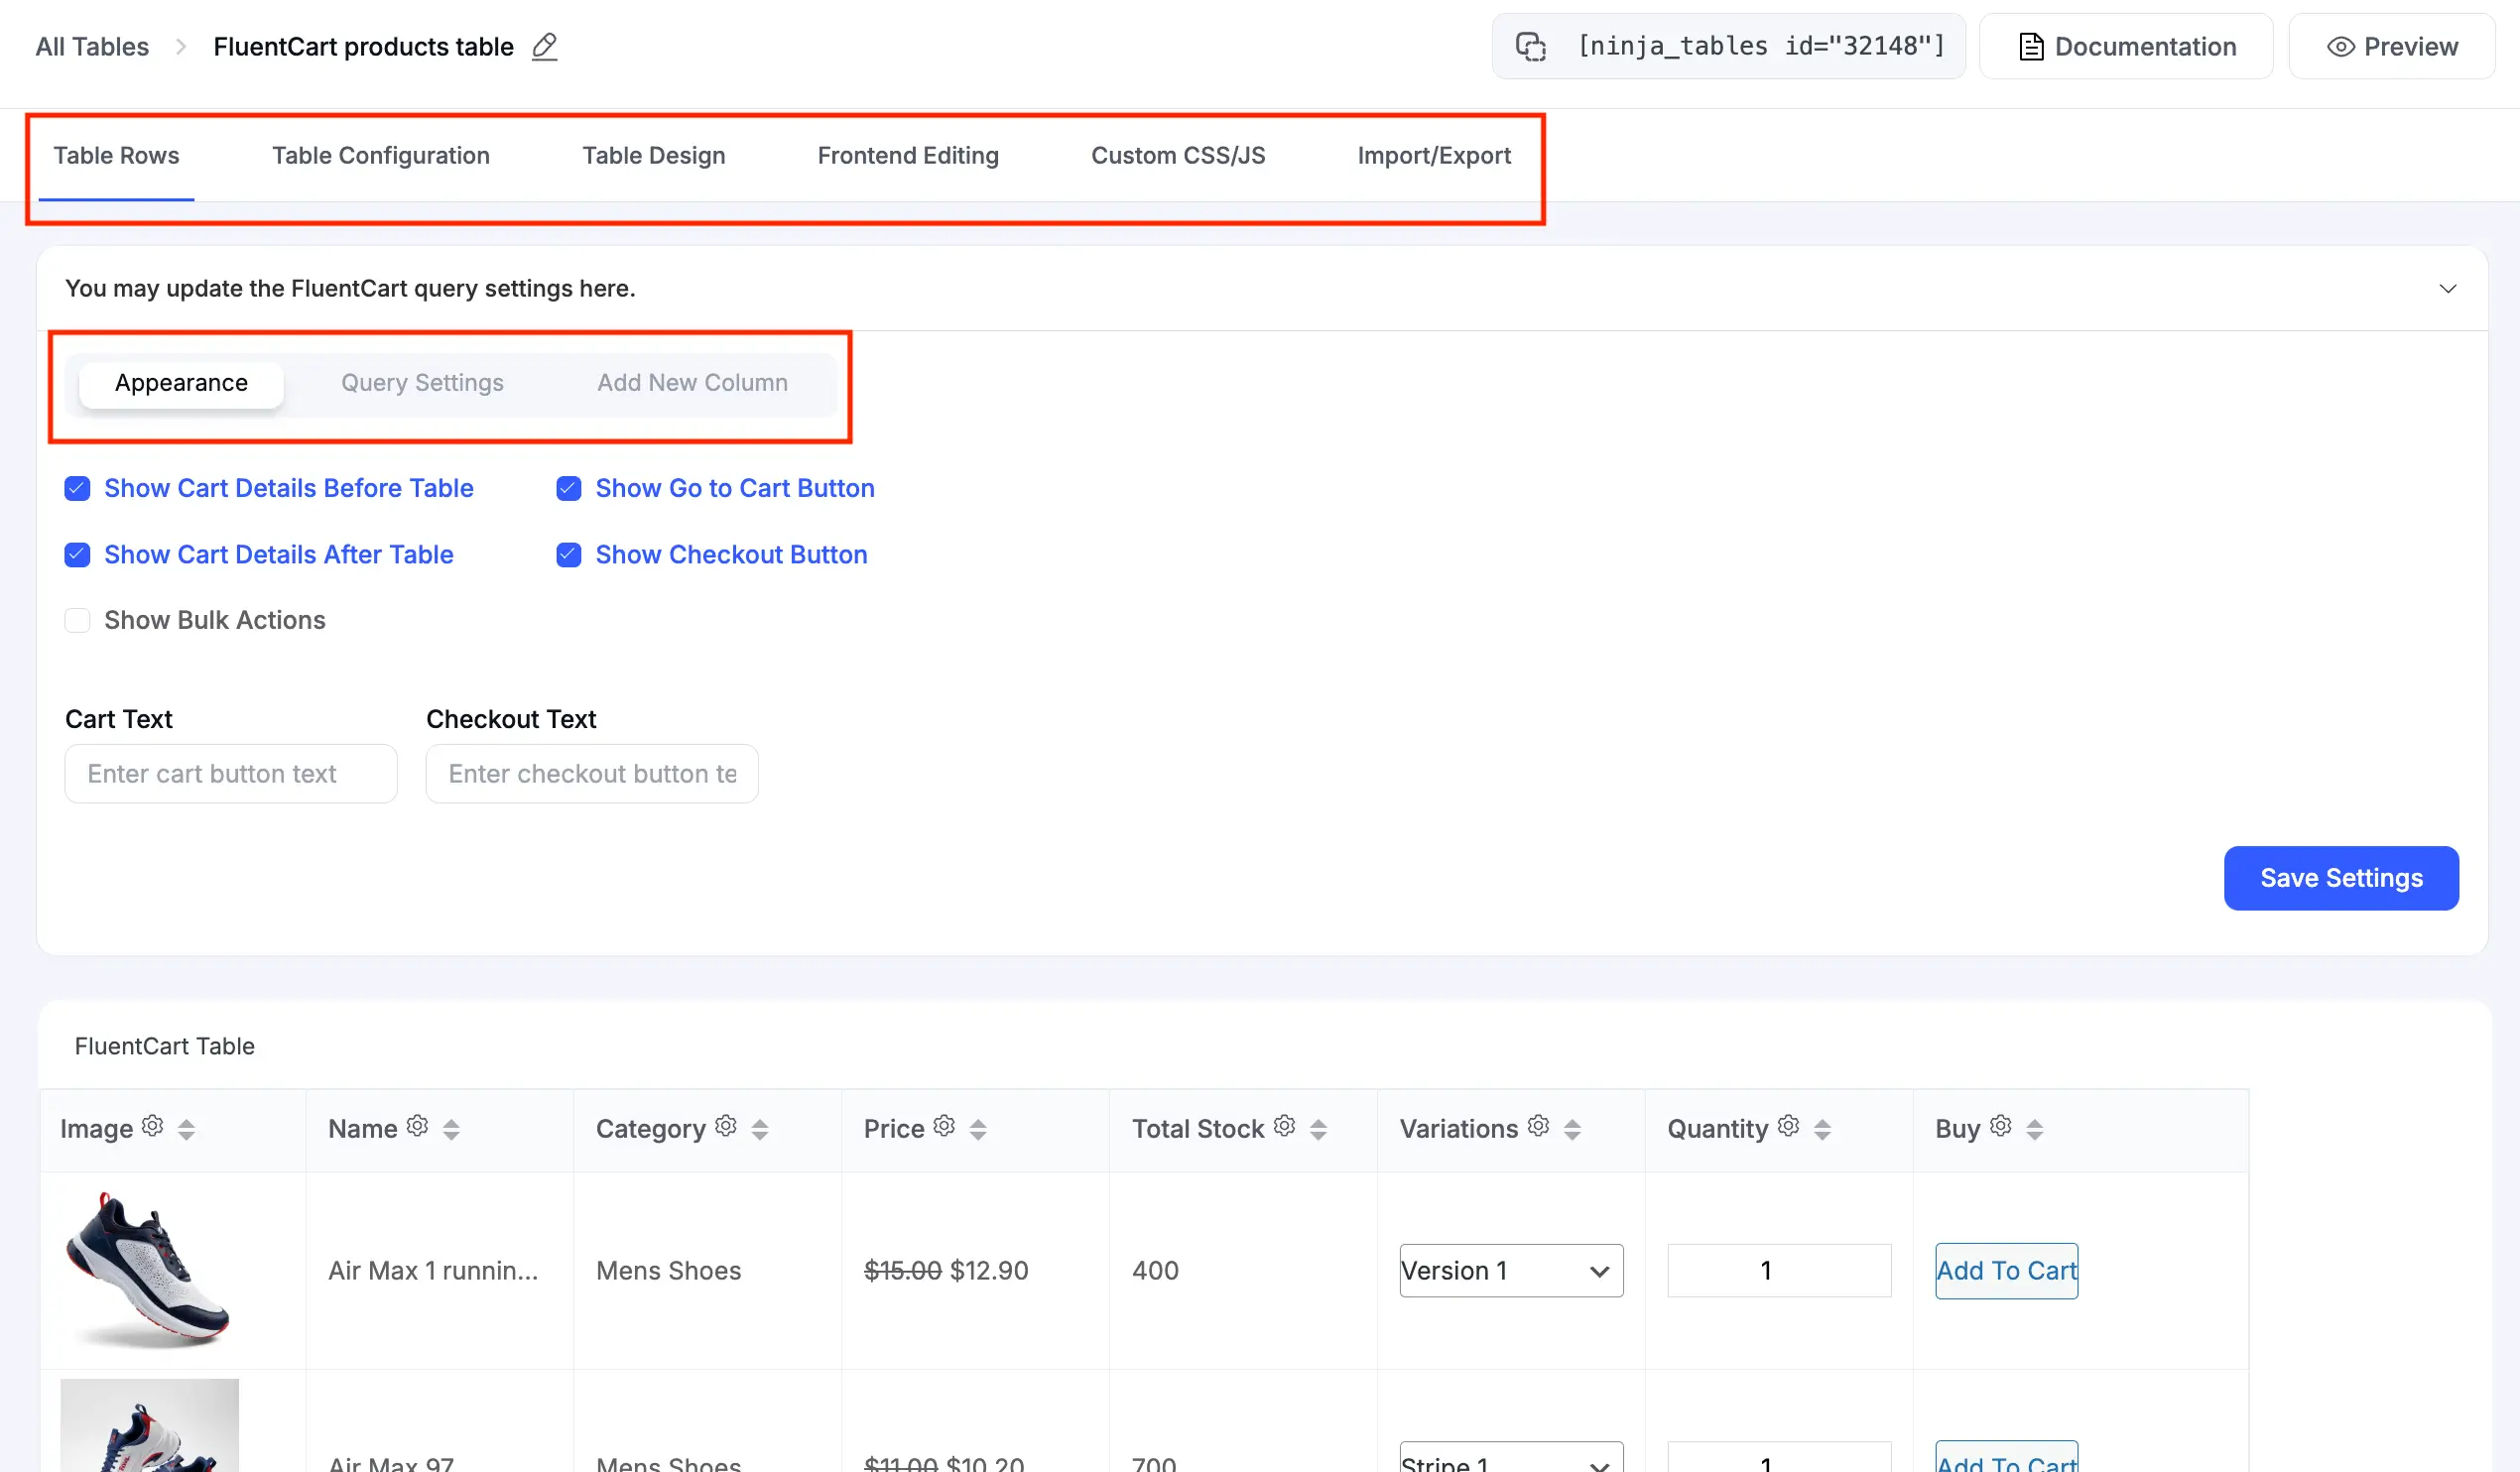
Appearance #
This tab lets you control the cart features and buttons that appear with your table.
- Show Cart Details: Display a mini-cart summary Before or After the table.
- Show Go to Cart Button: Adds a “Go to Cart” button, which you can see at the top-right of the table on the frontend.
- Show Checkout Button: Adds a “Buy Now” or “Checkout” button, also visible at the top-right.
- Show Bulk Actions: This enables a dropdown menu at the top of the table, allowing customers to select multiple products and add them to the cart all at once.
- Cart Text / Checkout Text: Change the text for the “Go to Cart” and “Checkout” buttons.
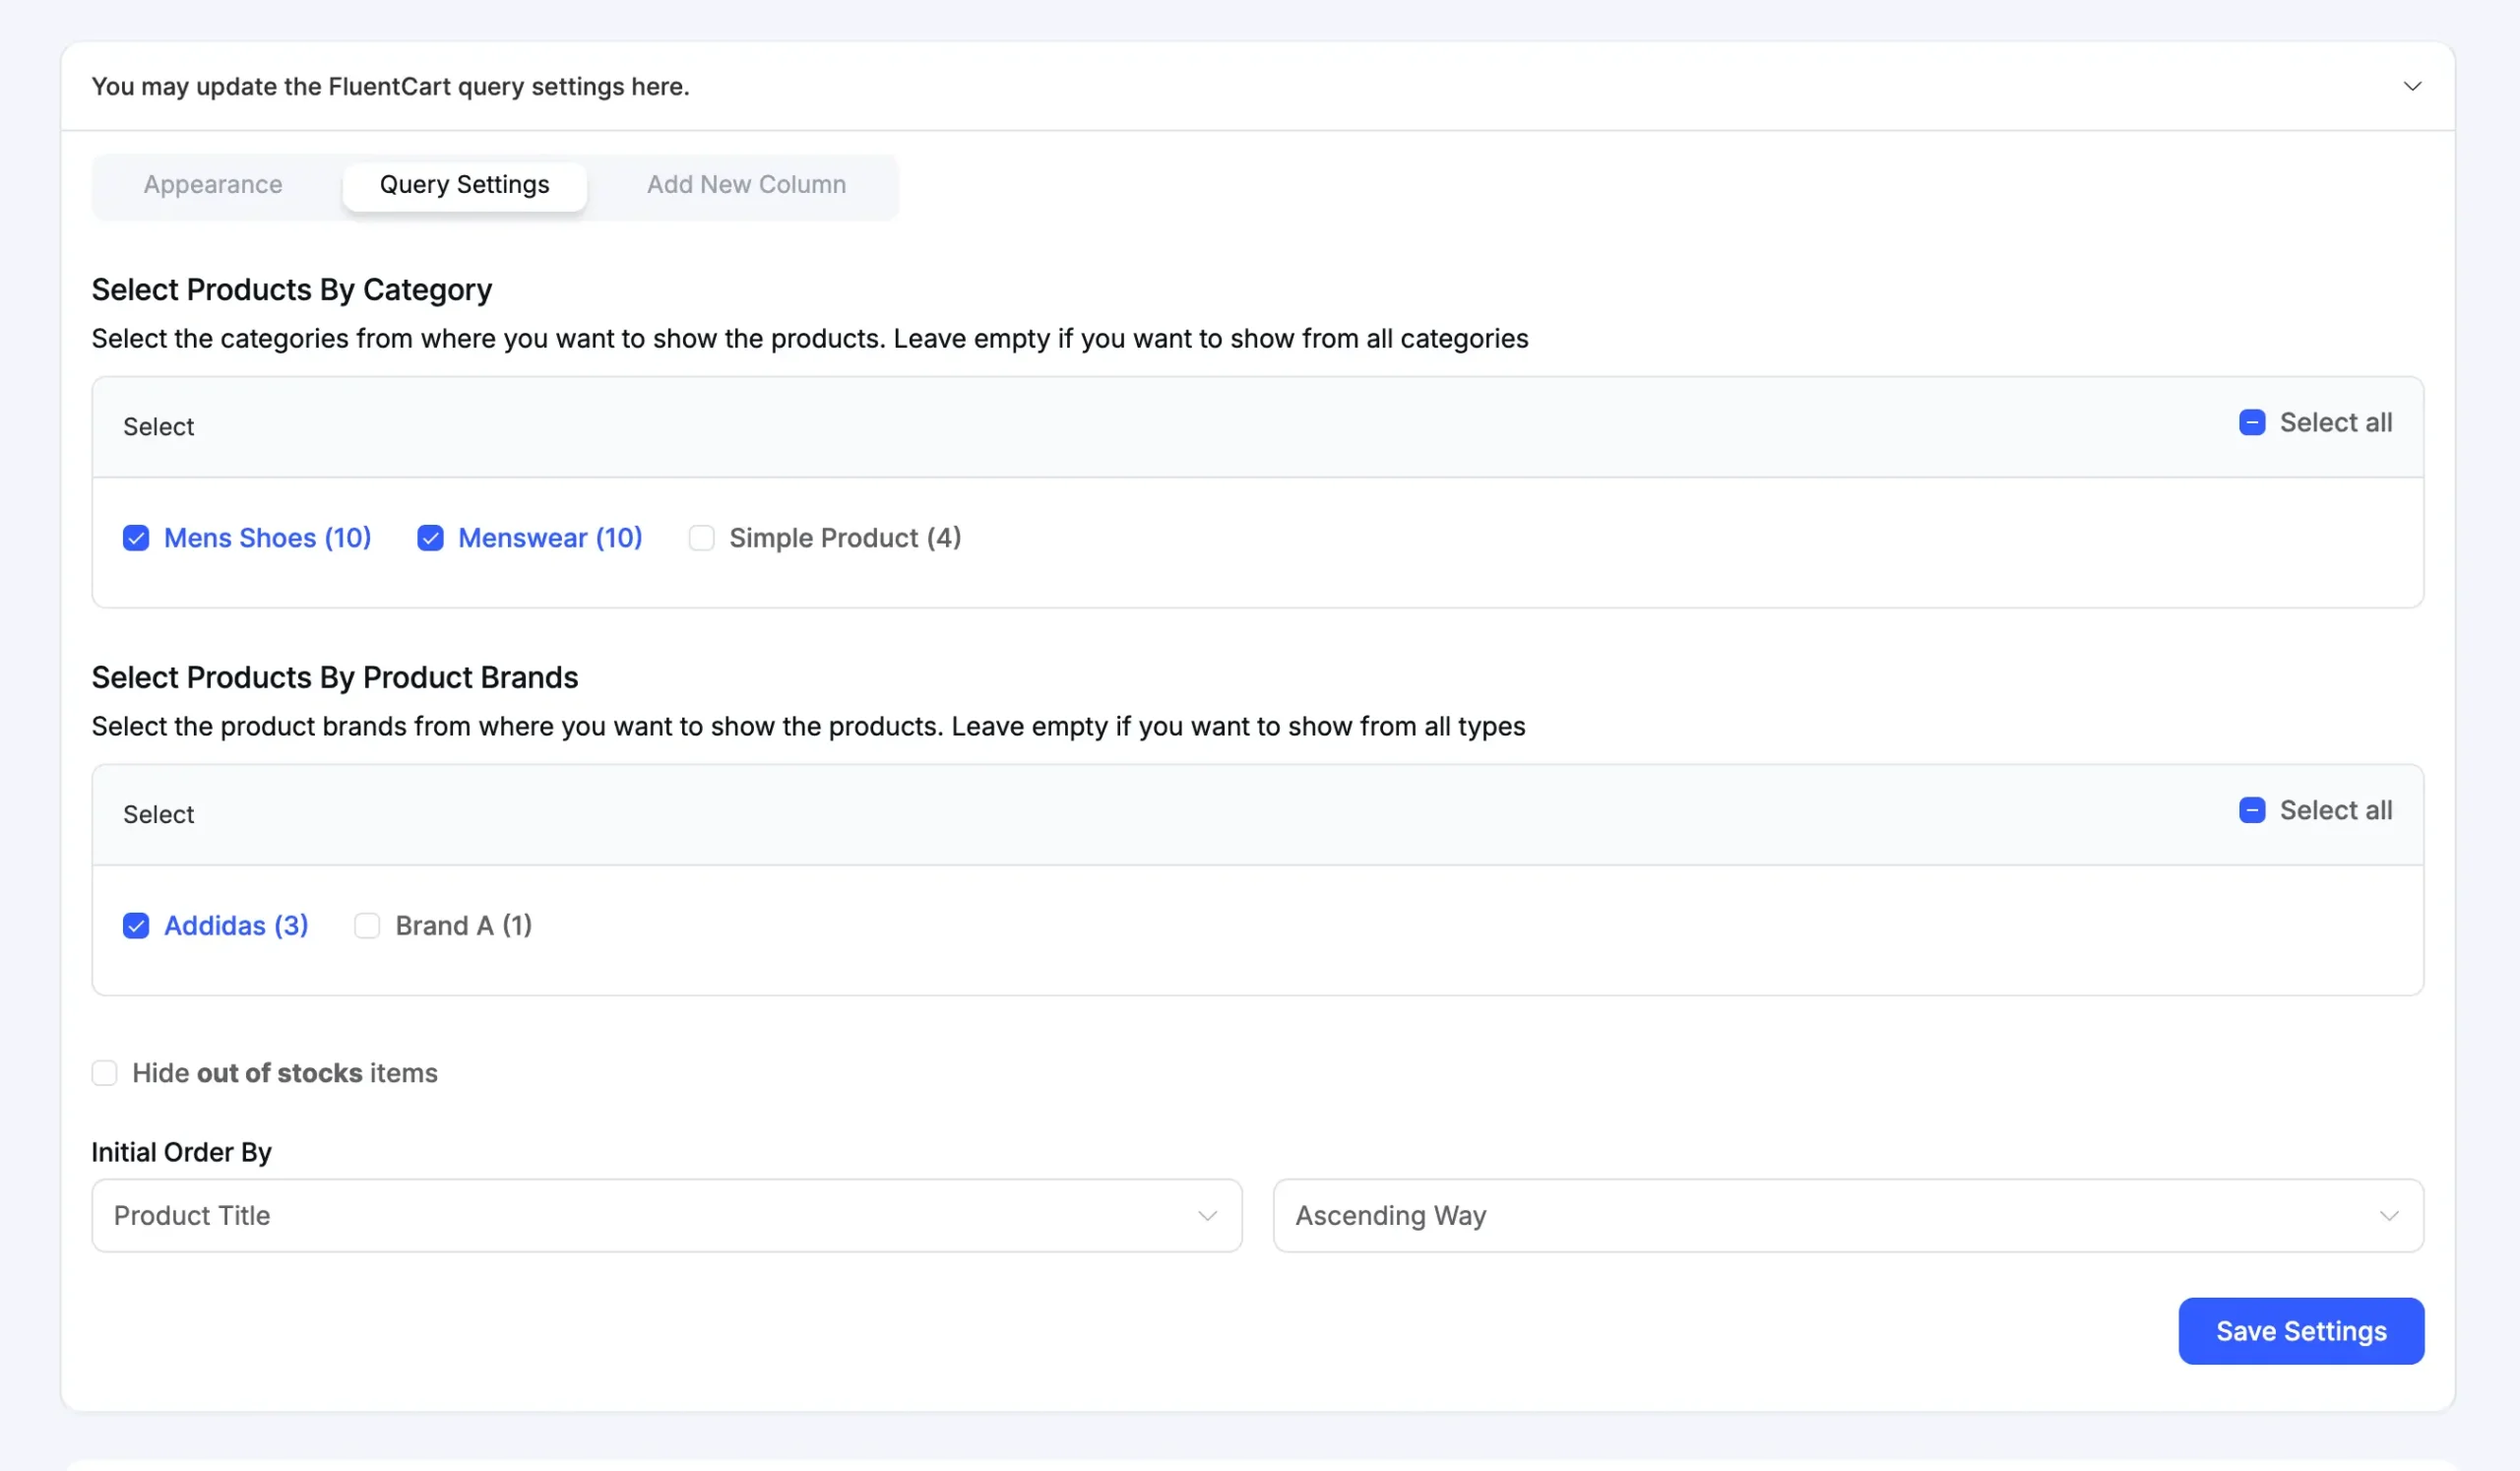
Query Settings #
Did you make a mistake or change your mind? This tab lets you edit the same settings you chose in Step 2. You can easily change the categories, brands, or sorting order at any time.
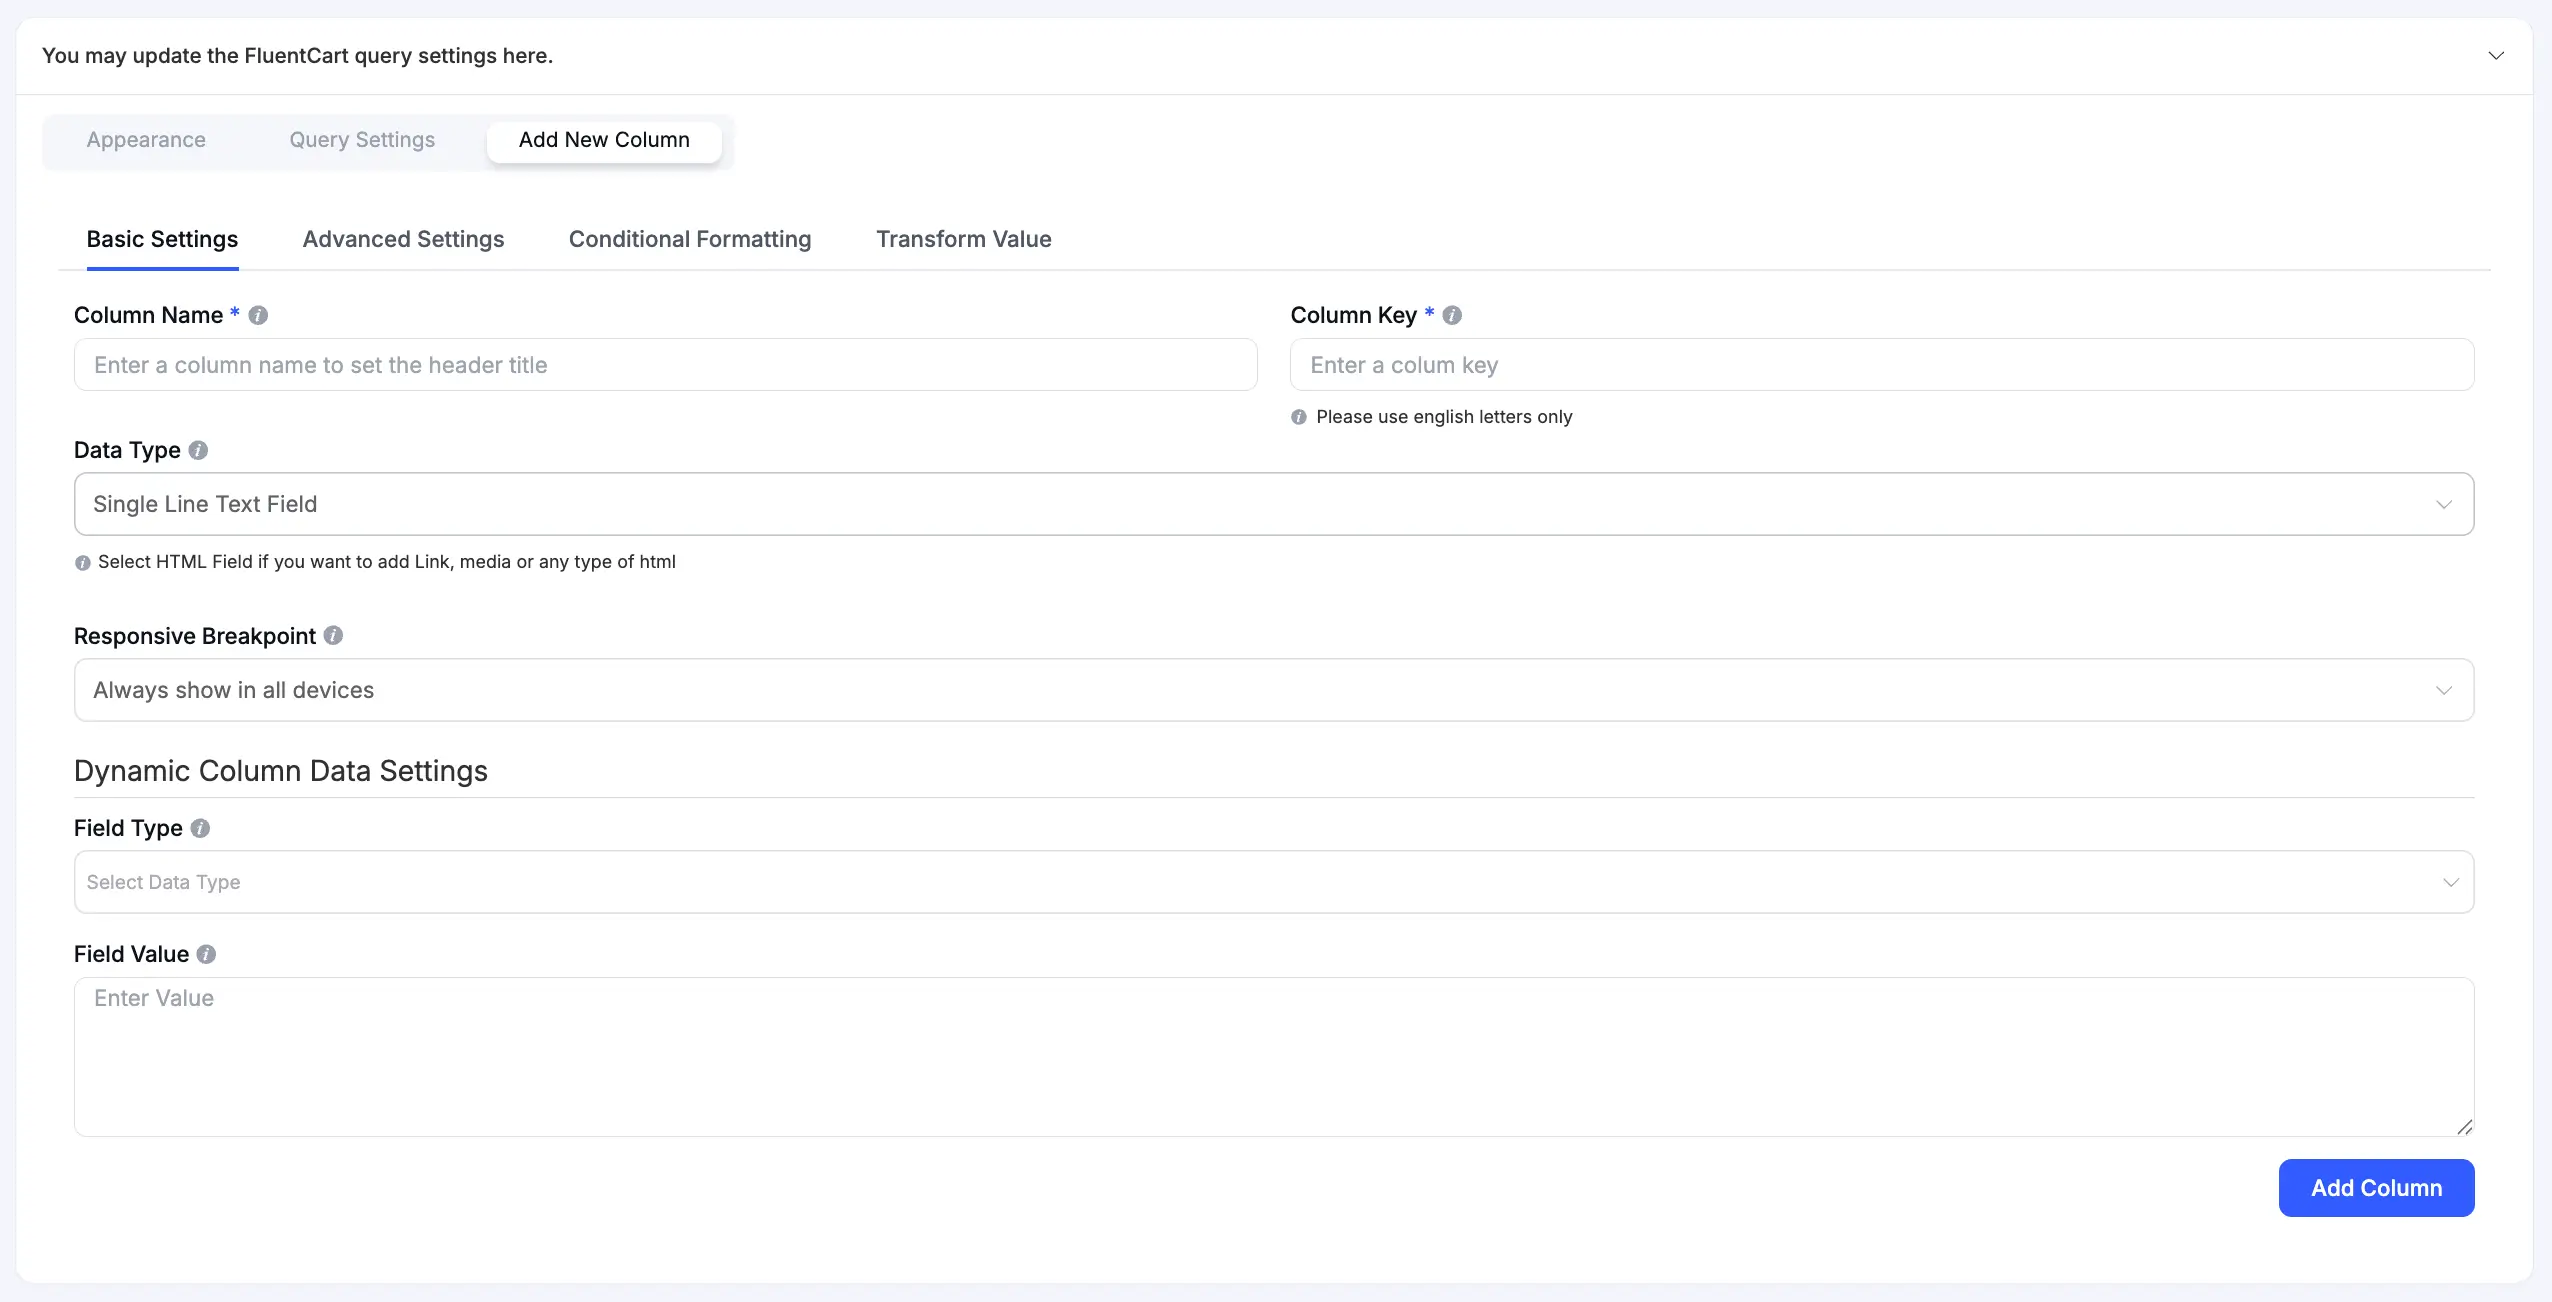
Add New Column #
This tab allows you to add more information to your table, just like in any other Ninja Table.
For example, you can add a “Product Short Description” column:
- Click the Add New Column tab.
- Give your column a Column Name (e.g., “Description”).
- Scroll down to Dynamic Column Data Settings.
- Set the Field Type to Post Data.
- Set the Field Value to Product Short Description.
- Click Add Column, and your table will now show the short description for each product.
Accessing Standard Table Settings #
The settings specific to your FluentCart product data are located under the Table Rows tab. However, your table also has access to all the standard Ninja Tables settings, which you can see in the other tabs at the top of the editor.
You can use these tabs to fine-tune your table’s appearance and functionality:
- Table Configuration: Control core rendering settings, such as pagination, sorting, and search options. Learn more in the Table Rendering Settings documentation.
- Table Design: Change your table’s appearance, including colors, borders, and layout, to perfectly match your site’s branding. See the Table Style Settings guide for details.
- Frontend Editing: Allow specified users to edit table data directly from the frontend of your website. Read the Frontend Editing documentation to set this up.
- Custom CSS/JS: For advanced users, this tab allows you to add your own custom CSS code to style the table or add JavaScript for new functionality. Get started with the Custom CSS/JS guide.
- Import/Export: Manage your table’s data by importing from or exporting to a CSV/JSON file. See the Import/Export documentation for more information.

Step 4: Display Your Table on Your Site #
Your table is now ready!
- From the table editor, copy the shortcode.
- Paste this shortcode onto any WordPress page, post, or widget.
- Now you have a fully interactive FluentCart product table, ready for your customers.
| Image | Name | Category | Price | Total Stock | Variations | Quantity | Buy |
|---|---|---|---|---|---|---|---|
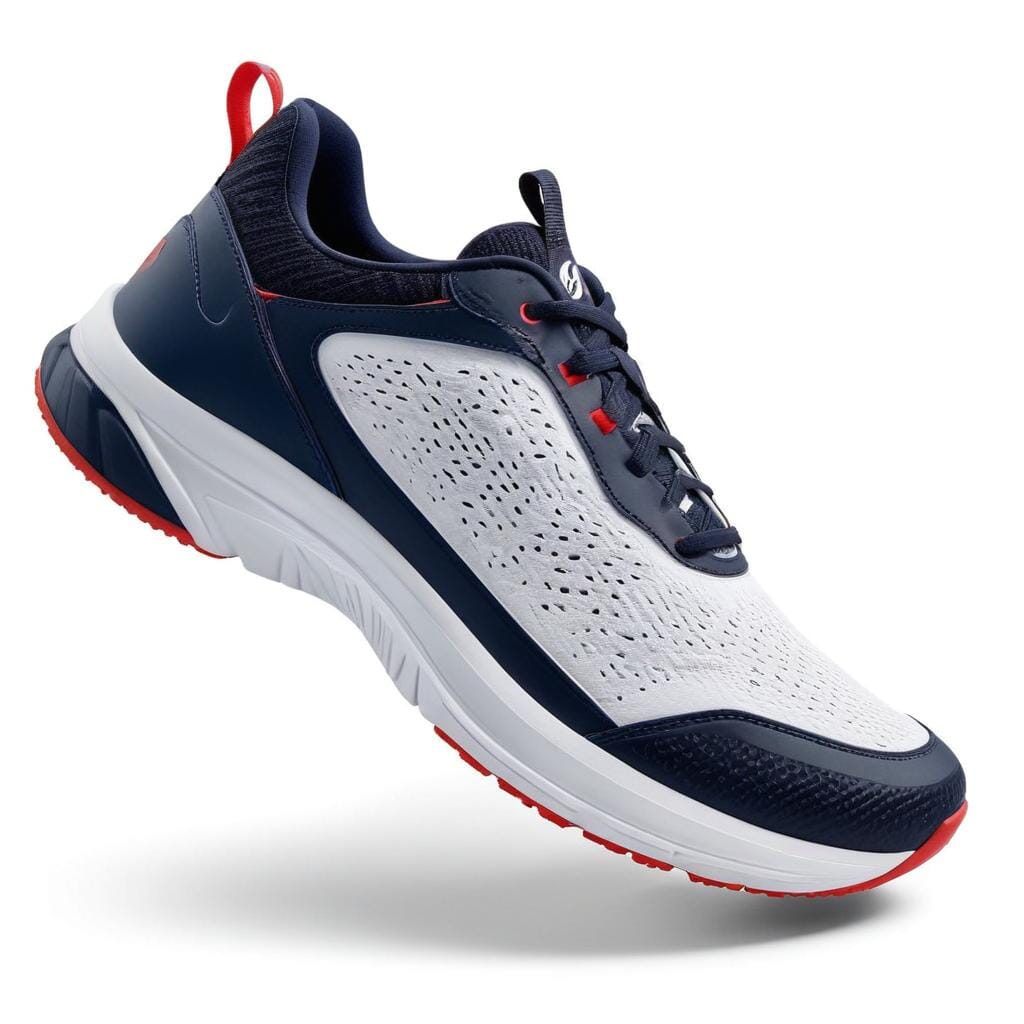 | Air Max 1 running shoe | Mens Shoes | 100 | | |||
 | Air Max 97 | Mens Shoes | 100 | | |||
 | Air Max Essential | Mens Shoes | 100 | | |||
 | Elegant Running Shoe | Mens Shoes | 100 | | |||
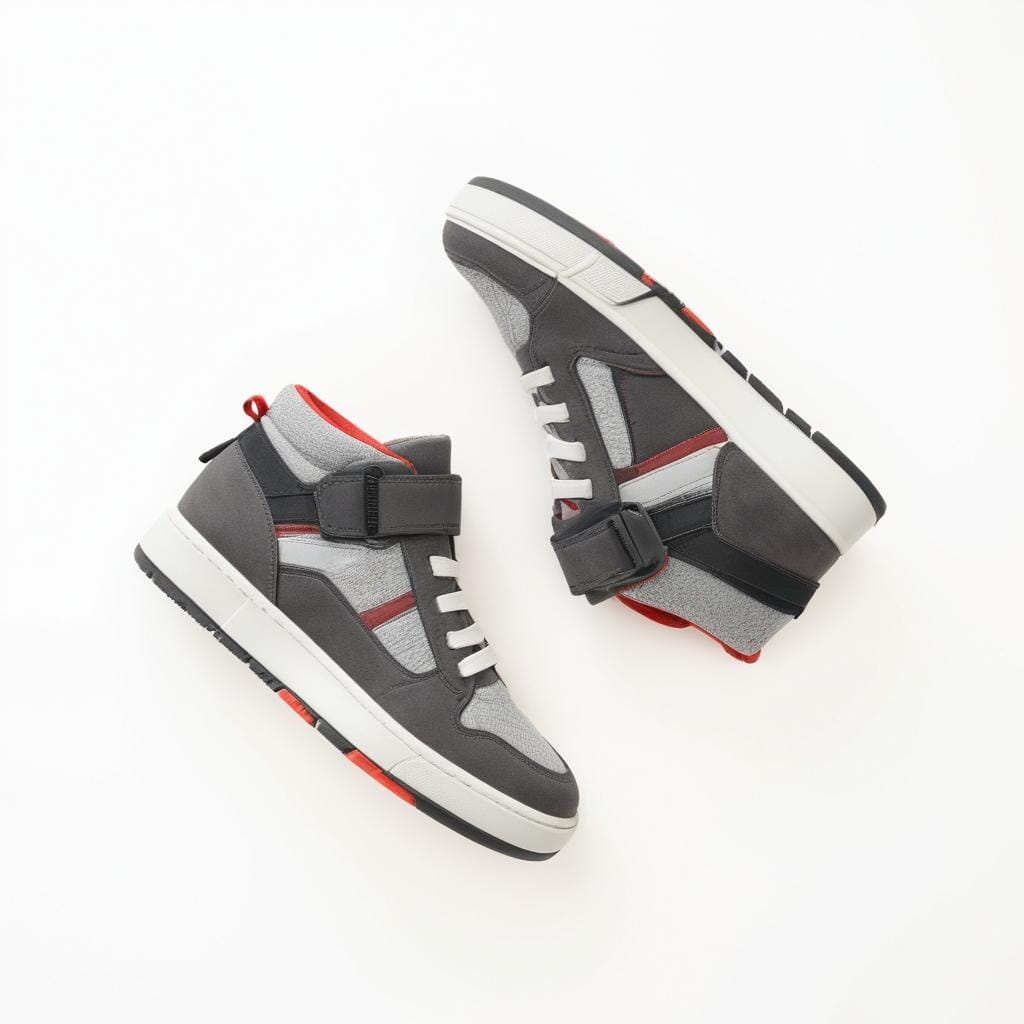 | Grey and Red sneakers | Mens Shoes | 100 | | |||
 | Purple Air Max trainers | Mens Shoes | 100 | | |||
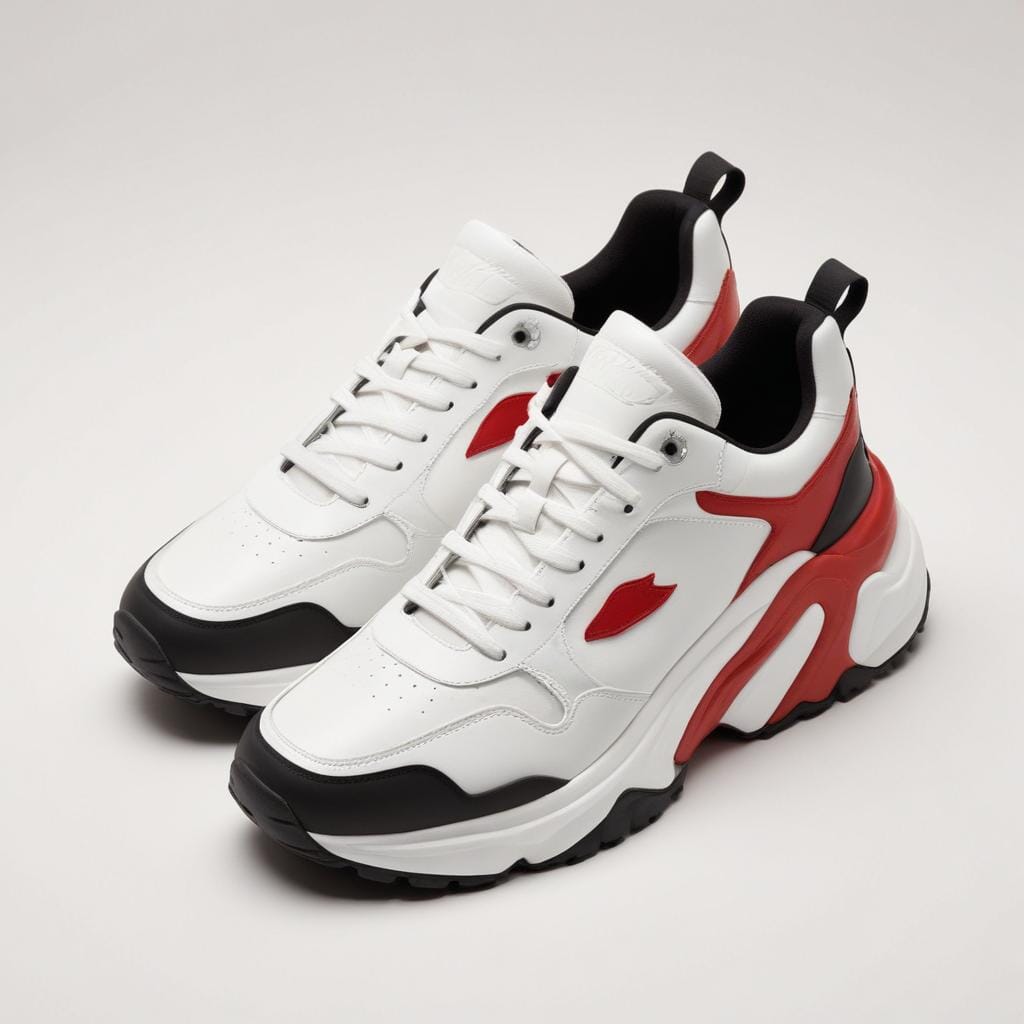 | Red Black Stripped Sneakers | Mens Shoes | 100 | | |||
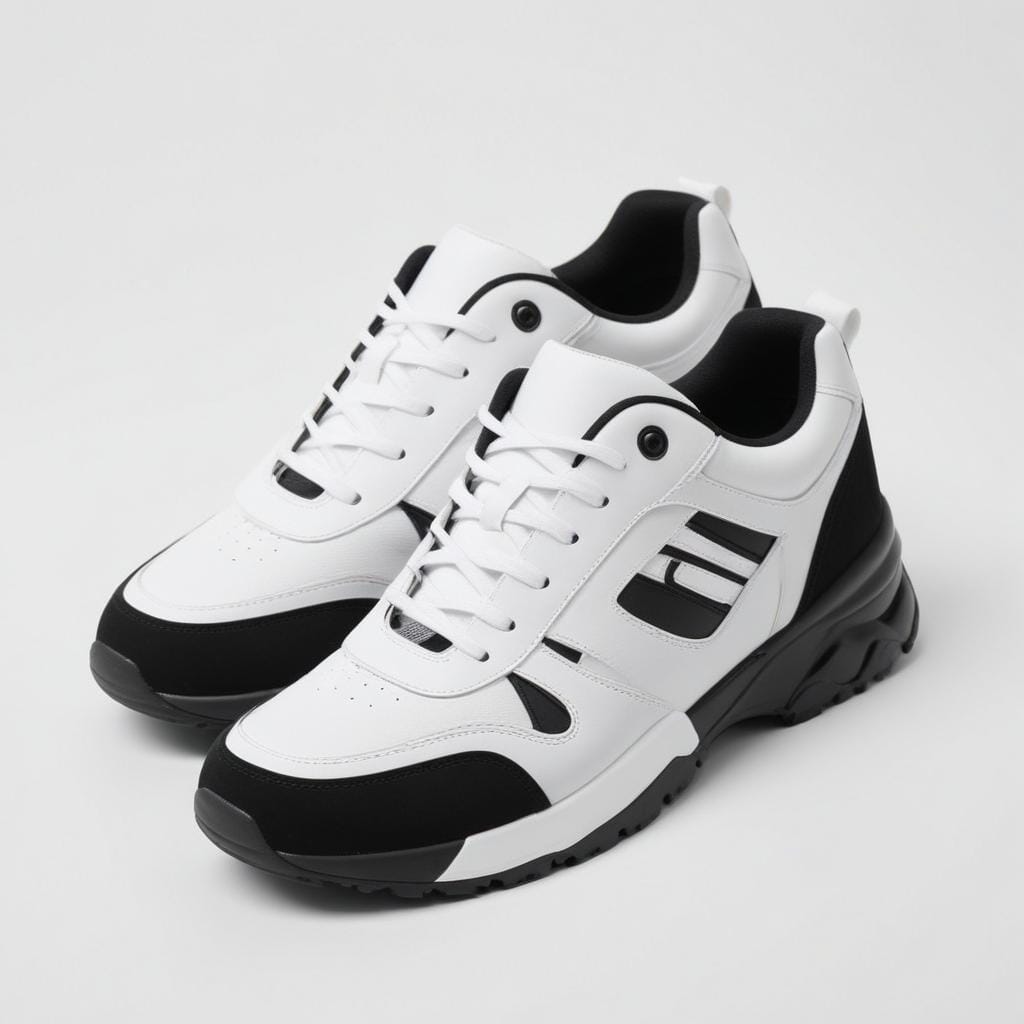 | Sleek black and white Sneakers | Mens Shoes | 100 | | |||
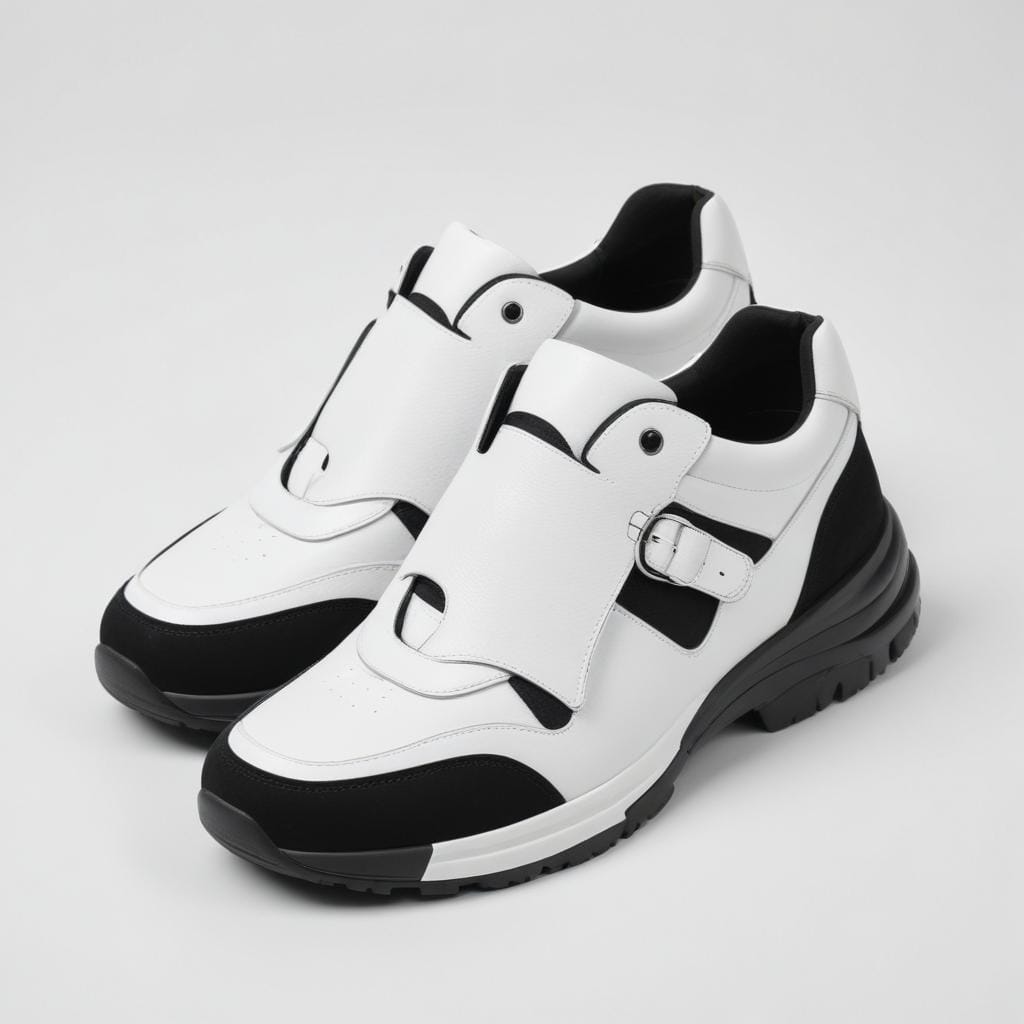 | Stylish white and black sneakers | Mens Shoes | 100 | | |||
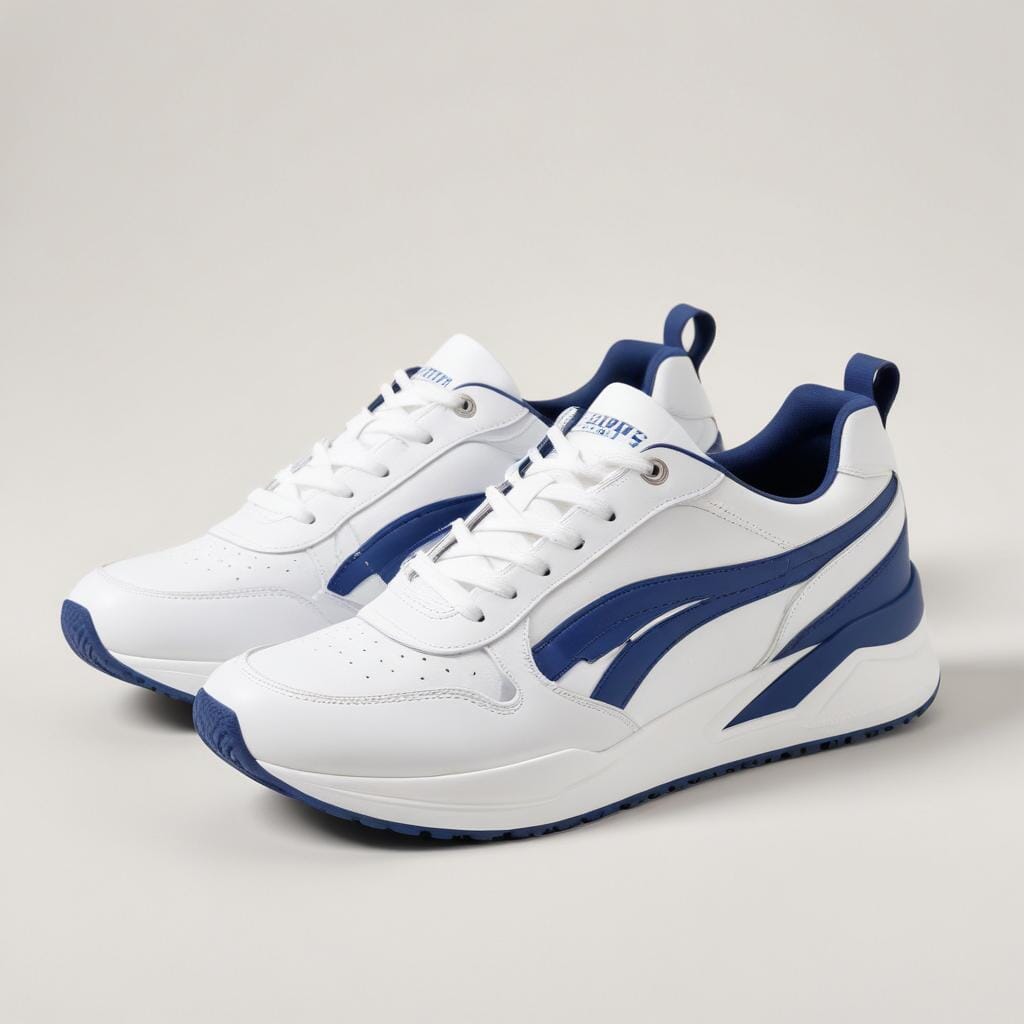 | Stylish white and blue sneakers | Mens Shoes | 100 | |


