You already know Ninja Tables is a great WordPress table builder plugin. This plugin has tons of features that you can use to impress your audience.
In this document, we will discuss the table settings and customization options and see what they can do.
Properties of Table Settings #
| Option Name | Type | |
| General | Cell Padding | Numeric Value |
| Table Alignment | Left, Center, and Right | |
| Separate Column/Rows | Toggle On or Off | |
| Space Between Columns | Numeric Value | |
| Space Between Rows | Numeric Value | |
| Table Container Max Width | Toggle On or Off | |
| Table Cell Min Auto Width | Numeric Value | |
| Table Container Max Height | Numeric Value | |
| Background | Header Background | Graphical Color Selection |
| Even Row Background | Graphical Color Selection | |
| Odd Row Background | Graphical Color Selection | |
| Custom CSS | Add custom CSS | |
| Custom JS | Add custom JS | |
| Sticky | First Row Sticky | Toggle On or Off |
| First Column Sticky | Toggle On or Off | |
| Accessibility | Table Role | Dropdown Selection |
| Border | Table Border | Numeric Value |
| Border Color | Graphical Color Selection | |
| Apply Inner Border | Toggle On or Off | |
| Header Inner Border | Toggle On or Off | |
| Inner Border Color | Graphical Color Selection | |
| Inner Border Size | Numeric Value | |
| Global Style | Margin Top | Numeric Value |
| Font Size | Numeric Value | |
| Color | Graphical Color Selection | |
| Font Family | Dropdown Selection | |
| Export Table | Select Format | Dropdown Selection |
General #
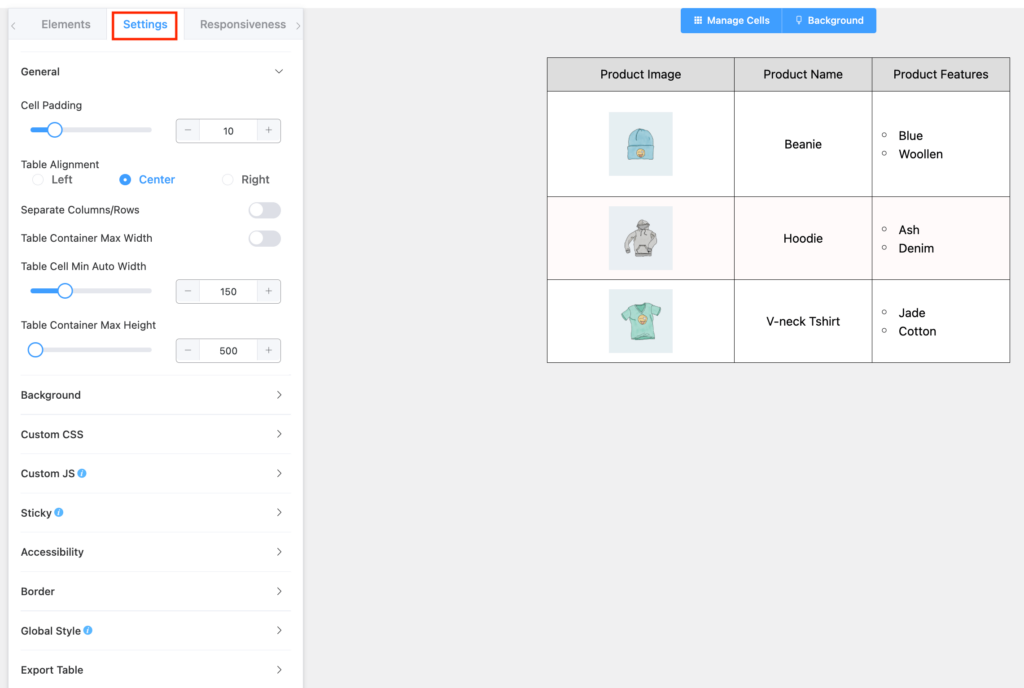
Cell Padding: Cell padding controls the space between the element and the cell area. By default, it is set to 10.
Table Alignment: You can align the whole table on the page’s left, Center, or Right side.
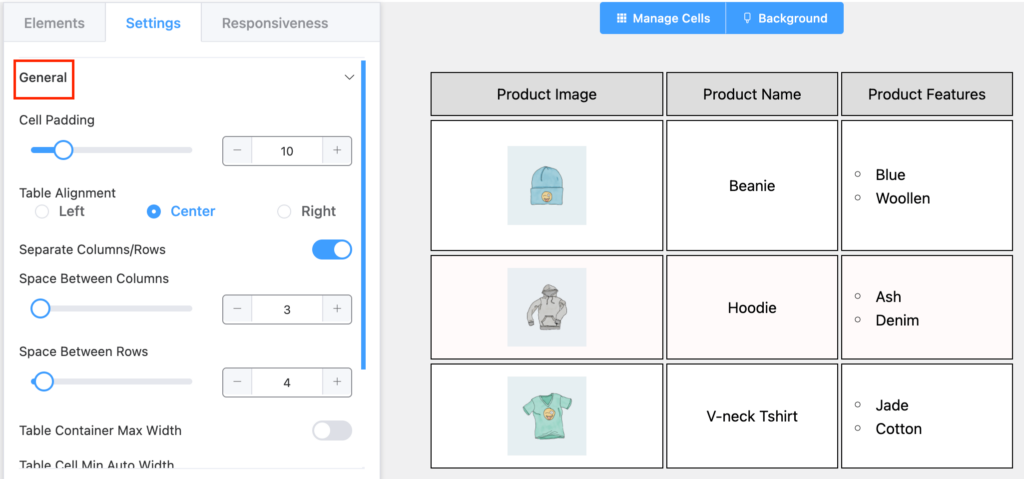
Separate Columns/Rows: You can also separate the rows or columns. By default, it is set to “Off.”
Space Between Columns: Customize the spaces between columns to display cells as single blocks.
Space Between Rows: Customize the spaces between rows to display cells as single blocks.
Table Container Max Width: Control the maximum width of the table. If the maximum width is lower than the table content, then you will notice a bottom scrollbar to scroll through the data.
Table Cell Min Auto Width: Control the table cell width.
Table Container Max Height: Control the table cell height.
Background #
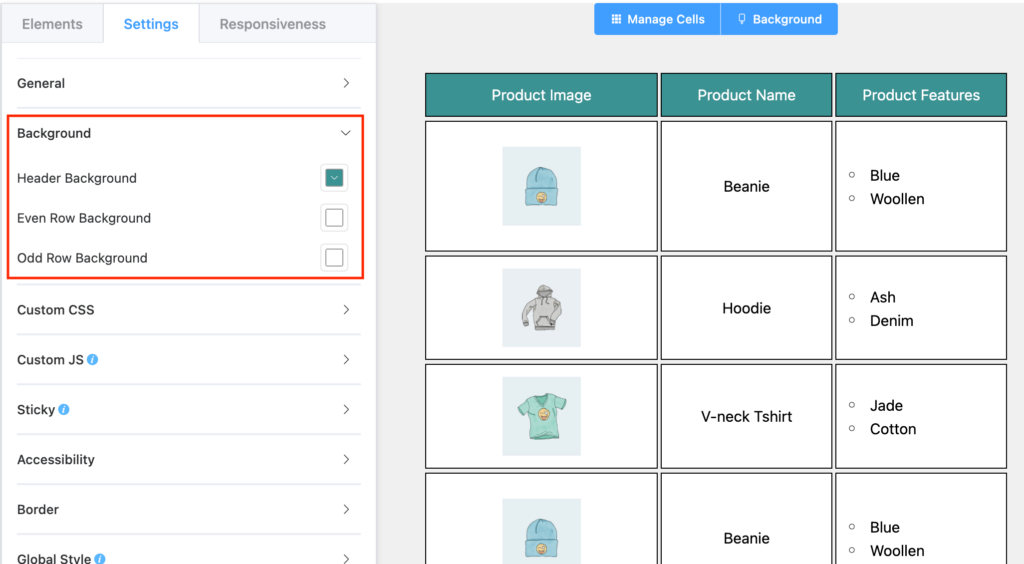
Header Background: You can control the header background color from here without going to Background management.
Even Row Background: This option is to control the Even Row background color.
Odd Row Background: This is used to set the background color for even rows.
Custom CSS (Pro) #
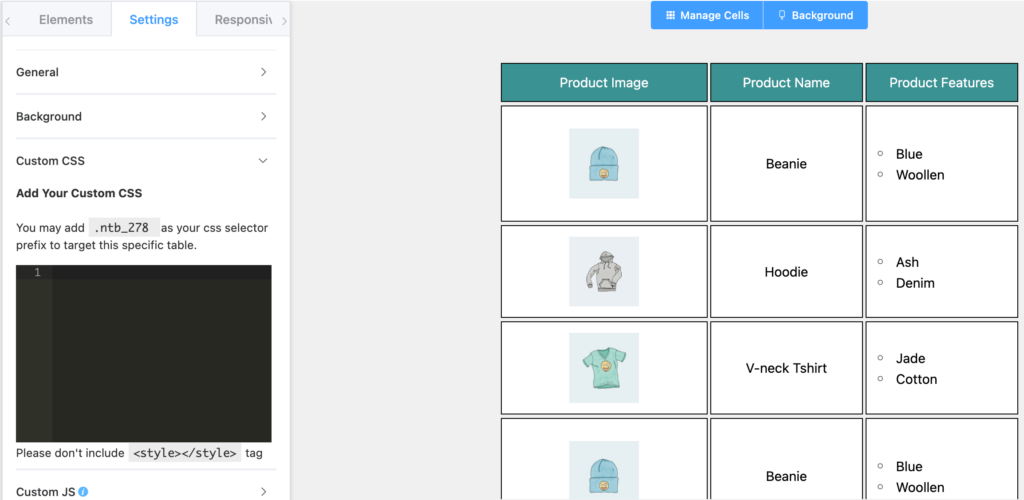
Just like the Ninja Tables advanced mode, the Drag and Drop table builder gives you the flexibility to customize tables with custom CSS.
Custom JS (Pro) #
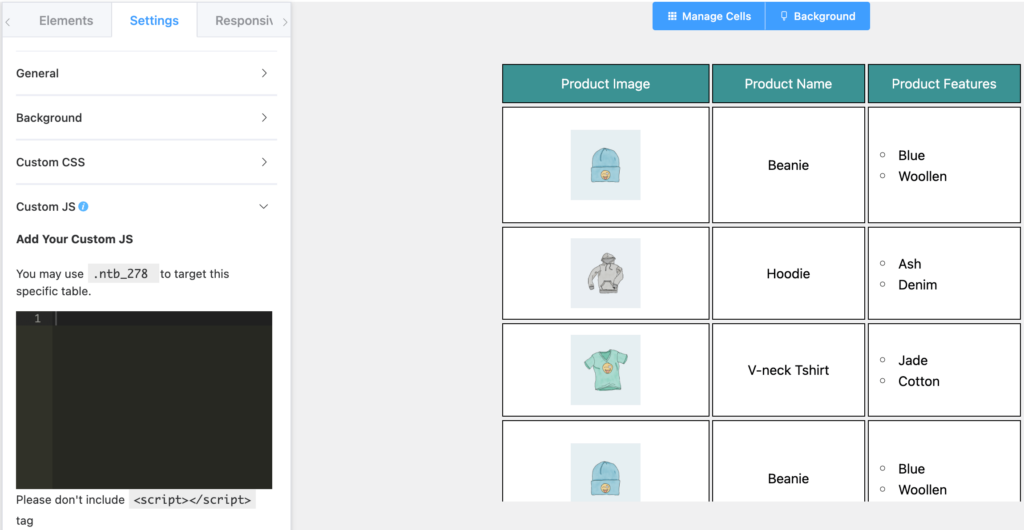
Similarly, the Drag and Drop table builder also gives you the flexibility to further customize tables with custom JS.
Sticky (Pro) #
First Row Sticky: You can freeze the first row or make it sticky. If you have to scroll down, you can see which column contains which type of data.
First Column Sticky: You can make the first column sticky as well. This helps if the table is horizontally scrollable.
Accessibility #
Table Role: This option has 4 types of “Table Role.”
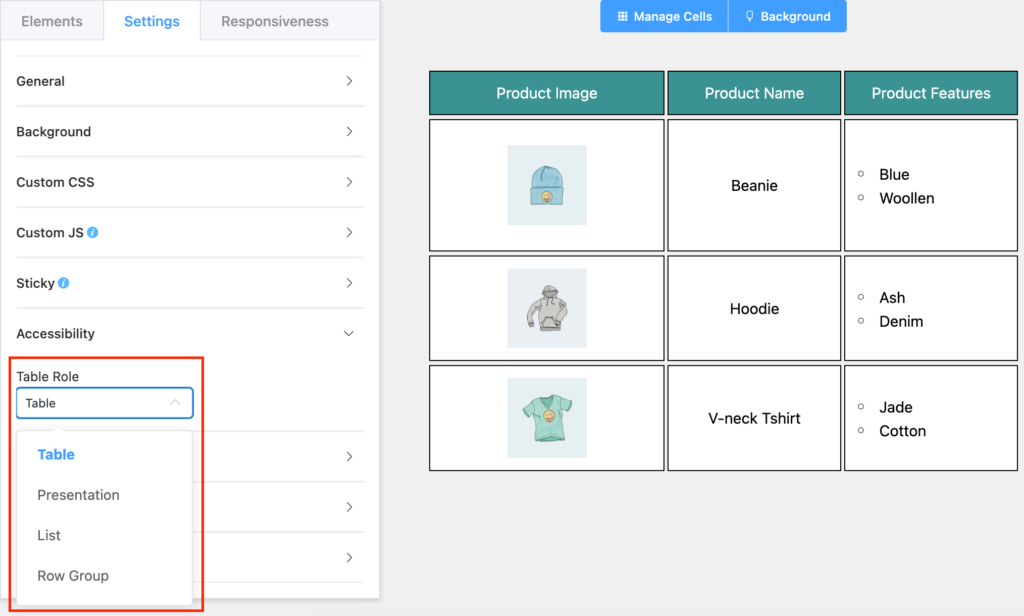
- Table
- Presentation
- List
- Row Group.
Border #
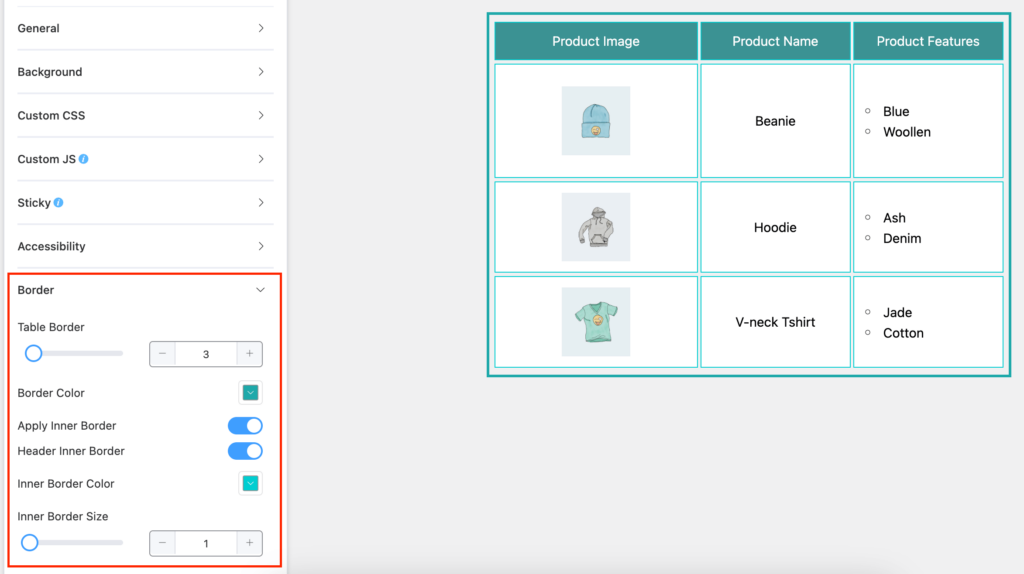
Table Border: This option enables you to show each cell with a border a boundary. By default, it is set to 2.
Border Color: You can control the color of the border here.
Apply Inner Border: By default, an Inner Border is applied to the table.
Header Inner Border: You can also control whether the Header should have an inner border.
Inner Border Color: The option to control the inner border color.
Inner Border Size: You can also set the inner border size, which is by default set to 3.
Global Style #
Margin Top: You can add an additional Top Margin to the table, which is set to 0 by default.
Margin Bottom: You can add an additional Bottom Margin to the table, which is set to 0 by default.
Font Size: The default font size setting is by default set to 15.
Color: You can also define the font color that is set to black by default.
Font Family: You can also select a Font Family for your table from the dropdown, and plenty of fonts are available.

Export Table #
One of the most important and helpful options that you can use to export your table to CSV and JSON format. The JSON format is only recognizable by Ninja Tables
Conclusion #
Customize the drag and drop table settings using all these amazing features and options.
Let us know if you have any questions.


Hello,
Can I sticky the 1st column and 1st row if my data source is coming from Google Sheet?
If so, how? My options do not look like the options I see above
Hello Cris,
Thank you for getting in touch with us. I am Answering your questions one by one.
1. Yes, you can make your first column and first row sticky when your data source is coming from Google Sheets. But for that you have to create your table with our default table builder option using google sheet integration. Follow this tutorial for that: https://ninjatables.com/embed-google-sheet-in-wordpress-tables/
2. You will not get these option in our drag and drop module. When you create a table with our default table builder option using google sheet integration you can easily make your table header sticky from the table setting tab. And for the sticky first row you will need to code a bit in your Custom CSS snippet of your table.
I will suggest you to open a support ticket to get any kind of extended assistance from our 24/7 active support team. https://wpmanageninja.com/support-tickets/
Thank you.
Can I limit which posts will import to a table by using categories.
Hi Sharon, Sure you can. You can easily limit posts to import to a table by using categories. Contact our support team(https://wpmanageninja.com/support-tickets/) to get all the assistance.
Thank you
I have both a sticky header and sticky column selected and neither are working on my drag and drop table. Is there something I need to undo to allow this to work?
Hi Will,
Thank you for reaching out! If your table height exceeds 750px, the sticky header should function correctly on the backend. However, we need a bit more context to better assist you with this query. Could you please provide additional details, such as a screen recording or screenshot? This will help us understand the issue more clearly and offer a more precise solution.
Hi, Ninja. 🙂
I have an issue with (Table Cell Min Auto Width). we have to give it a Numeric Value and can’t leave it blank so it inherits the container’s width that I put the short code of the table in. I’m using Elementor by the way.
So, in this case that the container is set to 30% of the page width, based on the window size of the viewer, the Ninjatable either looks small or is cut away with a horizontal scrollbar.
I want my table to fit the container’s width all the time. please help me to find the solution.
thanks.
Hi Mohsen,
For your convenience, please consider opening a support ticket and include the table page URL along with the exported JSON file of the table.
Our support engineers will review the details and provide a solution to resolve the issue.
Hope you find a quick fix soon!
Thank you!